This post contains affiliate links. As an Amazon Associate we earn from qualifying purchases, at no extra cost to you. Read our disclosure.
Safety first: Always supervise little ones, and skip small parts for kids who still put things in their mouths. Please read our play safety notes before you start.
Key takeaways
- 6 card techniques sorted by age, from 2 up to 8.
- Each lists ages, prep, mess, supplies and a safety note.
- Fold the card first, then decorate. A folded sheet is easier to hold and dry.
- Let kids do the front and write the message yourself for young children.
- Make 4 to 6 cards in one sitting and add handprint cards separately.
In this post10 sections
- How to Make Christmas Cards With Kids
- What You Need for Christmas Cards Kids Can Make
- Cards for Ages 2 and 3: Sponge Stamp Tree
- Cards for Ages 3 and Up: Torn Paper and Q-tip Lights
- Q-tip Painted Christmas Lights Card
- Cards for Ages 4 and Up: Crayon Resist and Pop-Up
- Pop-Up Christmas Tree Card
- Button Tree Card
- Common Card Mistakes and Quick Fixes
- FAQ
How to Make Christmas Cards With Kids
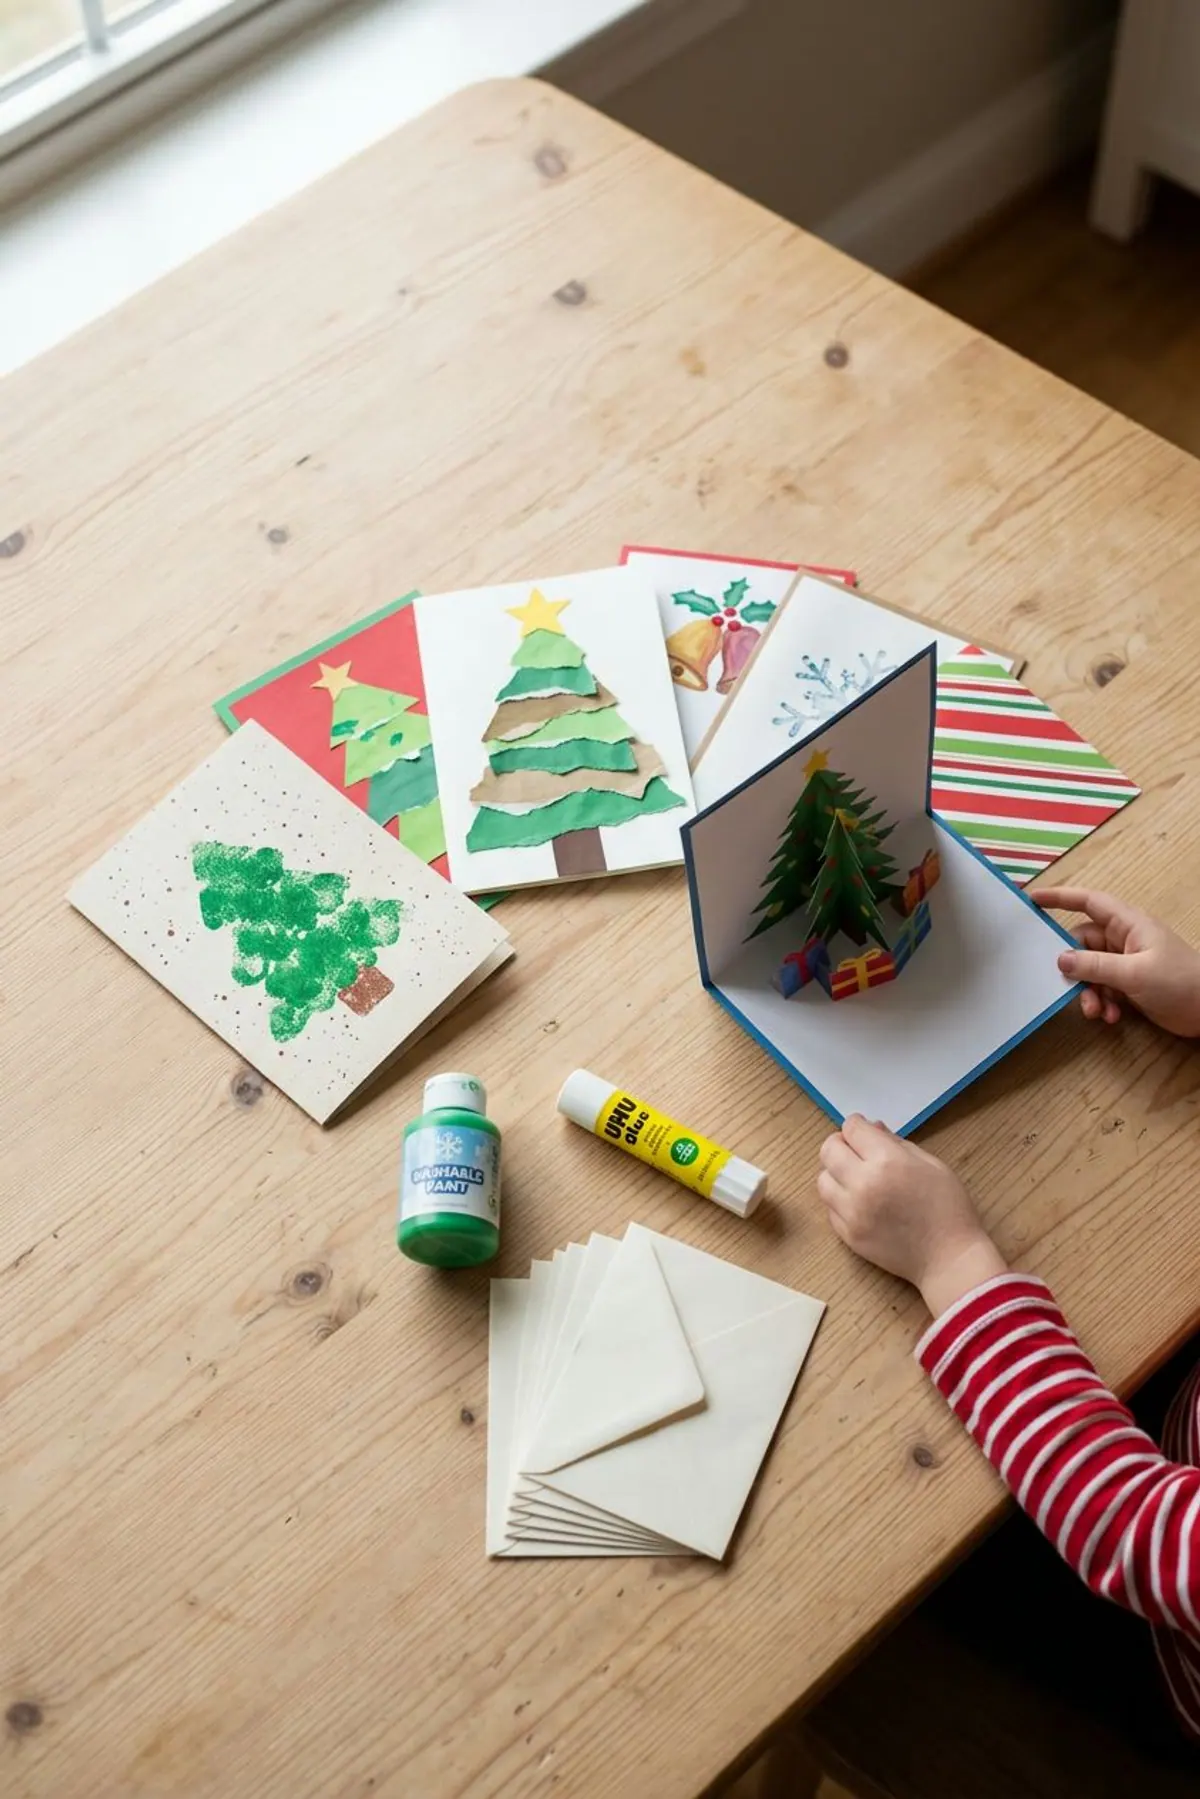
Start with a folded sheet of cardstock for each card and let the child decorate only the front. Write the message inside yourself for young kids, or let older kids write their own. Fold first, decorate second, and give every card time to dry flat.
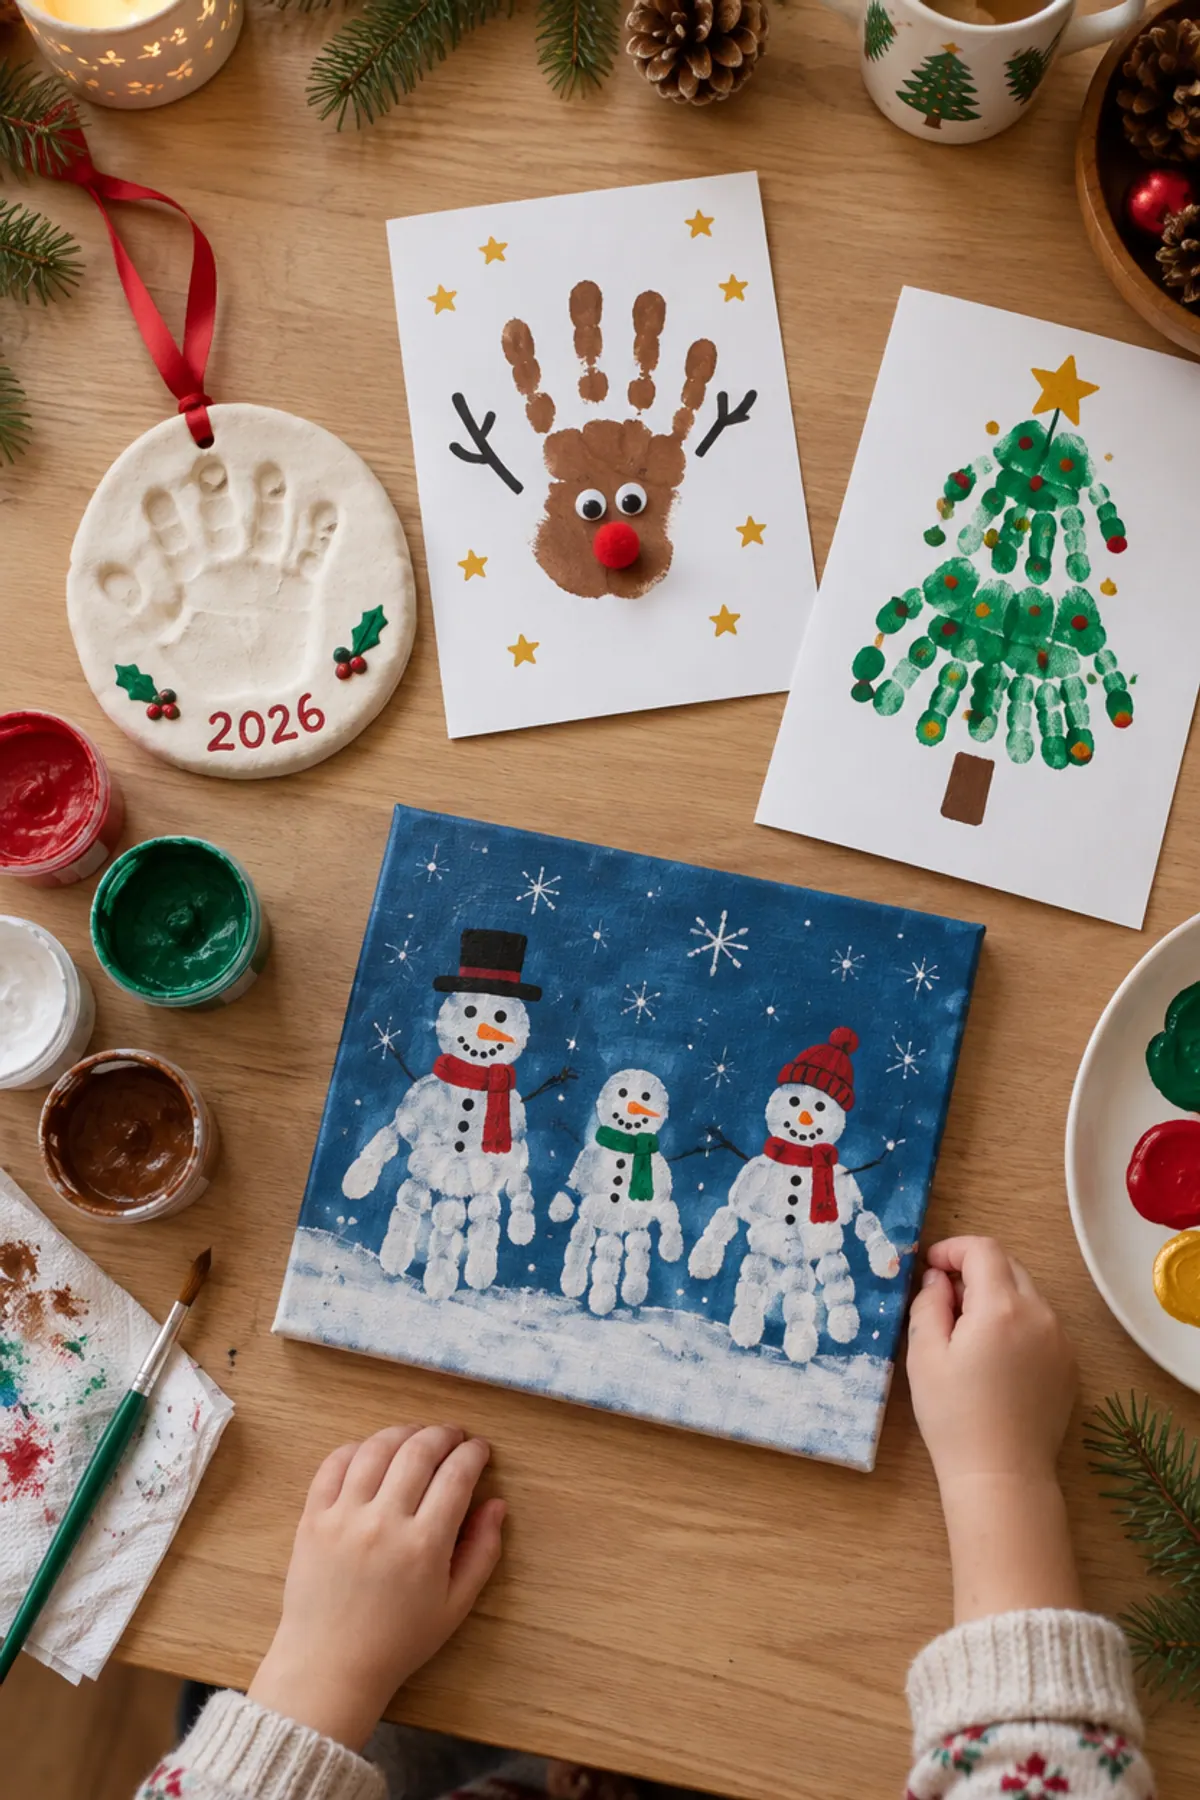
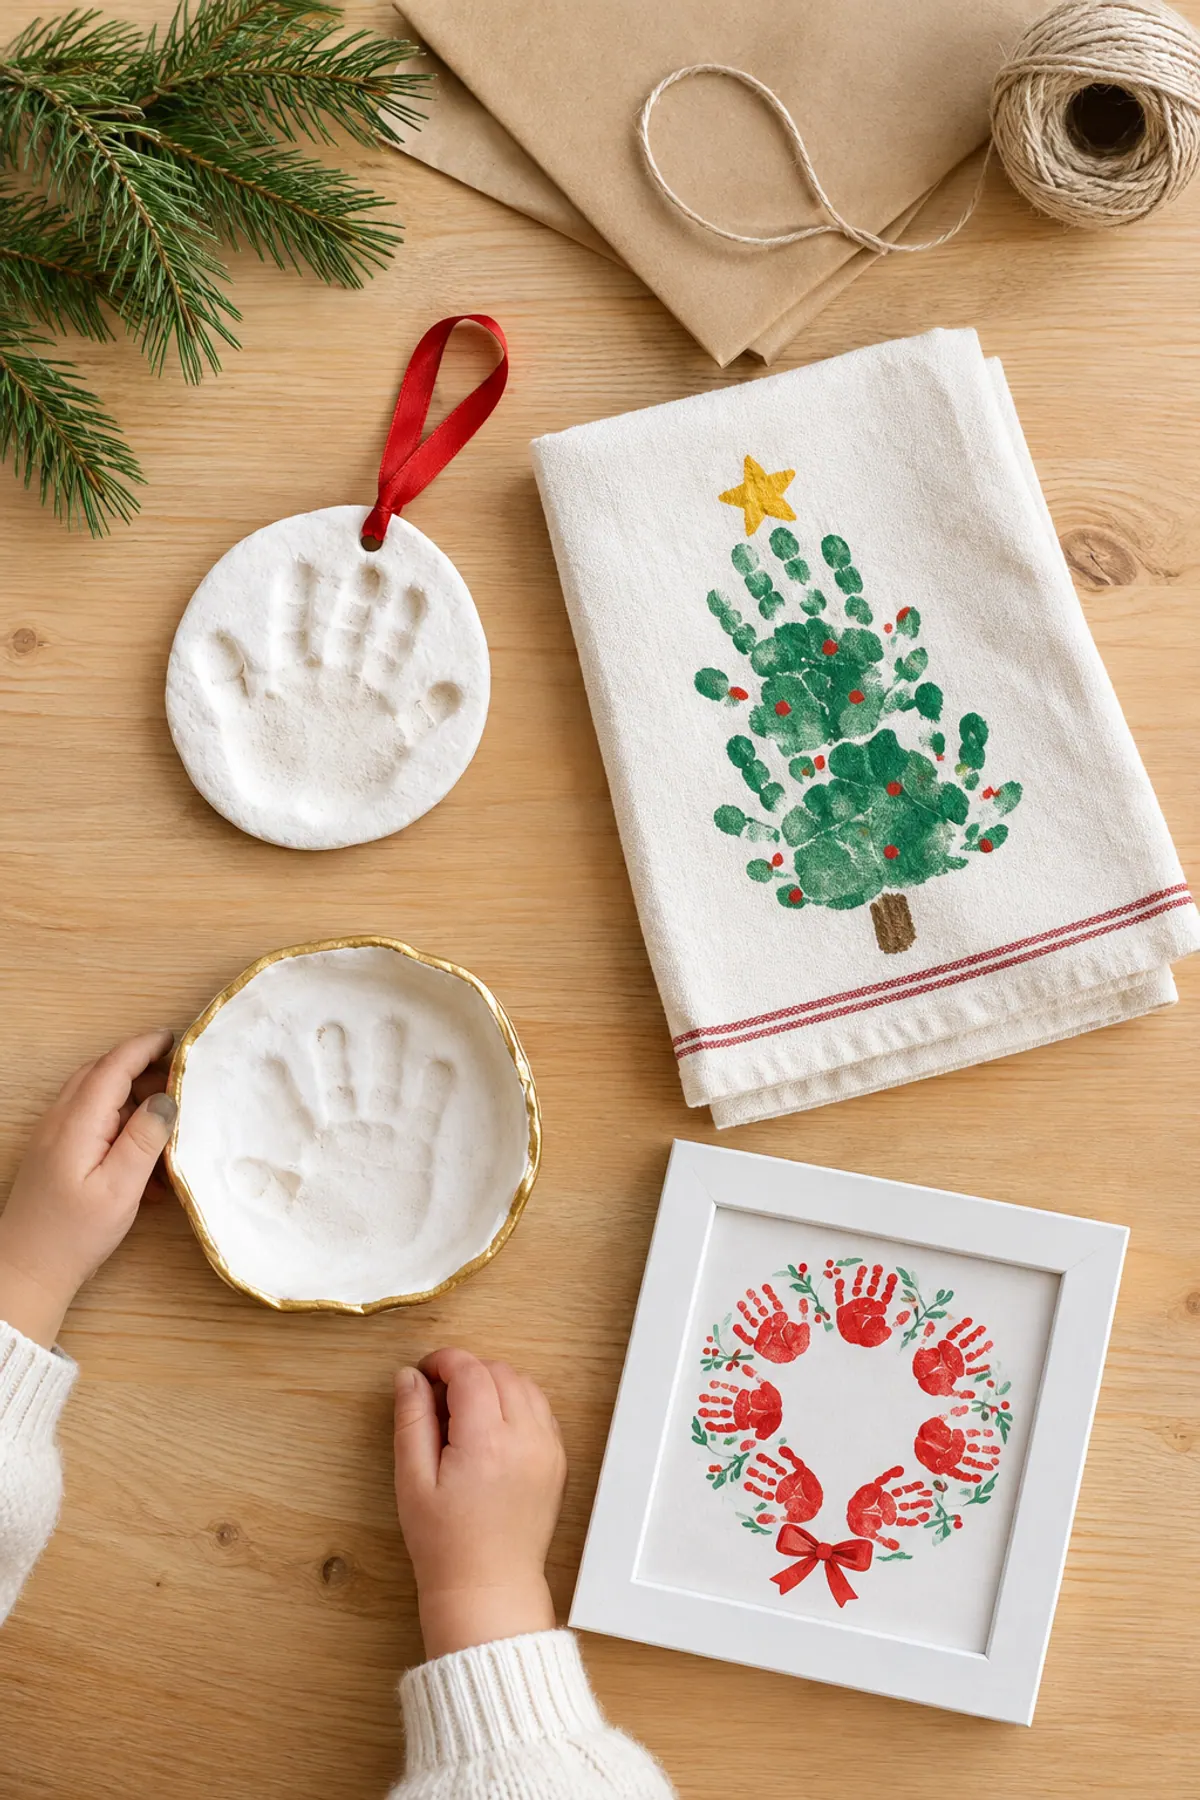
Some links on this page are Amazon links, and we may earn a small commission if you buy. Prices are rough examples. All activities need an adult nearby. Buttons, small beads and rubber stamps are choking hazards for children under 3, so the youngest should use stamping and stickers only. Looking for handprint cards? See our handprint Christmas crafts.
| Card | Ages | Prep | Mess |
|---|---|---|---|
| Sponge stamp tree | 2 and up | 5 minutes | High |
| Torn paper tree | 3 and up | 5 minutes | Low |
| Q-tip lights | 3 and up | 5 minutes | Medium |
| Crayon resist message | 4 and up | 5 minutes | Medium |
| Pop-up tree | 5 and up | 10 minutes | Low |
| Button tree | 5 and up | 5 minutes | Low |
What You Need for Christmas Cards Kids Can Make
Basic card kit
Cards for Ages 2 and 3: Sponge Stamp Tree
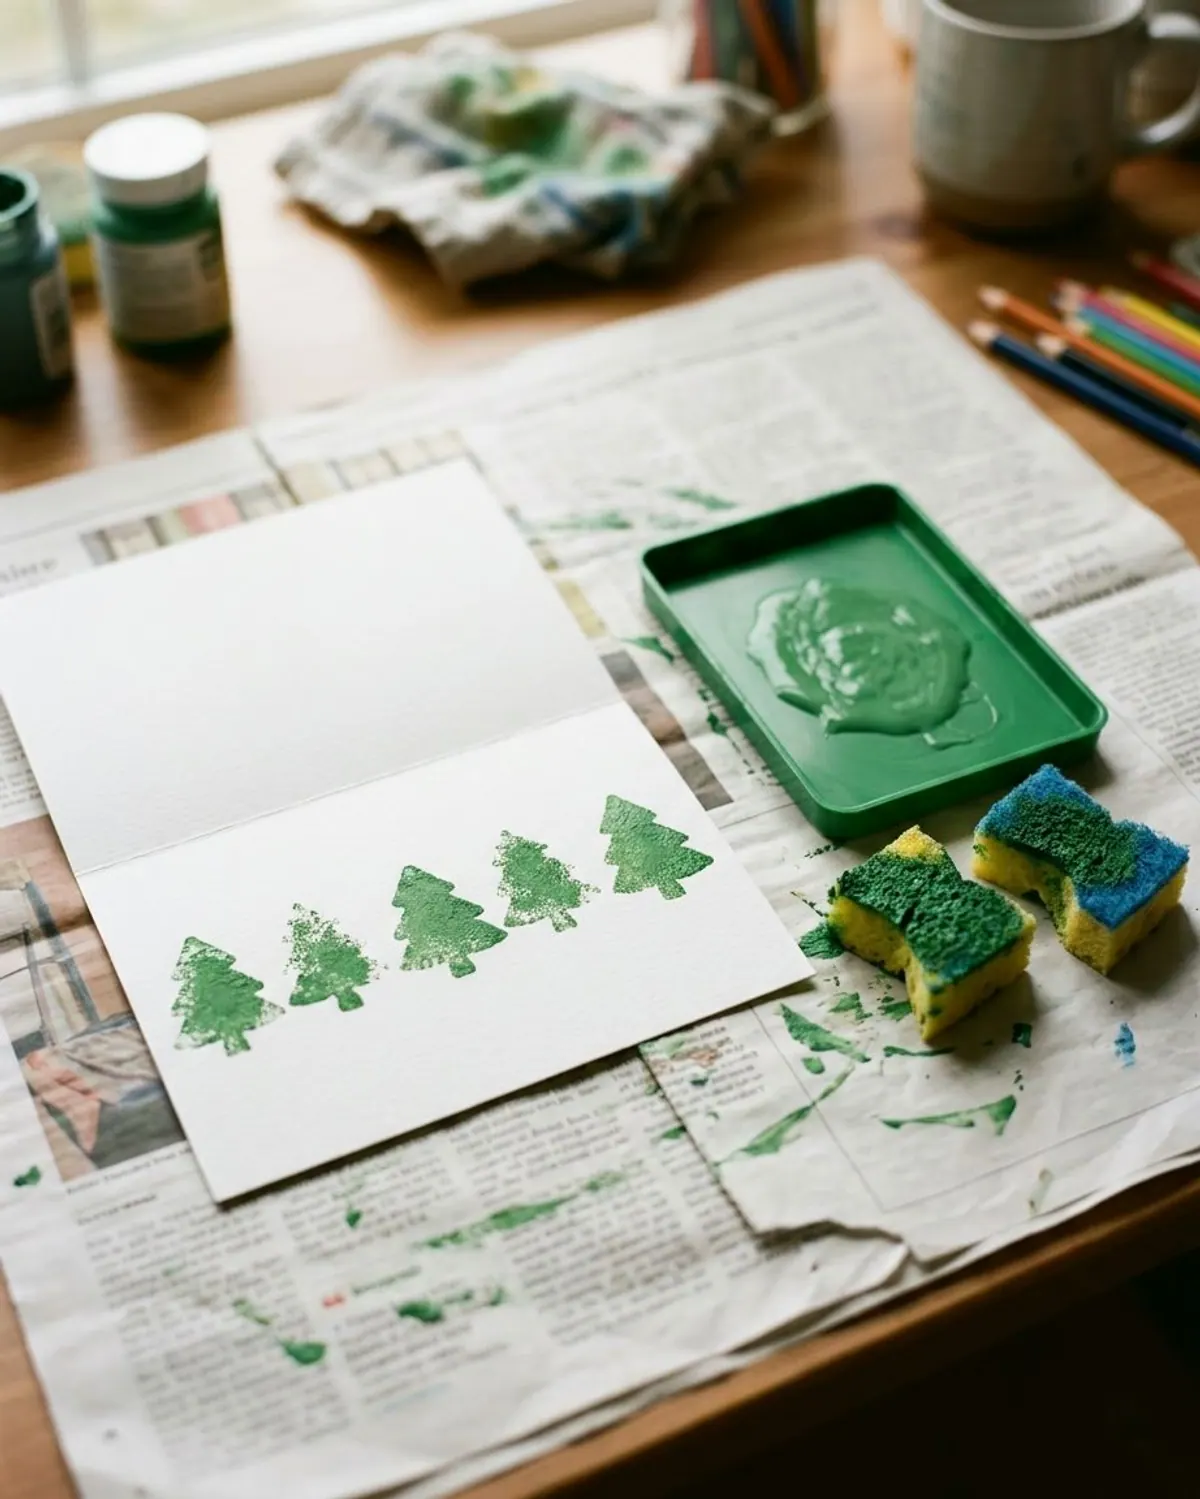
Ages: 2 and up (an adult stays with toddlers)
Prep: 5 minutes
Mess: High
Supplies: folded white card, washable green paint, cut kitchen sponge triangles, a paper plate, newspaper
Safety: use washable non-toxic paint, keep it away from mouths and wipe hands right away.
-
Step 1: Cut the sponge
Cut a dry kitchen sponge into a triangle and a smaller square. Squeeze it a little so it grips.
-
Step 2: Dab the paint
Pour a little green paint on a paper plate and press the sponge in.
-
Step 3: Stamp the tree
Press the triangle on the card front, stack a second one under it and add a square trunk.
-
Step 4: Dry flat
Let it dry about 30 minutes, then add a yellow star with a marker.
Washable paint for stamp cards
-
Washable kids paint
Typically $8 to $15
Safe for little hands and wipes up.
Check price on Amazon for Washable kids paint -
Cardstock, folded cards and envelopes
Typically $8 to $14
Ready-made folds save prep.
Check price on Amazon for Cardstock, folded cards and envelopes
Cards for Ages 3 and Up: Torn Paper and Q-tip Lights
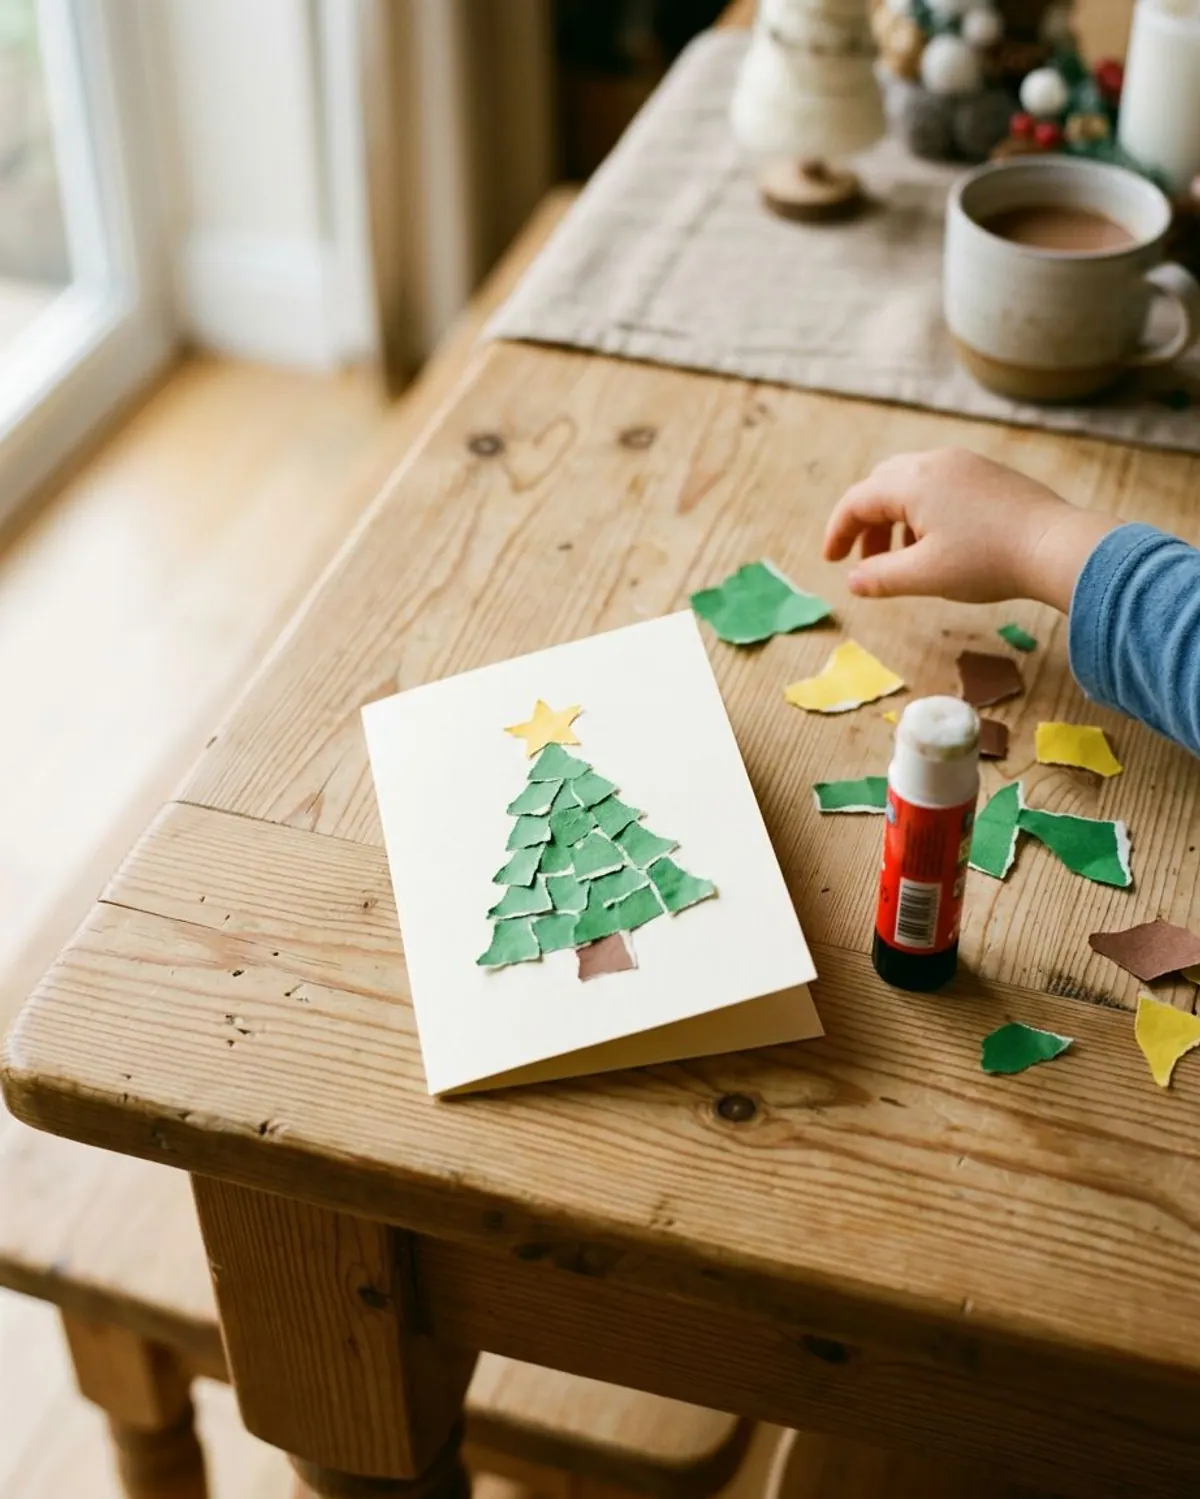
Ages: 3 and up
Prep: 5 minutes
Mess: Low
Supplies: cream folded card, green paper, glue stick, yellow paper star
Safety: an adult cuts the star, and glue sticks only. Keep scraps off the floor.
-
Step 1: Tear the green
Tear green paper into thumb-sized pieces.
-
Step 2: Glue it on
Rub the glue stick on the card and press the pieces into a tree shape.
-
Step 3: Add a star
Press the yellow star on top and let it set.
Q-tip Painted Christmas Lights Card
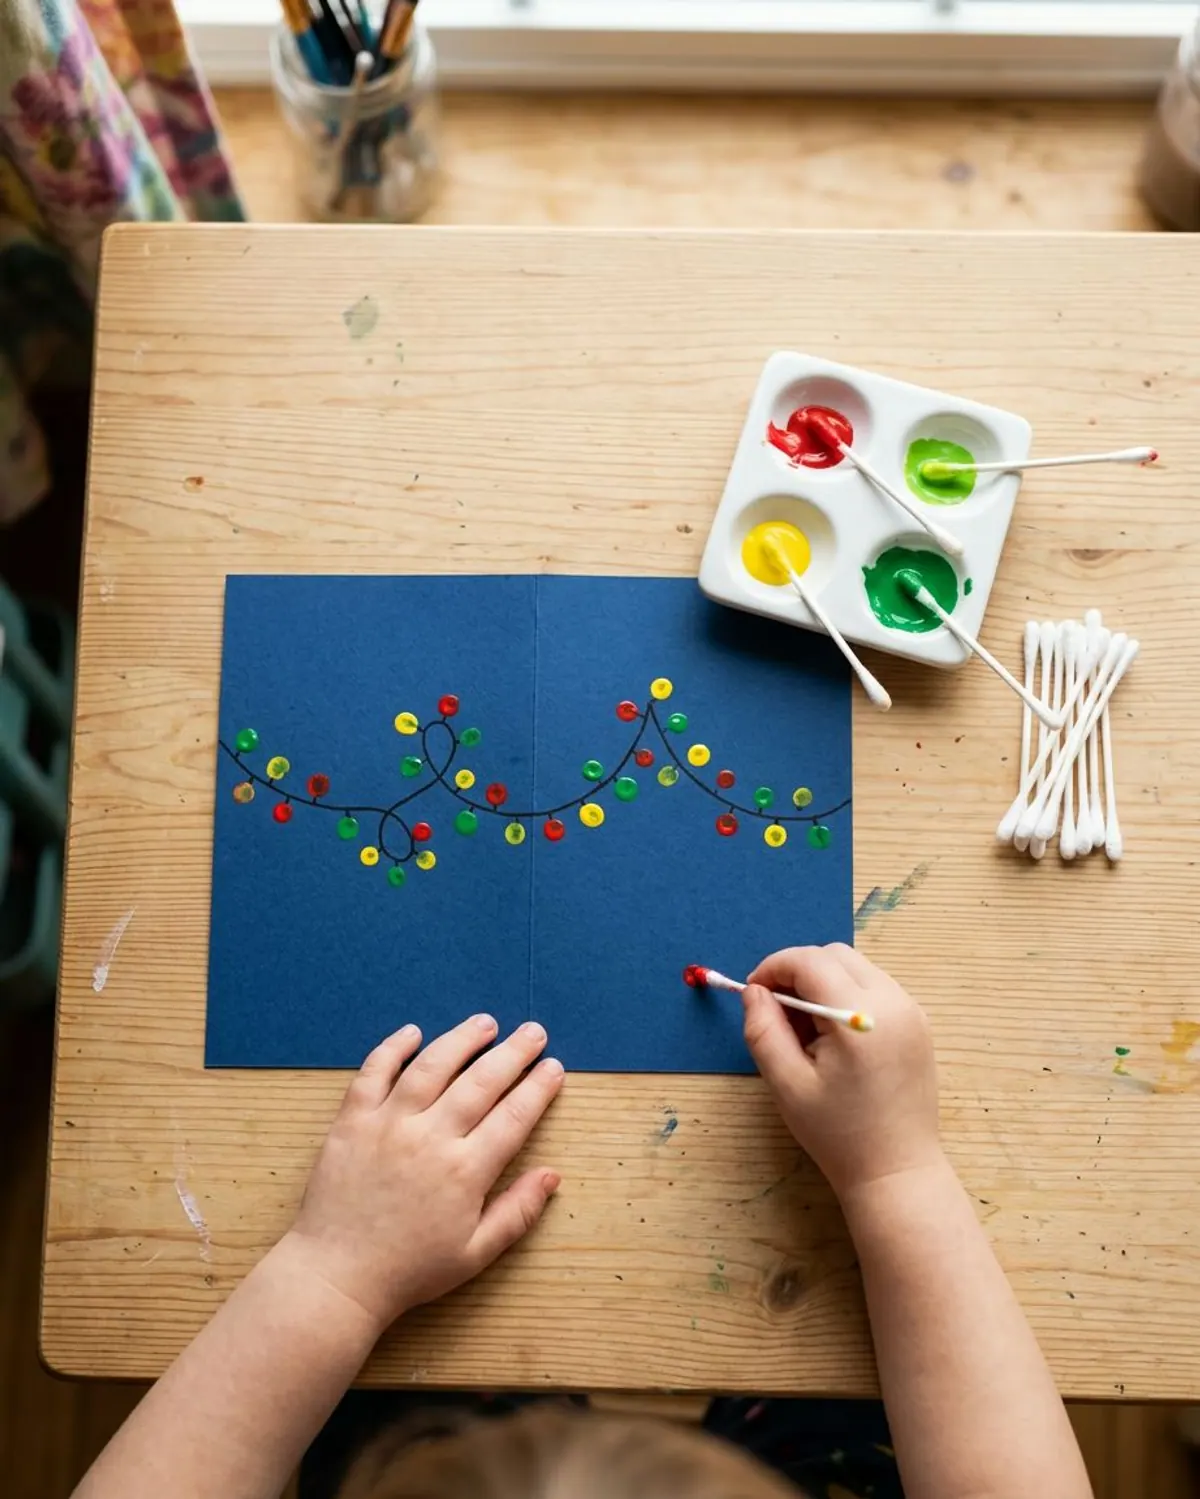
Ages: 3 and up
Prep: 5 minutes
Mess: Medium
Supplies: dark blue folded card, white crayon or chalk, washable red, yellow and green paint, Q-tips
Safety: use washable paint, supervise Q-tips and keep them away from ears and mouths.
-
Step 1: Draw the string
Draw a wavy line across the card with a white crayon.
-
Step 2: Dot the lights
Dip a Q-tip in paint and dot lights along the line.
-
Step 3: Dry flat
Let it dry about 30 minutes before closing.
Cards for Ages 4 and Up: Crayon Resist and Pop-Up
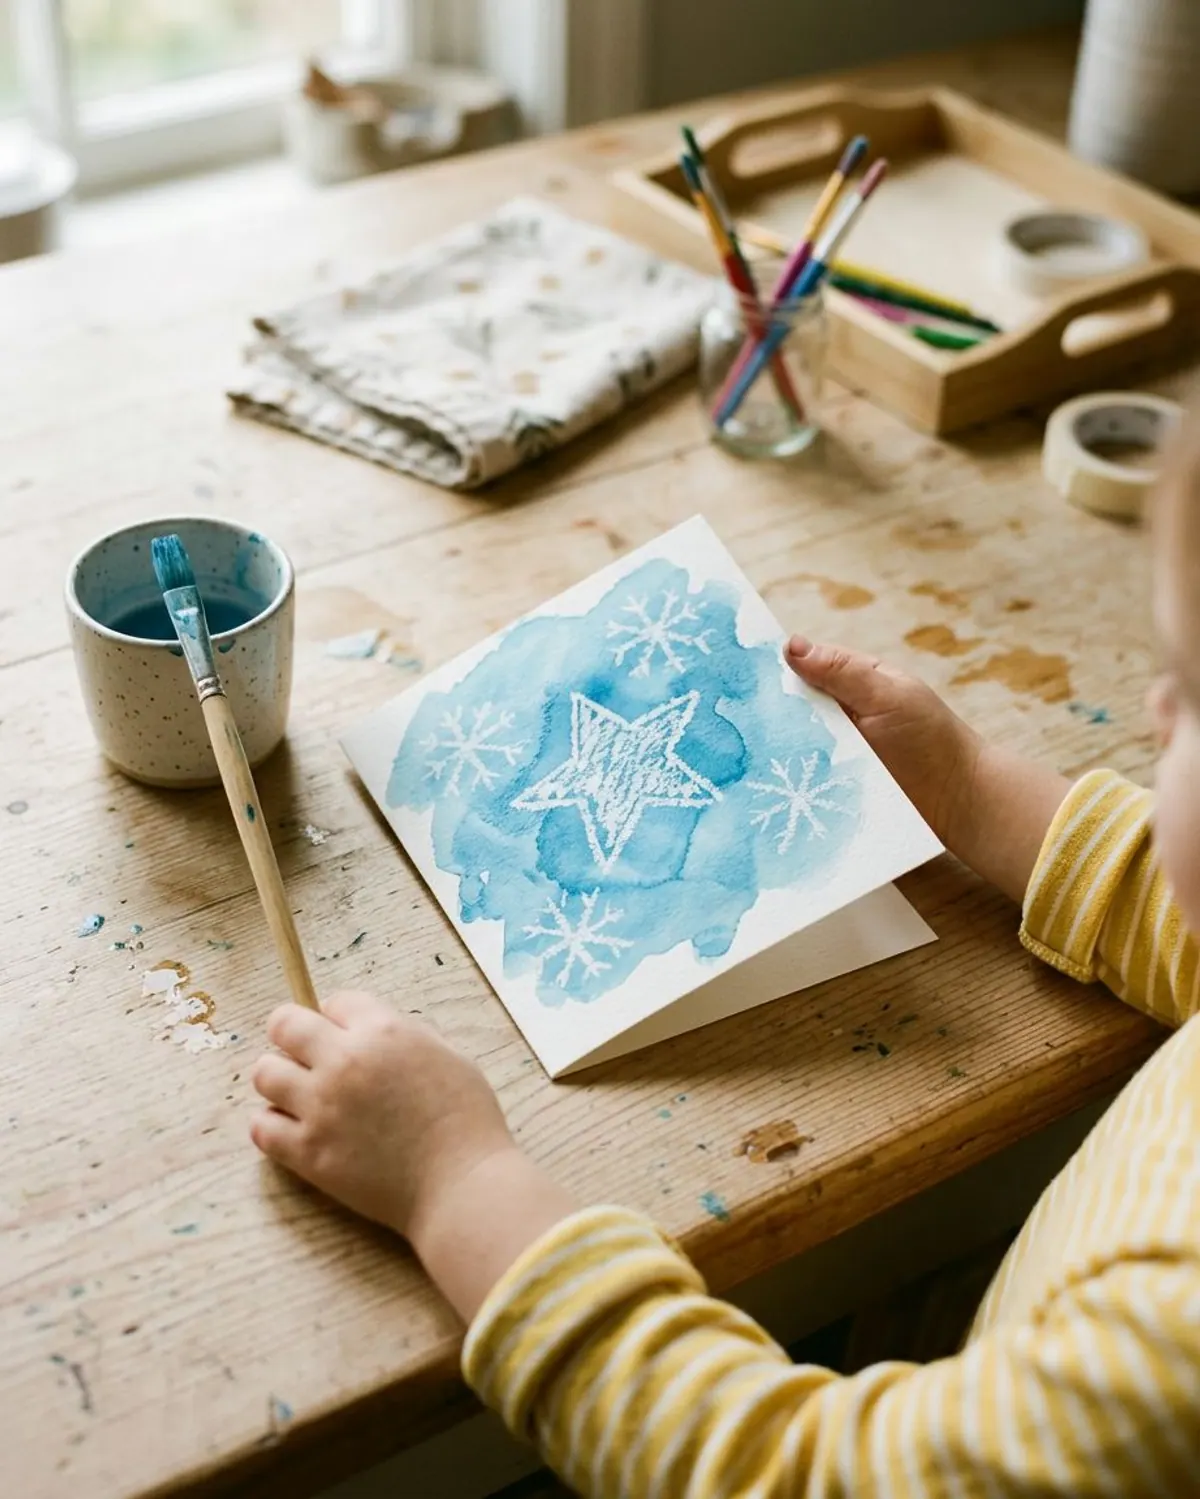
Ages: 4 and up
Prep: 5 minutes
Mess: Medium
Supplies: white card, white crayon, watery blue paint, a brush
Safety: use washable paint, keep brushes away from faces and wash hands afterward.
-
Step 1: Draw in white
Draw a star and snowflakes with a white crayon, pressing hard.
-
Step 2: Paint over it
Paint thin blue paint across the card. The crayon shapes pop out.
-
Step 3: Let it dry
Dry flat, then write the message inside.
Pop-Up Christmas Tree Card
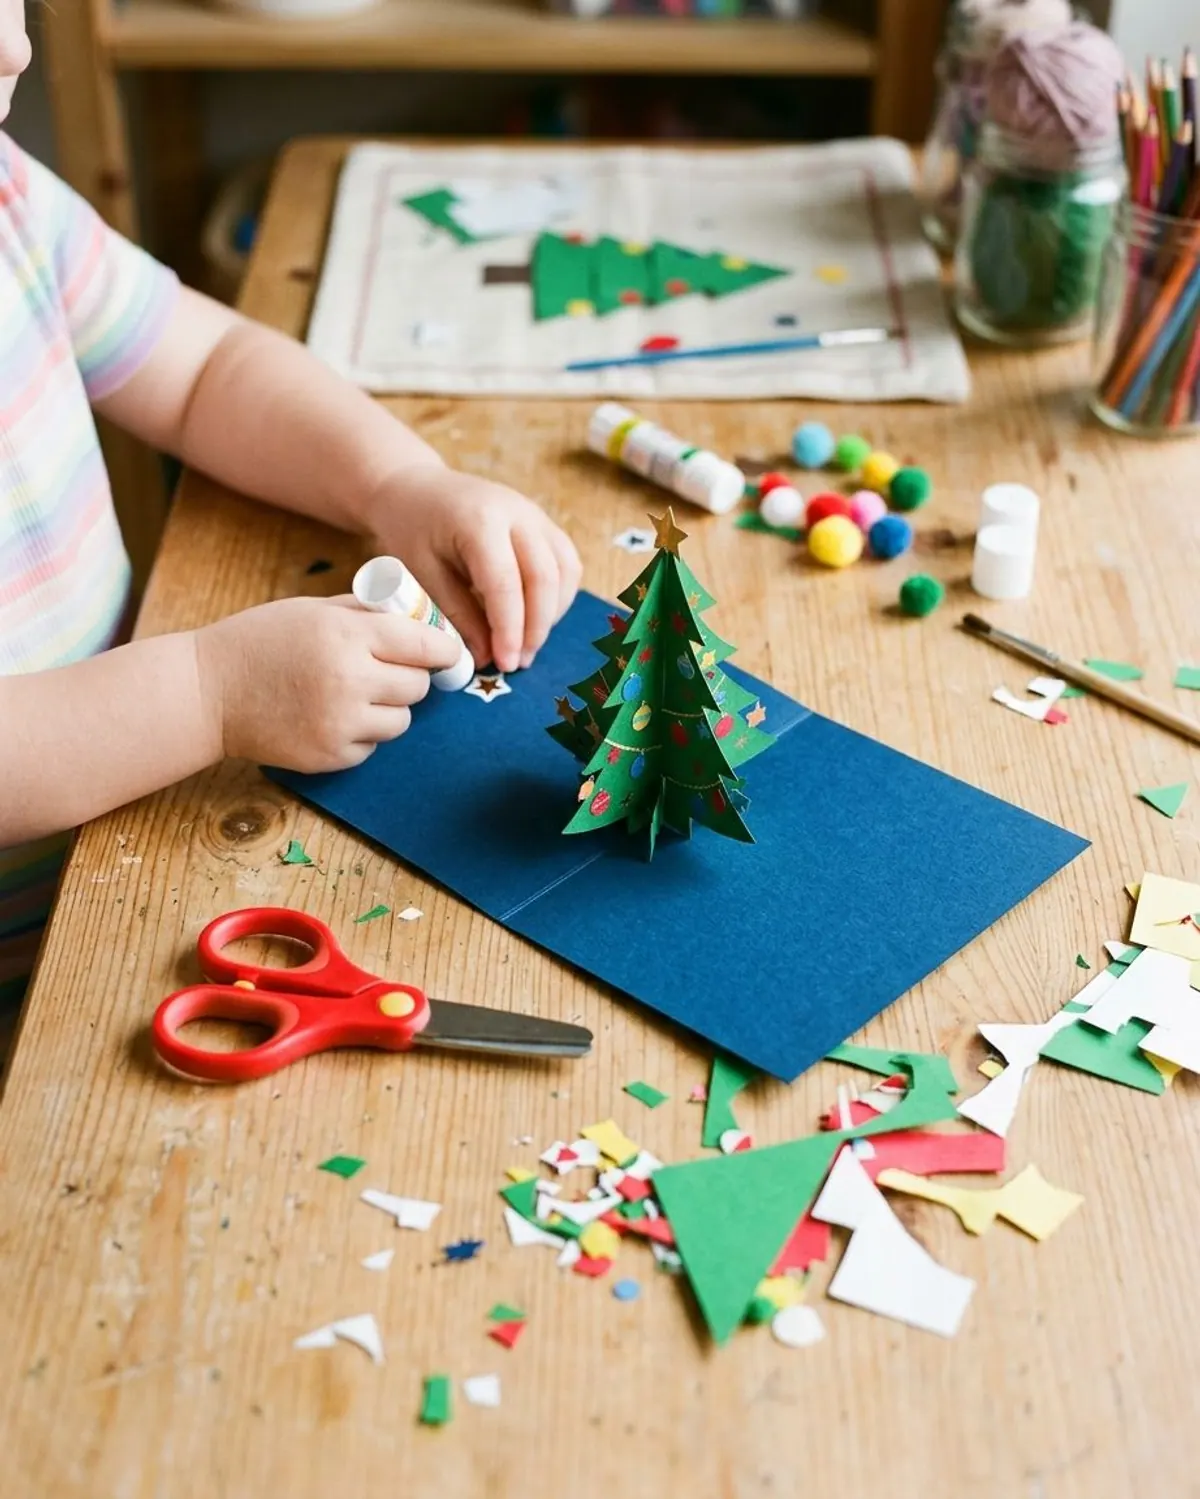
Ages: 5 and up (an adult makes the first cut)
Prep: 10 minutes
Mess: Low
Supplies: folded card, green paper, blunt scissors, glue stick
Safety: blunt scissors only, and an adult cuts anything thick.
-
Step 1: Fold the tree
Fold a green paper tree shape in half.
-
Step 2: Glue the fold
Glue only the back half of the fold to the inside of the card.
-
Step 3: Close and check
Close the card. The tree should pop up when it opens.
Button Tree Card
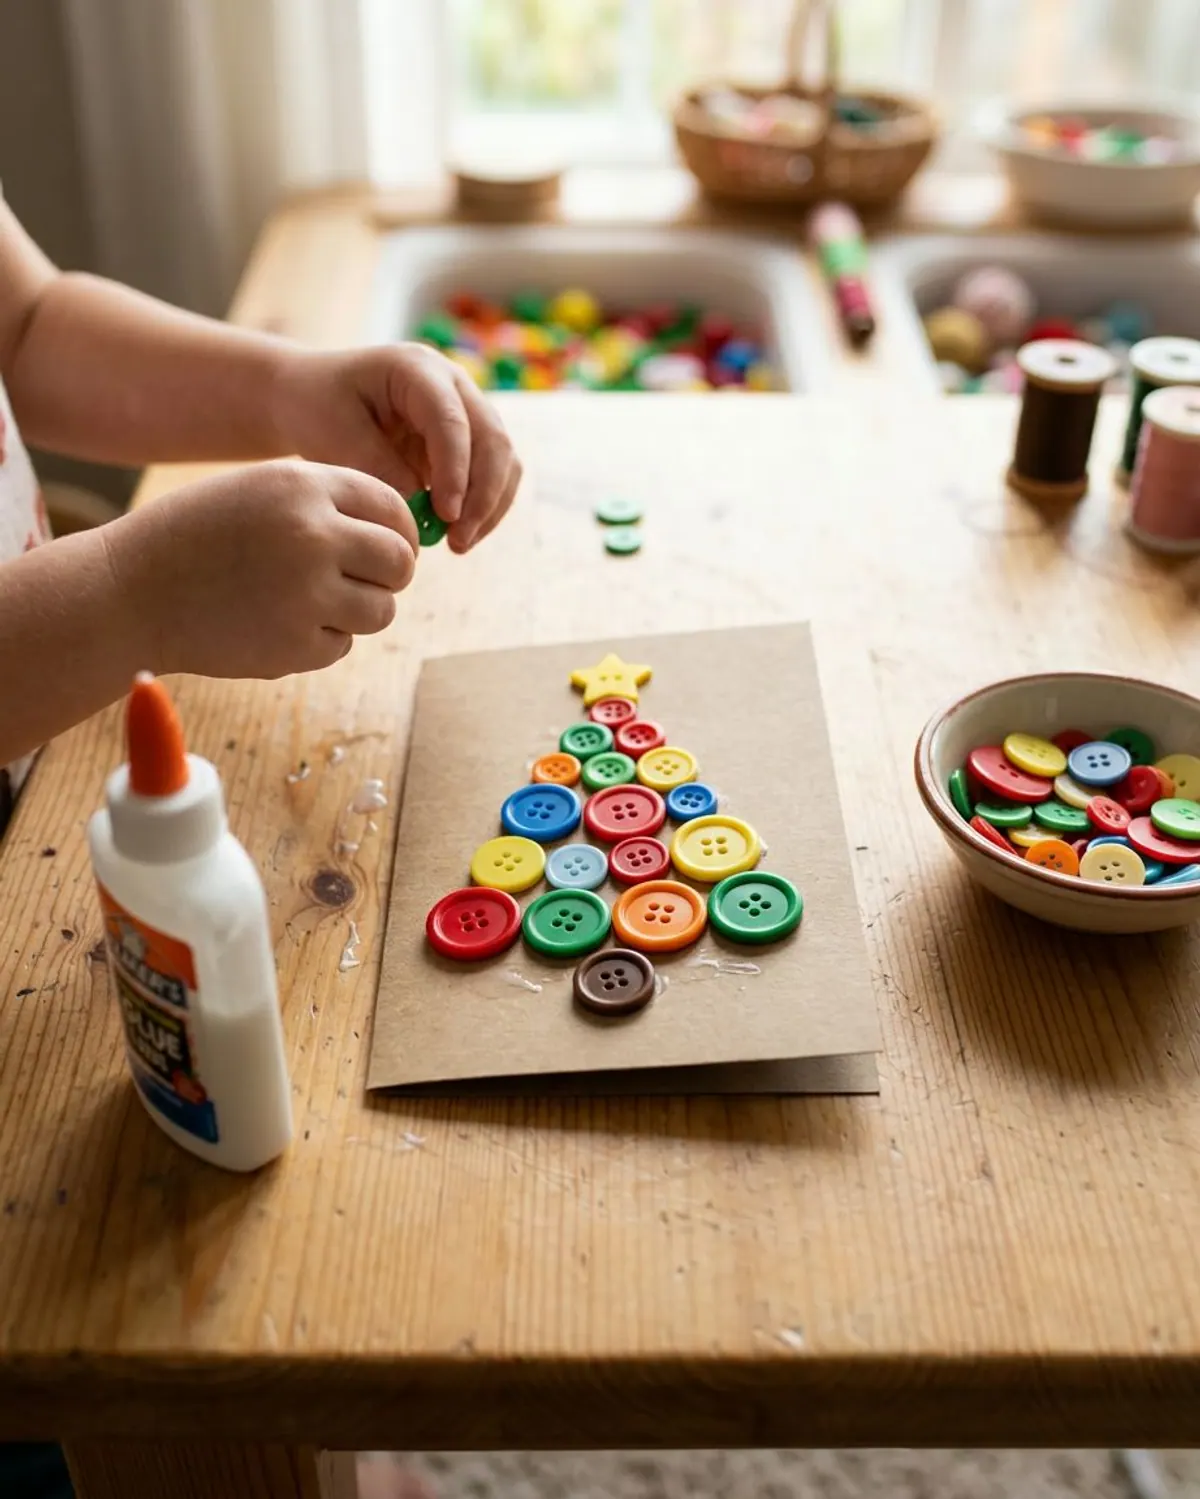
Ages: 5 and up (not for children under 3)
Prep: 5 minutes
Mess: Low
Supplies: kraft folded card, large flat buttons, white glue or glue dots, a marker
Safety: buttons are a choking hazard for children under 3. Count them before and after so none go missing. Supervise closely.
-
Step 1: Plan the tree
Lay buttons in a triangle on the card first without gluing.
-
Step 2: Glue each one
Dot glue under each button and press it down.
-
Step 3: Dry before closing
Let it dry for an hour before closing.
Common Card Mistakes and Quick Fixes
Paint that is too wet makes cards curl, so use a thin layer. If a card curls, press it under a heavy book after it dries. If glue seeps through cardstock, use less and press longer.
Keep a few mailing facts in mind: check the postal service's size rules if you mail cards, and let paint dry fully before putting a card in an envelope. For more gift ideas, see our toddler Christmas gifts for grandparents.
Supplies for homemade Christmas cards
-
Washable kids paint
Typically $8 to $15
Washable for little hands.
Check price on Amazon for Washable kids paint -
Blank folded cards and envelopes
Typically $8 to $14
Ready-made folds.
Check price on Amazon for Blank folded cards and envelopes -
Q-tips
Typically $2 to $5
Dotting paint lights.
Check price on Amazon for Q-tips -
Large flat buttons
Typically $5 to $10
For the button tree.
Check price on Amazon for Large flat buttons
Frequently asked questions
What Christmas cards can a 2 year old make?
Sponge stamps, sticker trees and big crayon scribbles on a folded card. Keep it to one step, use washable paint and stay with them.
How do I make a Christmas card with kids?
Fold a sheet of cardstock in half, choose one technique such as sponge stamping or torn paper, let the paint or glue dry, then write the message inside.
What paint is safe for kids' Christmas cards?
Use washable, non-toxic paint labeled for kids and keep it away from mouths. Cover the table and wash hands when finished.
How long do homemade Christmas cards take to dry?
Washable paint on cardstock usually dries within about 30 minutes to an hour, and glue sticks dry faster. Do a stamping card first so it can dry while you do the next.
How many cards can kids make in one sitting?
About 4 to 6 for ages 3 to 5, and a few more for older kids. Quality drops after about 20 minutes.
Can toddlers make Christmas cards for grandparents?
Yes. Sponge stamping and sticker trees are quick, and a short handwritten note from you inside makes the card special.
Save it for later
Pin this to your Kids Crafts board so it's there when you need it.
Save to Pinterest