This post contains affiliate links. As an Amazon Associate we earn from qualifying purchases, at no extra cost to you. Read our disclosure.
Safety first: Always supervise little ones, and skip small parts for kids who still put things in their mouths. Please read our play safety notes before you start.
Key takeaways
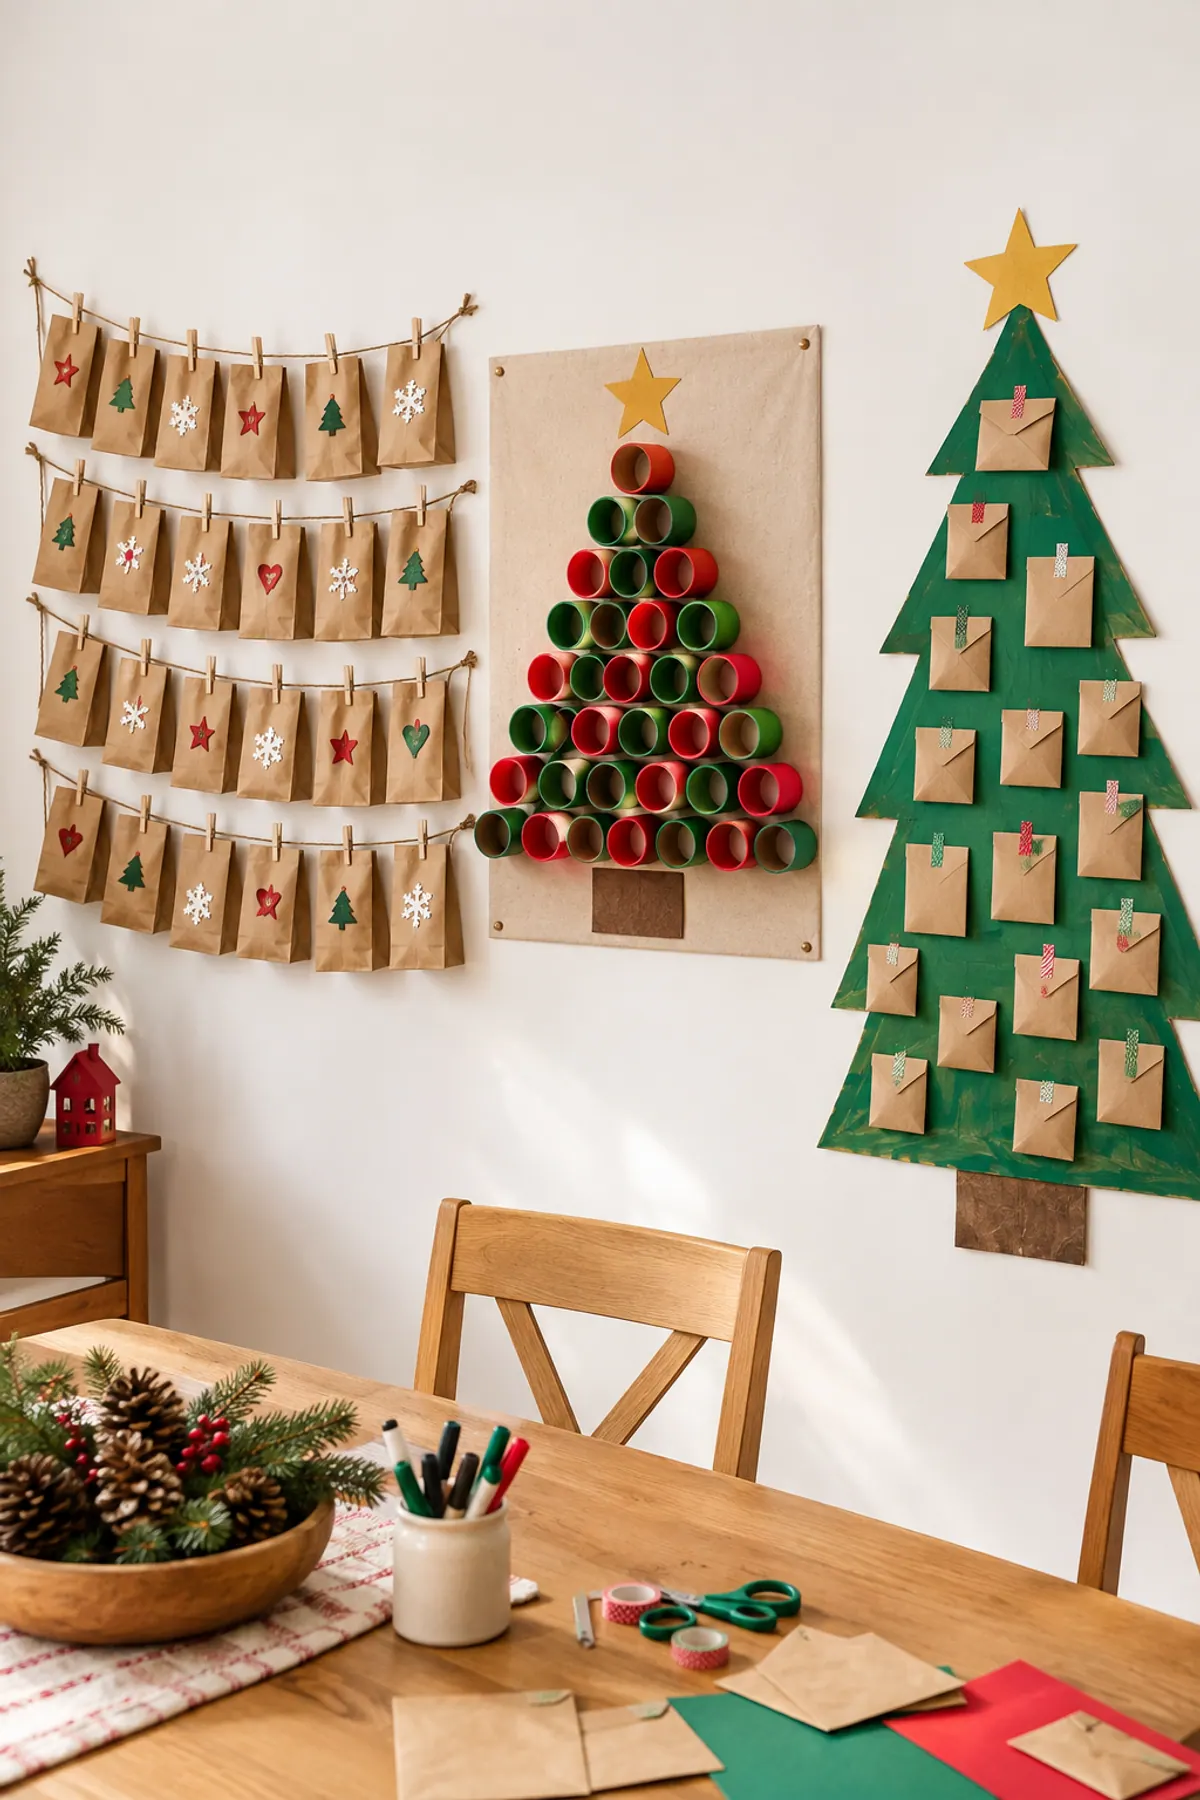
- Paper bag calendar: about 30 minutes, the fastest and the easiest for toddlers to help with.
- Toilet roll calendar: about 45 minutes once you've saved 24 rolls, and it stands on a shelf.
- Cardboard tree calendar: about 1 hour, the biggest and the one kids can paint themselves.
- Fill them with activity slips, not candy, and hang anything with string out of reach of babies and toddlers.
In this post9 sections
- Which DIY Advent Calendar for Kids Should You Make?
- 1. Paper Bag Advent Calendar (About 30 Minutes)
- 2. Toilet Roll Advent Calendar (About 45 Minutes)
- 3. Cardboard Tree Advent Calendar (About 1 Hour)
- What to Put Inside a DIY Advent Calendar (Activities, Not Candy)
- Mistakes to Avoid
- Easy Variations
- More Christmas Fun for Kids
- FAQ
Which DIY Advent Calendar for Kids Should You Make?
All three hold 24 small slips of paper, one per day from December 1 to Christmas Eve. Pick the one that fits your time, your wall space and how much your kids want to help.
| Calendar | Prep time | Rough cost | Kids can help from | Best for |
|---|---|---|---|---|
| Paper bags on twine | About 30 min | Under $10 | Age 2 (stamping) | Toddlers and busy weeks |
| Toilet roll tree | About 45 min | Under $5 | Age 3 (wrapping) | Shelves and small spaces |
| Cardboard tree | About 1 hour | Under $5 | Age 2 (painting) | Big walls and big kids |
Costs assume you already have tape, scissors and some paint. Prices change, so treat these as examples.
1. Paper Bag Advent Calendar (About 30 Minutes)
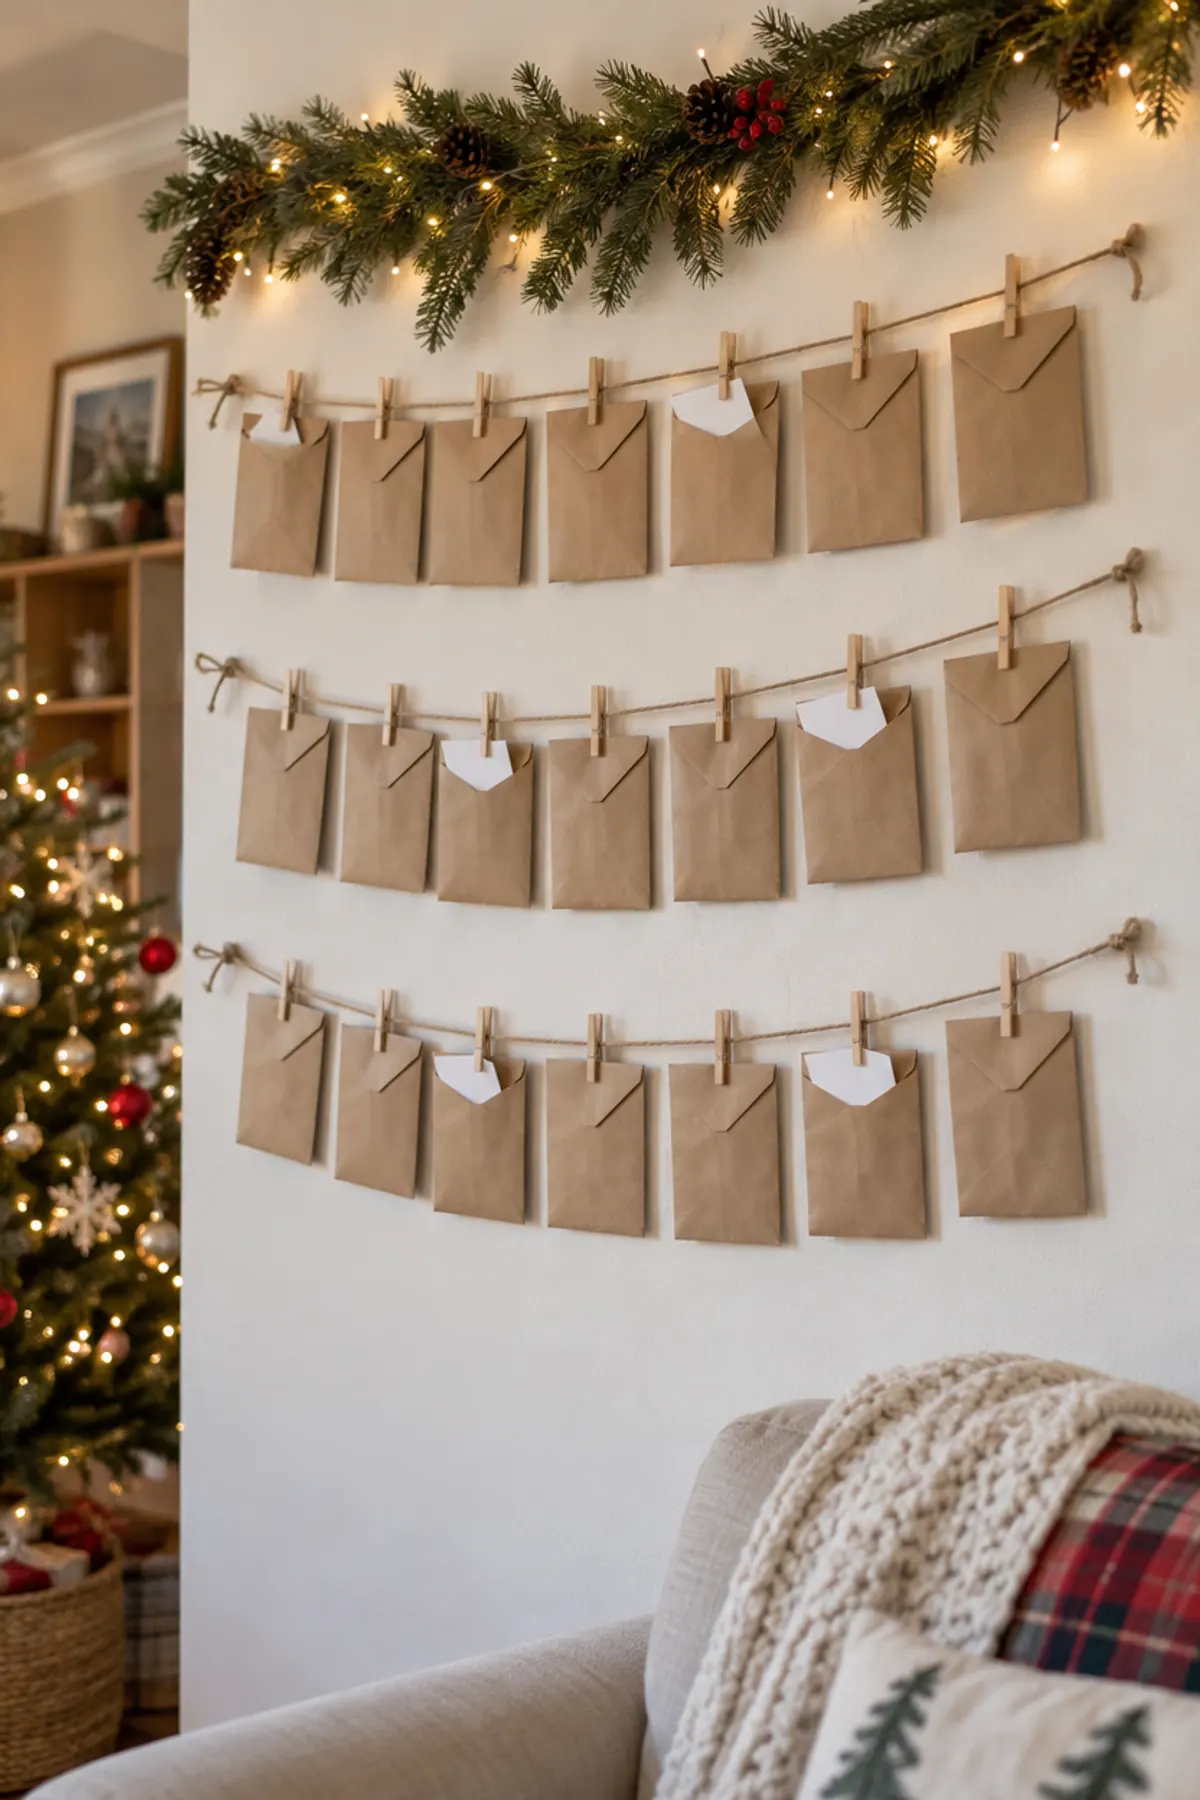
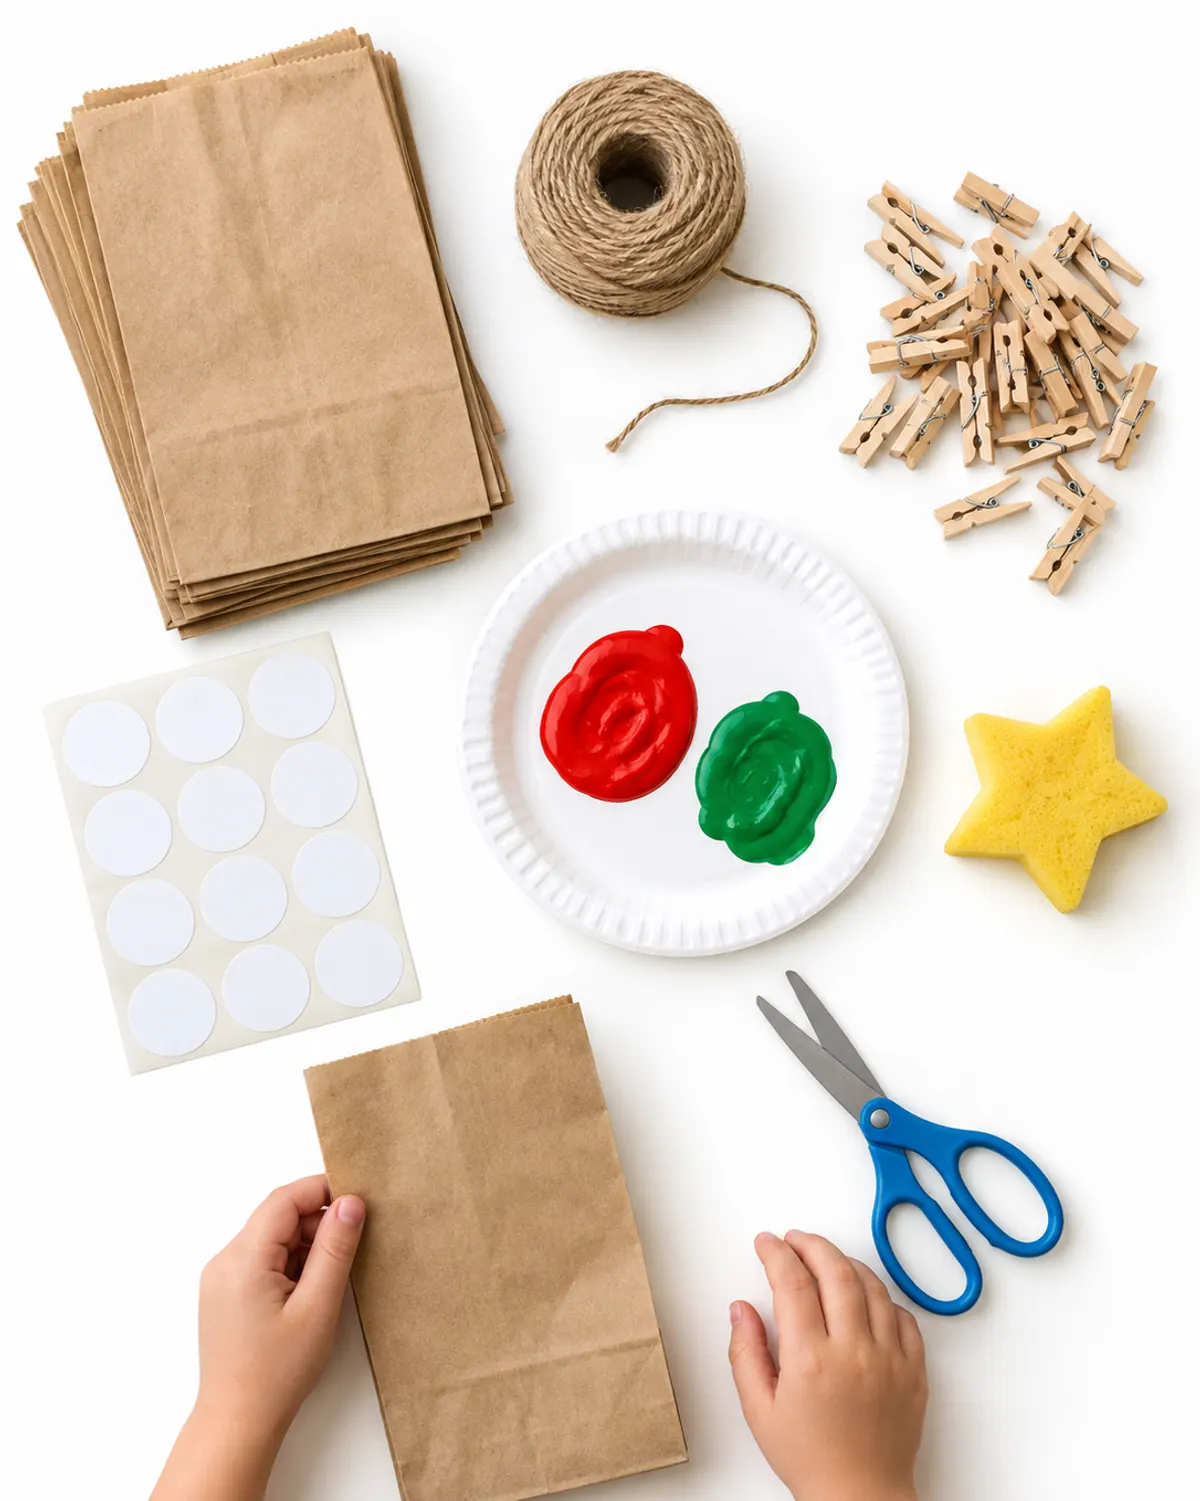
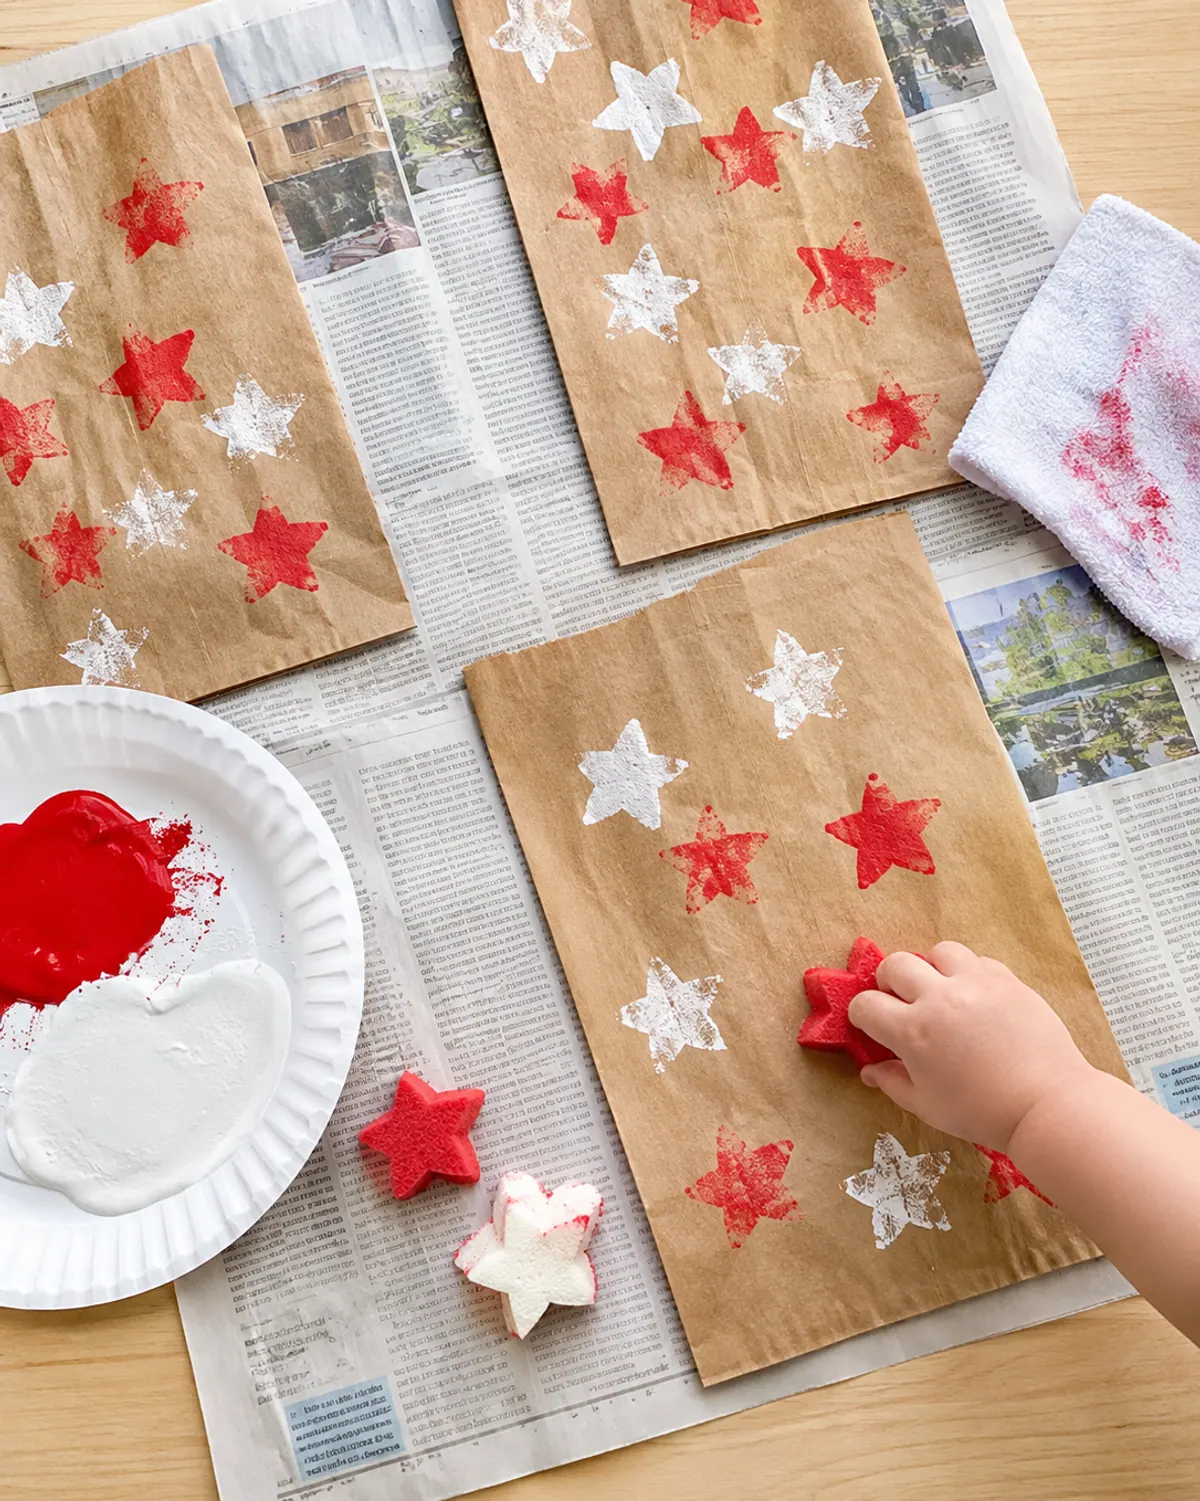
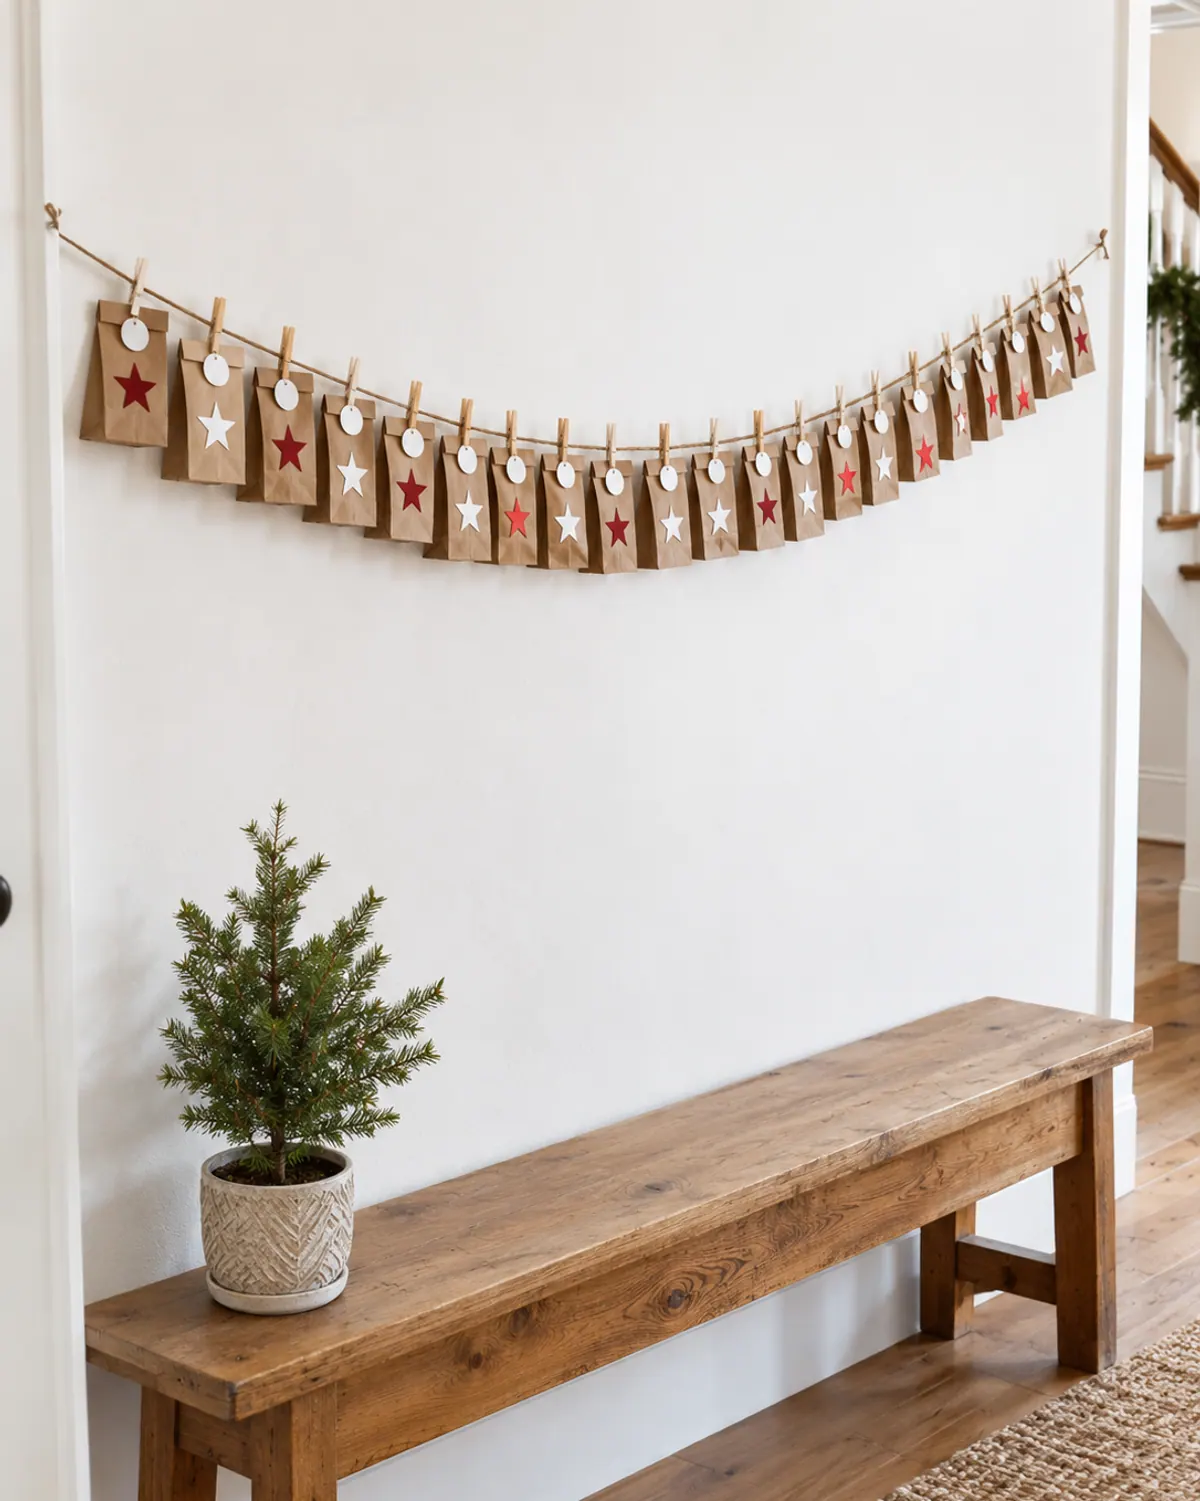
Brown paper lunch bags clipped to a length of twine make the quickest DIY advent calendar. They're cheap, they hold a folded activity slip easily, and toddlers can decorate them with a sponge stamp.
Ages: kids 2 and up help with stamping.
Prep: about 30 minutes, plus drying time.
Mess: medium.
Supplies: 24 small paper lunch bags, jute twine (about 10 feet), 24 mini clothespins, round stickers or tags, washable paint, a kitchen sponge cut into a star.
-
Step 1: Stamp the bags
Flatten the bags on newspaper and let kids stamp stars with a sponge dipped in washable paint. Let them dry for an hour.
-
Step 2: Number them
Add a number 1 to 24 to each bag with a marker, a sticker or a round tag. Older kids can write the numbers themselves.
-
Step 3: Fill and fold
Drop in that day's activity slip, fold the top over twice and clip it.
-
Step 4: Hang the line
Tie the twine between two hooks or across a mantel and clip the bags on in order. Hang it high enough that babies and toddlers can't reach the string.
2. Toilet Roll Advent Calendar (About 45 Minutes)
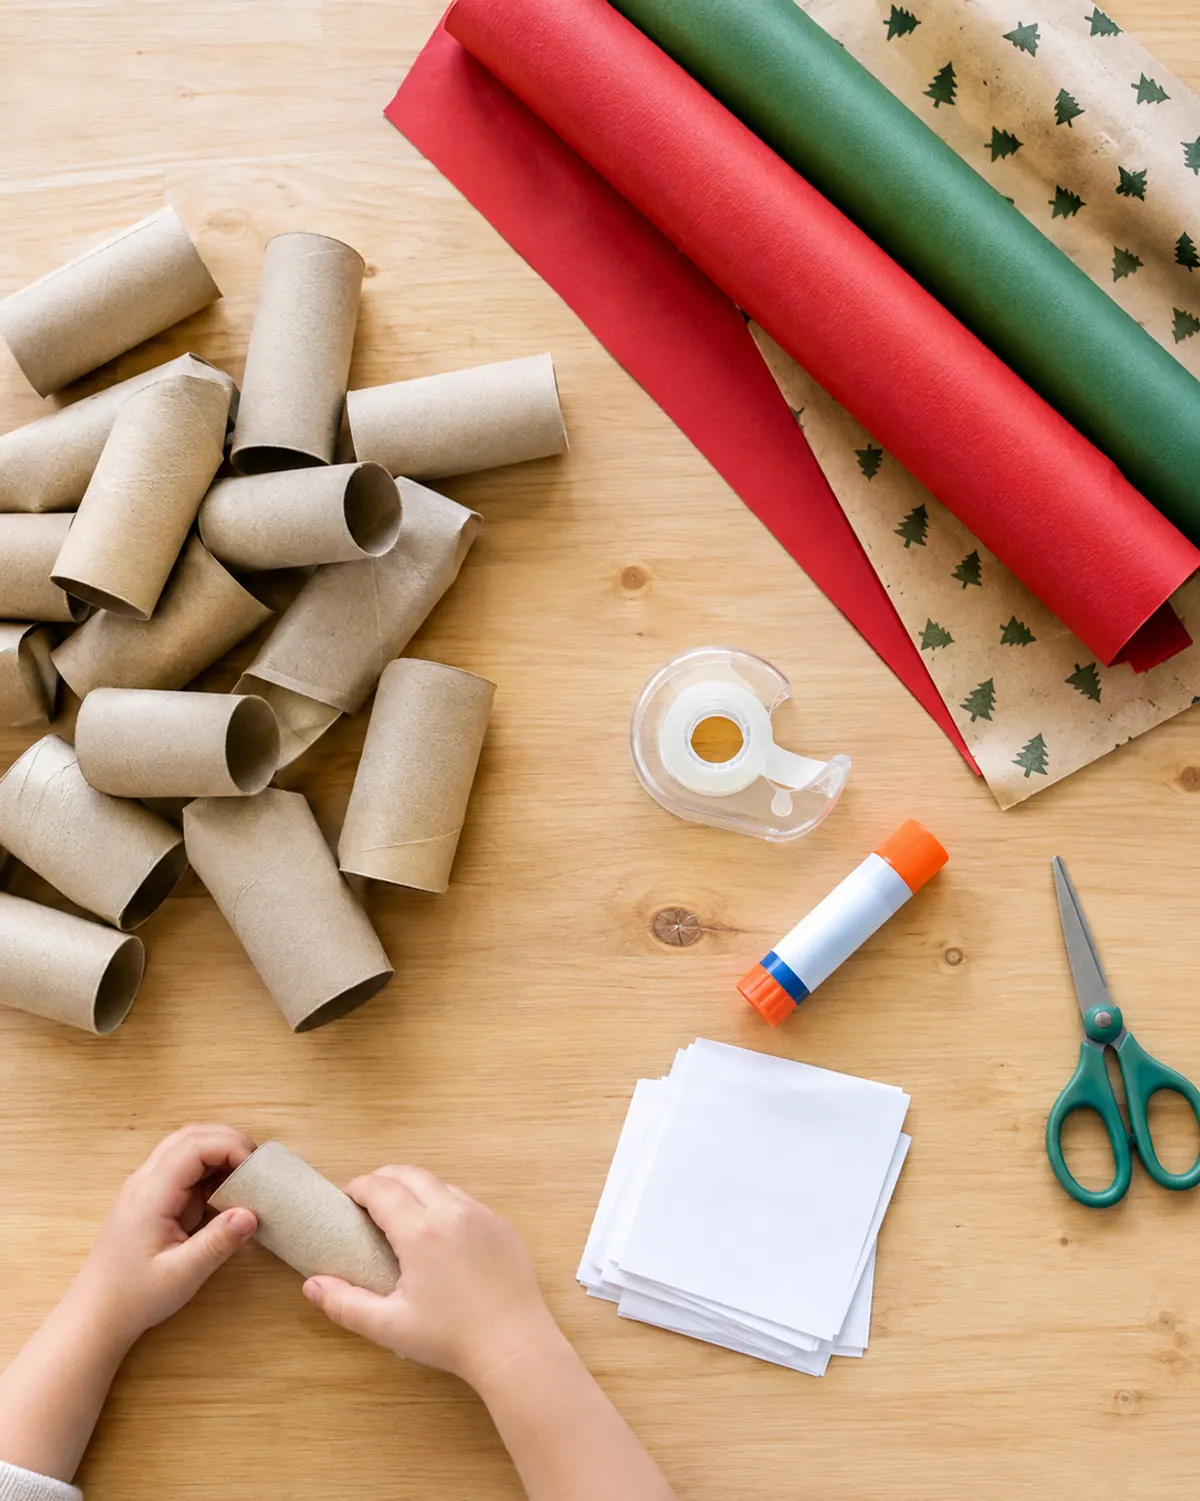
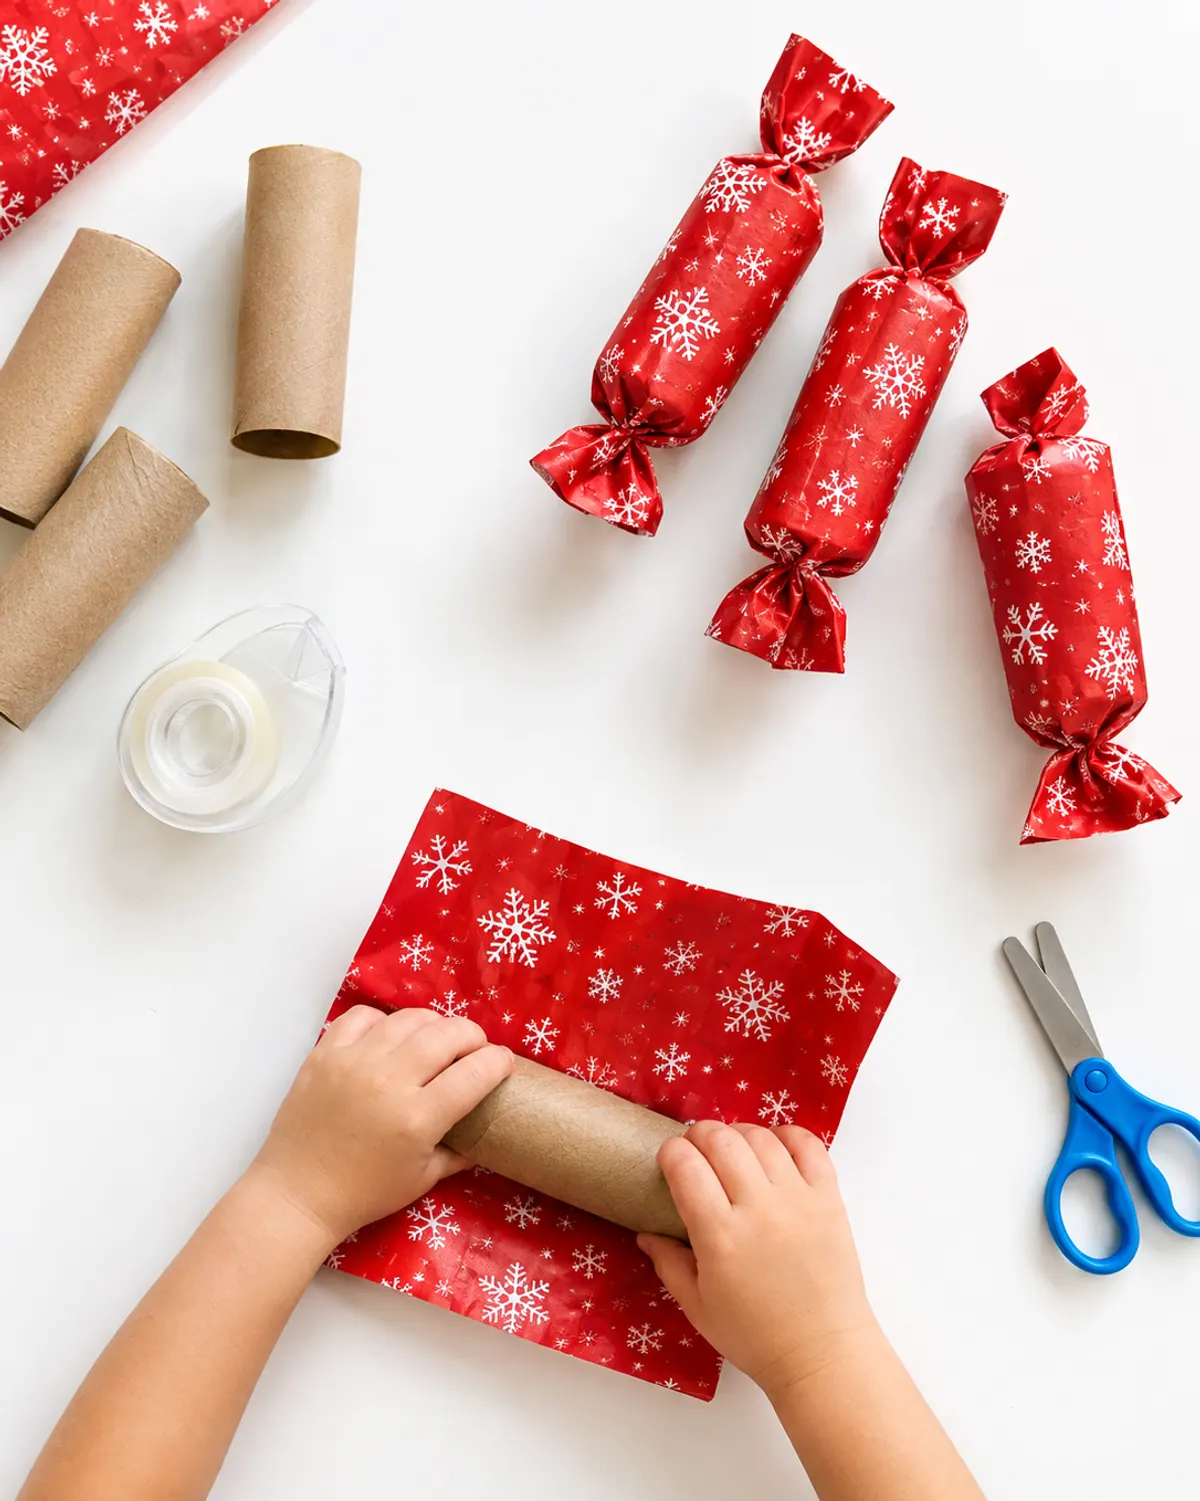
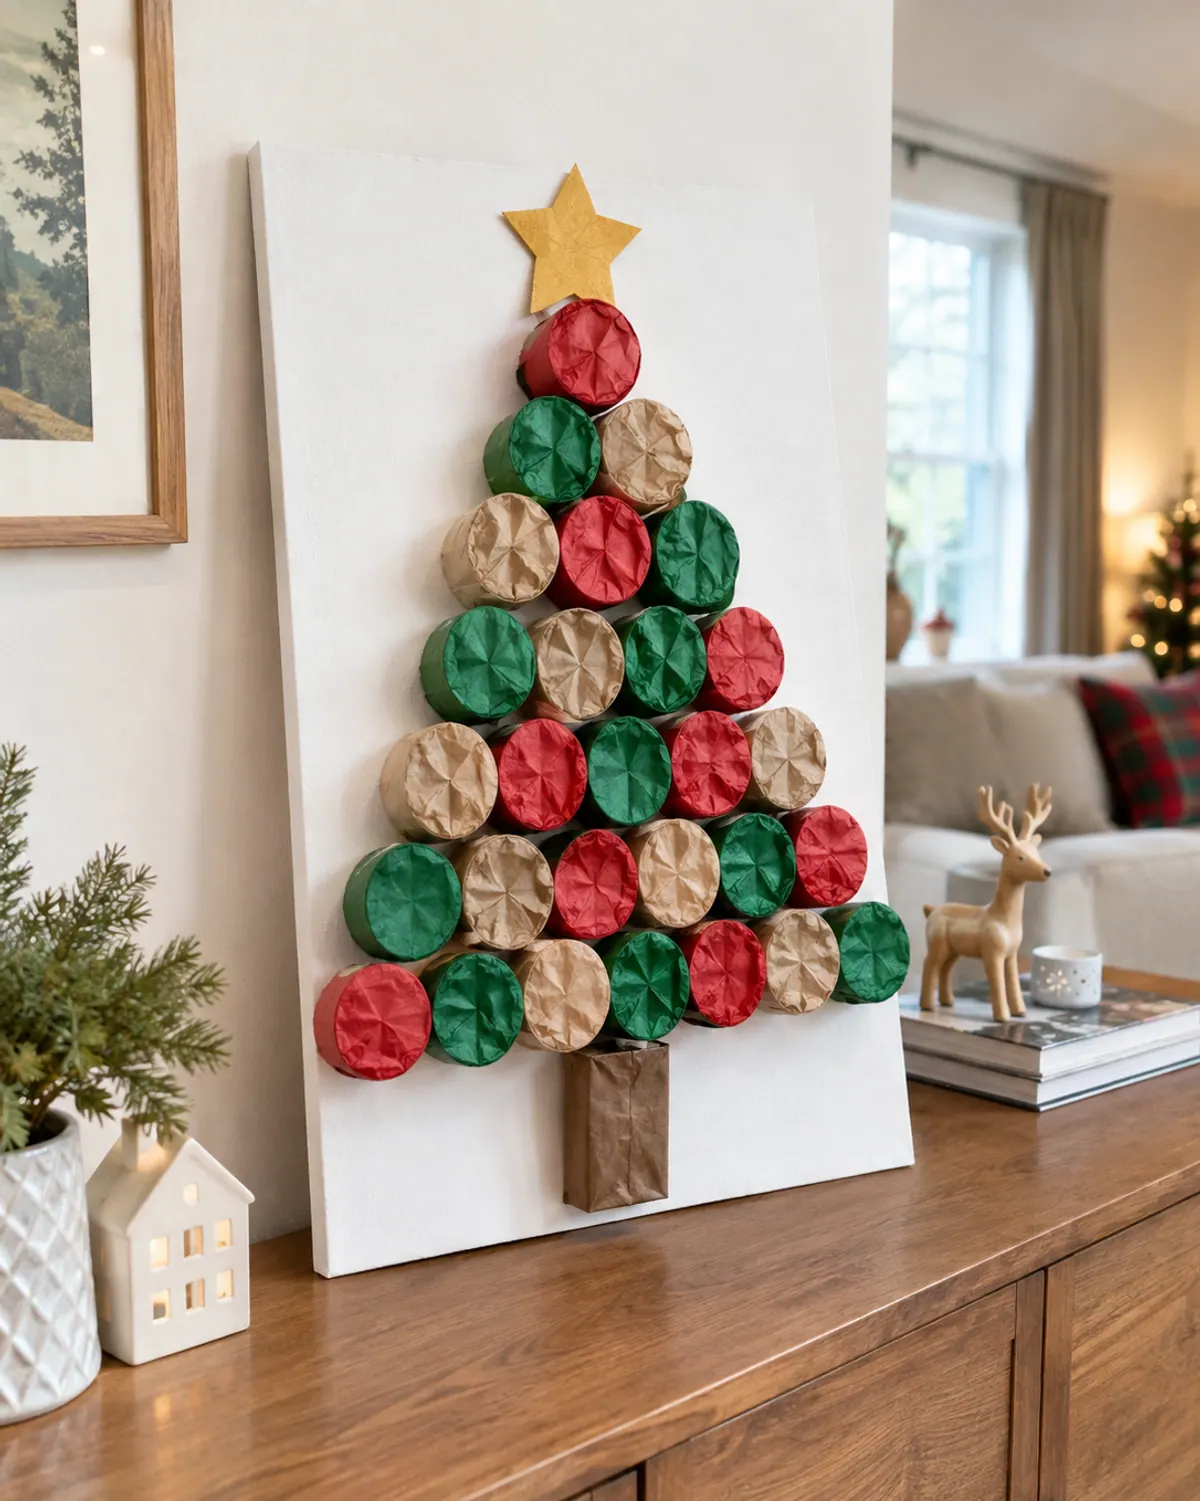
Start saving cardboard rolls in late October and you'll have 24 by December. Wrapped in paper with the ends tucked in, they look like little crackers and stack into a tree on a board or shelf.
Ages: kids 3 and up help with wrapping and tucking in ends.
Prep: about 45 minutes.
Mess: low.
Supplies: 24 cardboard toilet paper rolls, wrapping paper scraps, tape, glue stick, a foam board or a large piece of cardboard, tissue paper.
-
Step 1: Cut the paper
Cut squares of wrapping paper a little longer than each roll and wide enough to wrap around once.
-
Step 2: Wrap each roll
Kids roll the tube inside the paper and tape the seam. Fold one end closed like a gift.
-
Step 3: Fill and close
Slide in the activity slip, then cover the open end with a circle of tissue paper so kids can poke through it each day.
-
Step 4: Build the tree
Glue the rolls side by side on a board in rows of 7, 6, 5, 4 and 2, open ends facing out. Add a paper star on top and number the ends.
3. Cardboard Tree Advent Calendar (About 1 Hour)
One big delivery box turns into a tall tree for the wall. Kids paint it, you tape on 24 small envelopes, and it becomes the centerpiece of the room for the month.
Ages: kids 2 and up help with painting; a grown-up does all cutting.
Prep: about 1 hour, plus drying time.
Mess: high while painting.
Supplies: a large flat cardboard box, a box cutter (adult only), green washable paint, wide brushes, 24 small envelopes, tape, yellow paper for a star.
-
Step 1: Draw and cut the tree
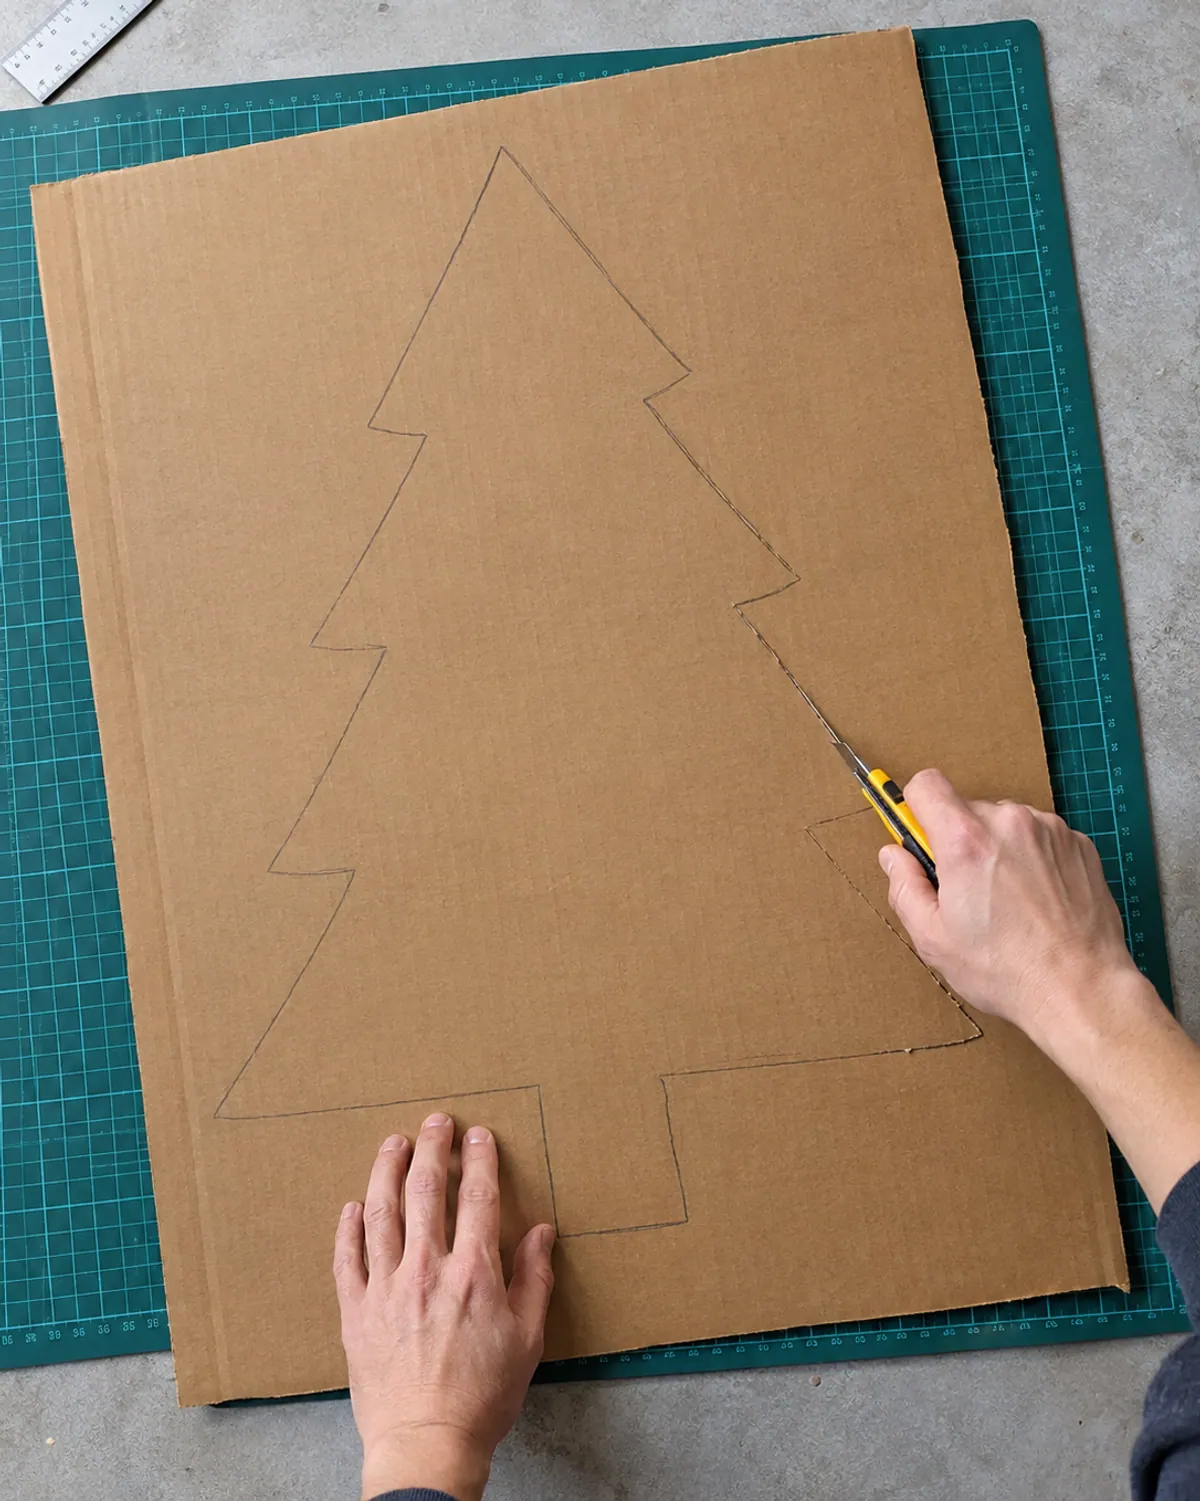
Open the box flat, draw a tall triangle tree with a short trunk, and cut it out on a mat with a box cutter.
-
Step 2: Paint it green
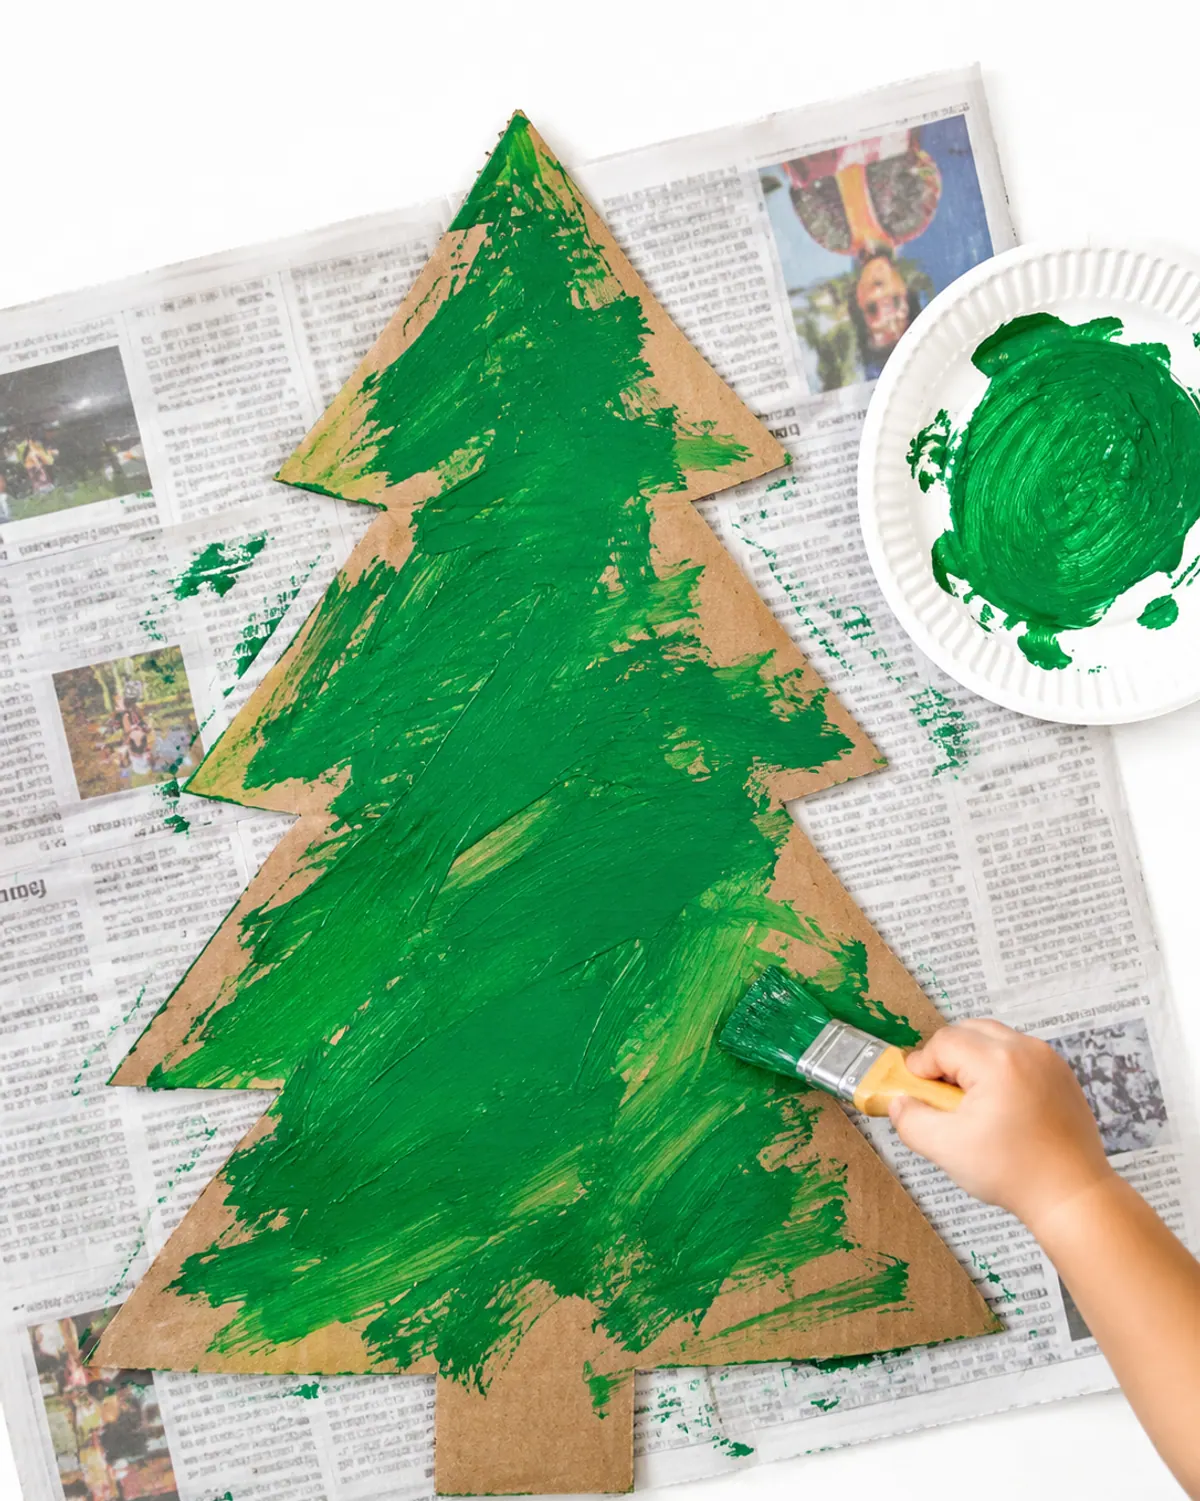
Lay newspaper on the floor and let kids paint the whole tree. Streaky is fine. Let it dry overnight.
-
Step 3: Add the envelopes
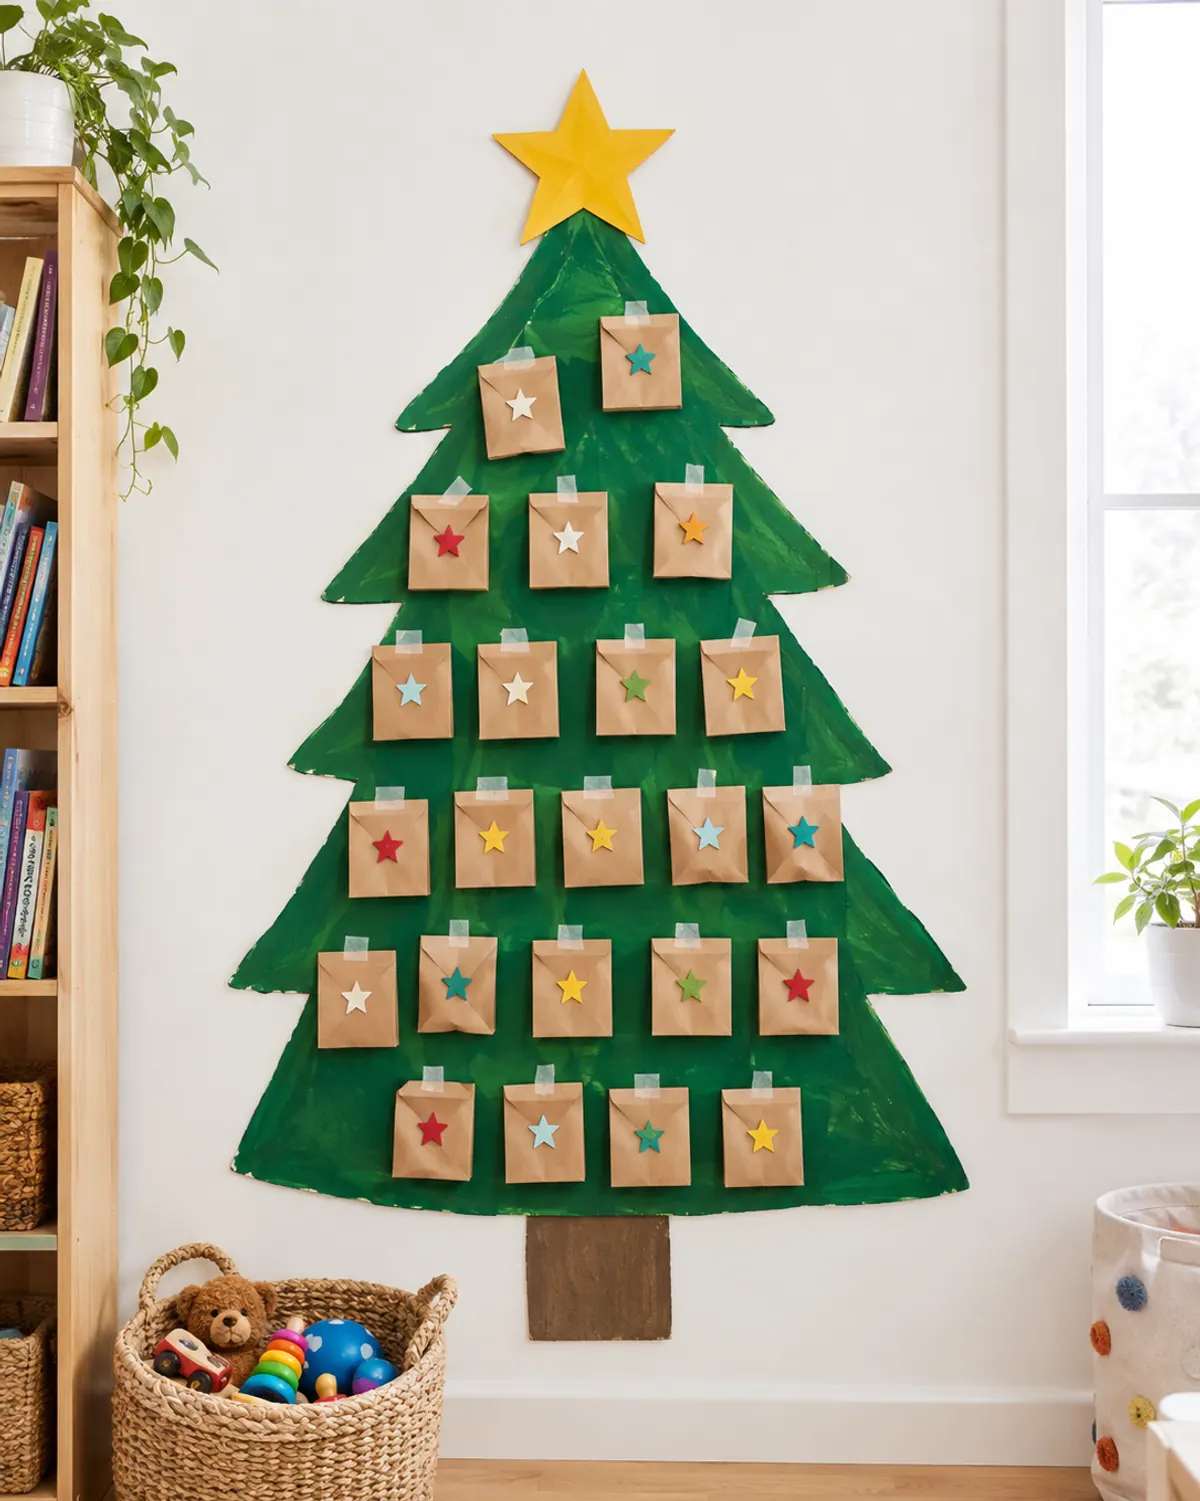
Number 24 envelopes, slip an activity inside each one and tape them in rows on the tree like ornaments.
-
Step 4: Hang it
Stick it to the wall with removable mounting strips and add a paper star on top.
What to Put Inside a DIY Advent Calendar (Activities, Not Candy)
Write one activity on each slip: a blanket fort story night, a lights walk, salt dough ornaments, a sock snowball fight. Our list of 24 Christmas countdown ideas for kids gives you one for every day, each with an age range and prep time.
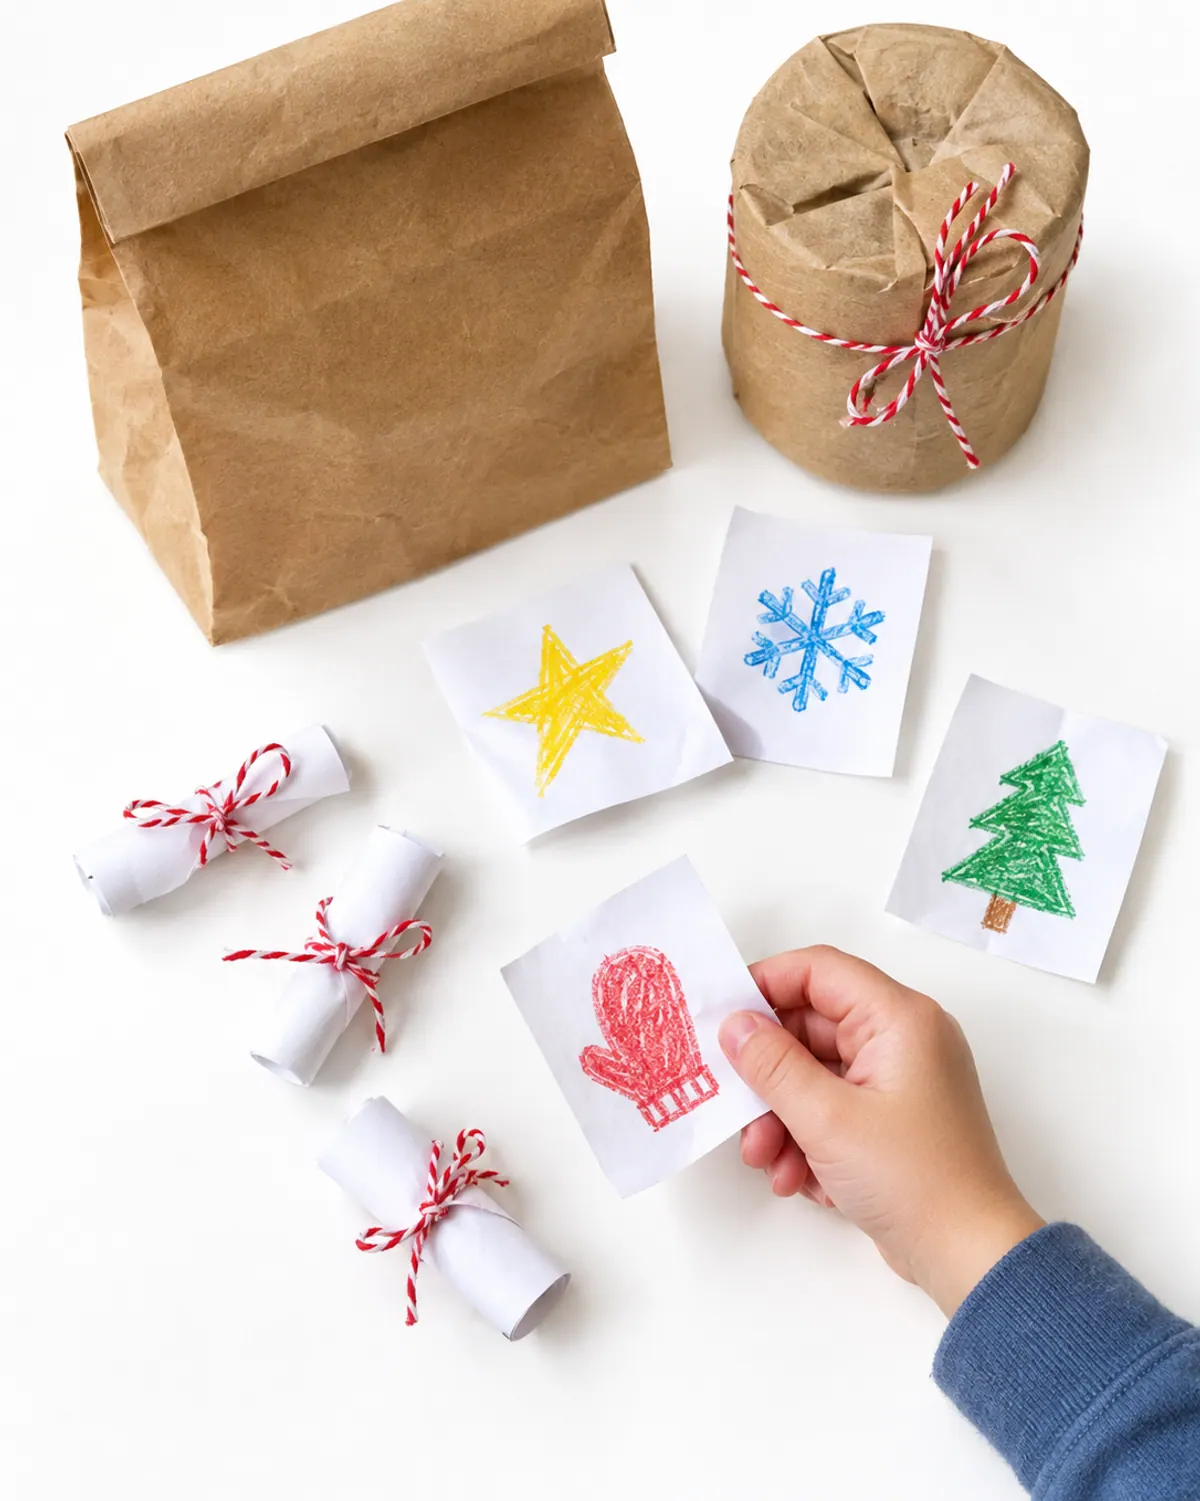
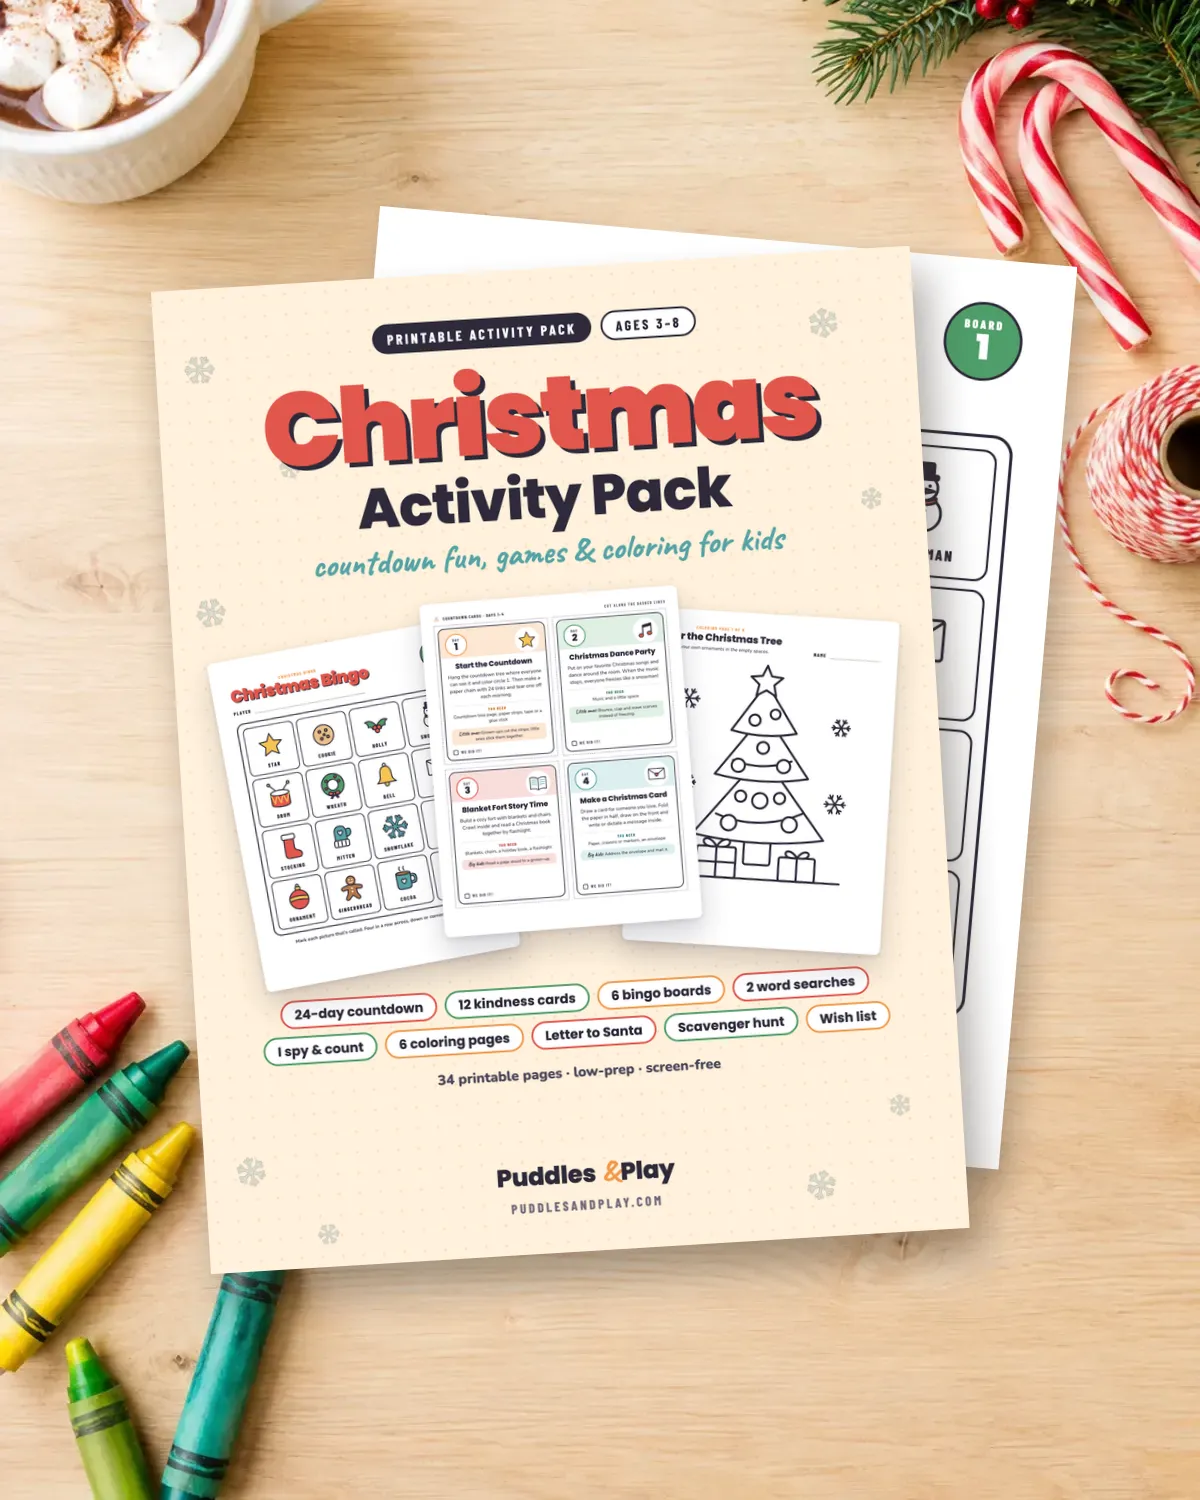
For kids who can't read yet, add a quick doodle to each slip, like a star for the lights walk or a mitten for snowball day. You can also print ready-made activity cards so you're not writing 24 slips at night.
Mistakes to Avoid
Before December 1
The most common mistake is making it too fancy. Kids care about opening something each morning, not about matching paper.
Easy Variations
12 days: make only 12 pockets and start December 13.
Kindness calendar: fill each one with a small kind job, like drawing a card for a neighbor.
Faith-based: add a short nativity story reading or a craft stick star from our preschool Christmas crafts on some days.
DIY advent calendar supplies
-
Small kraft paper bags
About $6 to $12
Sturdy enough for a folded slip and easy to stamp.
Check price on Amazon for Small kraft paper bags -
Mini clothespins with jute twine
About $6 to $10
Hang the paper bags or envelopes in a neat row.
Check price on Amazon for Mini clothespins with jute twine -
Advent number stickers
About $5 to $9
Number all 24 pockets in two minutes.
Check price on Amazon for Advent number stickers -
Removable mounting strips
About $5 to $12
Hold the cardboard tree on the wall without nail holes.
Check price on Amazon for Removable mounting strips
More Christmas Fun for Kids
Need a calendar-day craft? Try our kids Christmas crafts by age. If an elf visits too, our elf on the shelf ideas for toddlers keep things gentle and mess-free.
Frequently asked questions
What can I put in a DIY advent calendar for kids instead of candy?
Put in one activity slip per day, like a lights walk, a blanket fort story night or a craft. Stickers or small toys work for kids over 3, but skip small parts for under 3s.
How long does it take to make a DIY advent calendar?
About 30 minutes for paper bags, 45 minutes for a toilet roll tree and an hour for a cardboard tree, plus paint drying time.
How many toilet paper rolls do I need for an advent calendar?
You need 24 rolls for December 1 to 24. Start saving them in late October, or cut paper towel rolls in half.
Is a DIY advent calendar safe for toddlers?
Yes, if you hang twine and clothespins out of reach, skip small fillers and open each pocket for them. Toddlers can help stamp or paint while you do the cutting.
When should I make the advent calendar?
Make it in the last two weeks of November so paint has time to dry and every pocket is filled before December 1.
Save it for later
Pin this to your Holiday Crafts board so it's there when you need it.
Save to Pinterest