Safety first: Always supervise little ones, and skip small parts for kids who still put things in their mouths. Please read our play safety notes before you start.
Key takeaways
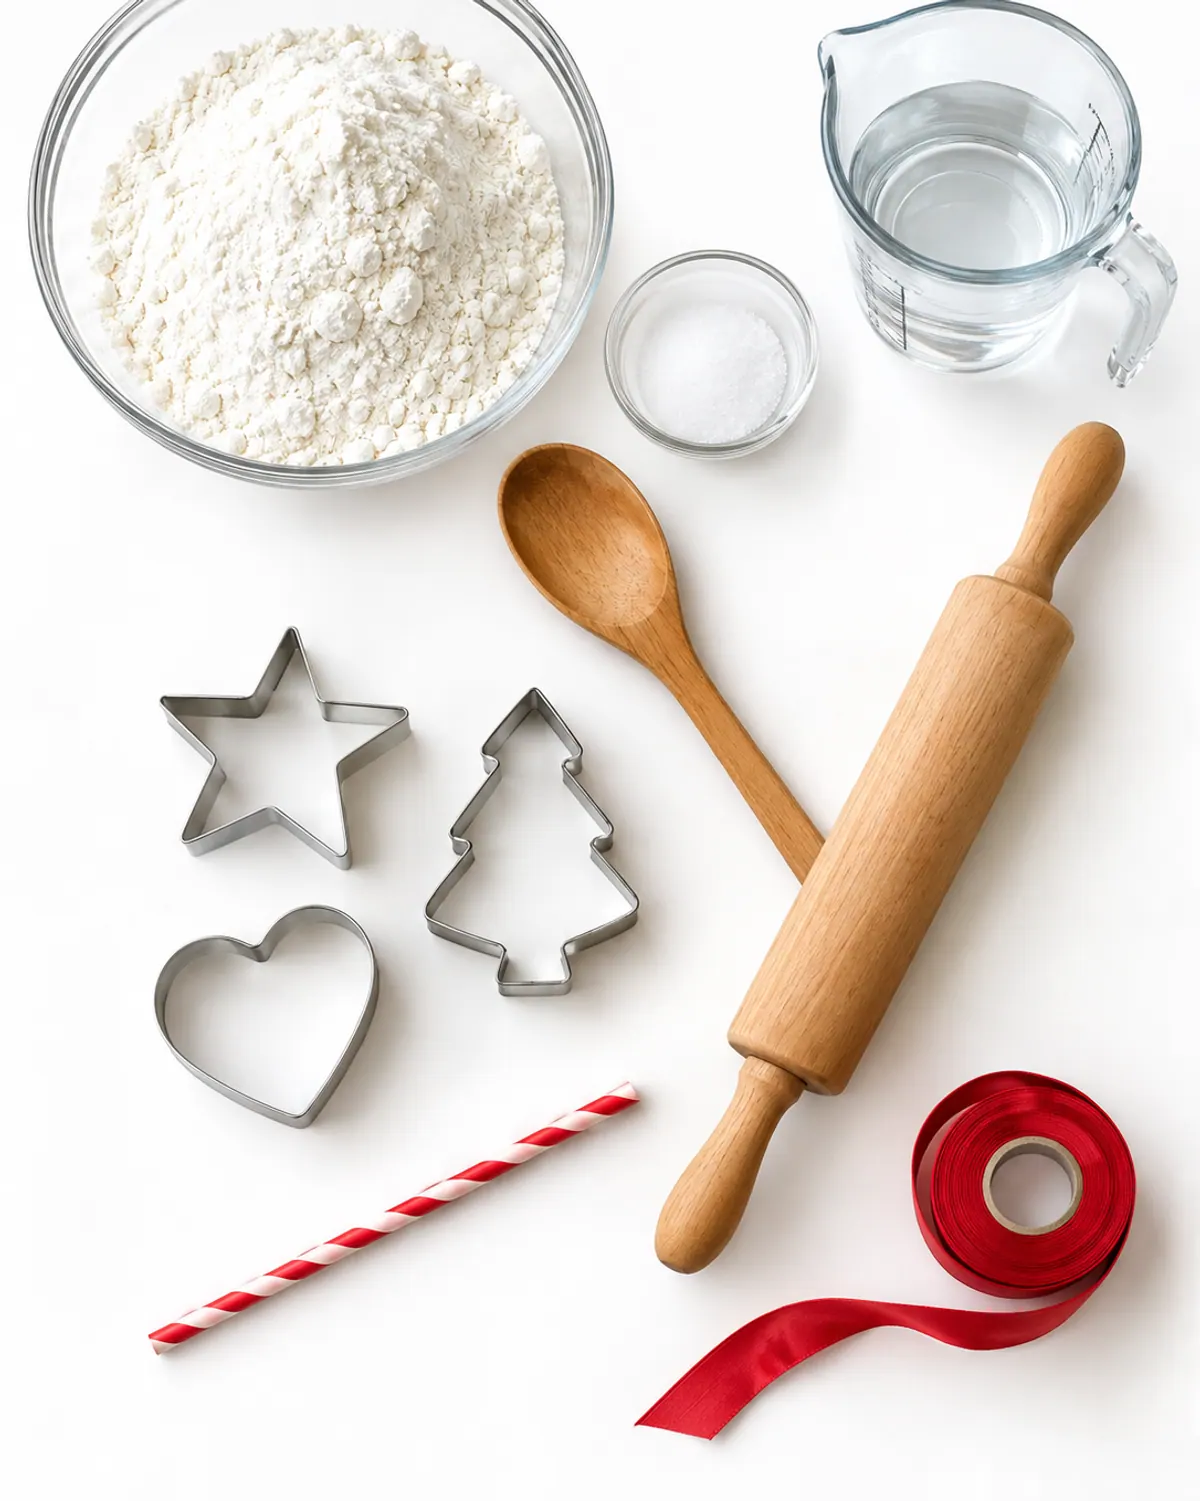
- Use 1 cup all-purpose flour, 1/2 cup table salt and about 1/2 cup water, added slowly.
- Bake low and slow at 200 to 250°F, or air dry for several days. High heat makes them puff.
- Seal every side, including the back and the hole, or moisture gets in and they soften.
- Salt dough is not food. It's high in salt and can be dangerous for small kids and dogs if eaten. Poison Help: 1-800-222-1222.
In this post22 sections
- Salt Dough Ornament Recipe (Not Food, Ratio and Supplies)
- Bake or Air Dry: Times and Temperatures
- 15 Salt Dough Ornaments for Kids to Make (Handprint, Footprint, Cookie Cutter)
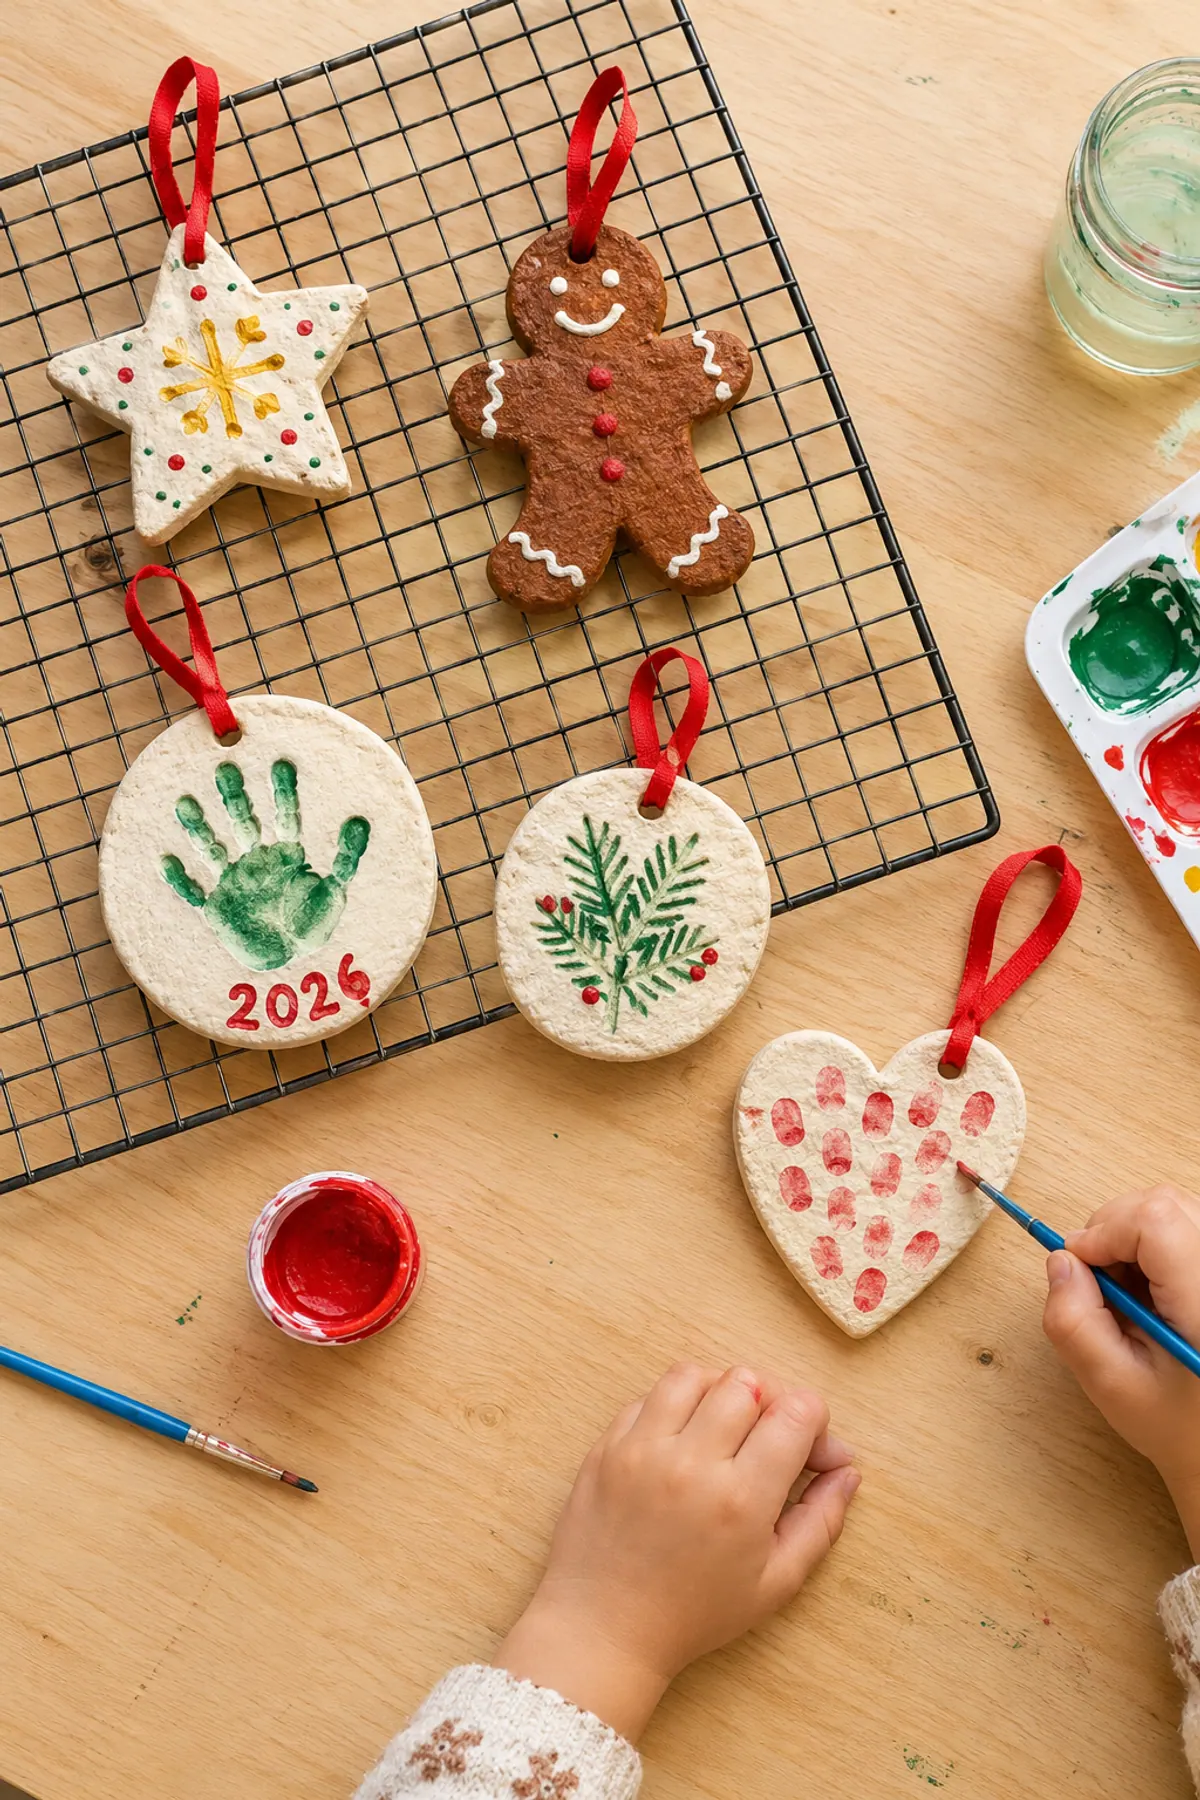
- 1. Cookie cutter shapes
- 2. Thumbprint Christmas lights
- 3. Handprint ornament
- 4. Footprint ornament
- 5. Nature stamp ornaments
- 6. Reindeer footprint
- 7. Santa handprint
- 8. Fingerprint snowman
- 9. Name or initial ornament
- 10. Gingerbread people
- 11. Lace or texture ornaments
- 12. Cinnamon-color salt dough
- 13. Mitten pair
- 14. Gift tags
- 15. Countdown number ornaments
- How to Paint and Seal Salt Dough Ornaments So They Last
- Why Salt Dough Puffs Up or Cracks (Fixes)
- Is Salt Dough Safe? Kids, Pets and What to Do If Eaten
- FAQ
Salt Dough Ornament Recipe (Not Food, Ratio and Supplies)
This salt dough ornaments recipe uses two parts flour to one part salt, with water added a little at a time. It's the same ratio we use in our preschool Christmas crafts. Recipes online vary a bit, and that's fine. What matters most is the texture: smooth and soft, not sticky.
Salt dough supplies
-
Step 1: Mix the dry ingredients
Stir the flour and salt together in a bowl. Kids can do this part with a spoon or clean hands.
-
Step 2: Add water slowly and knead
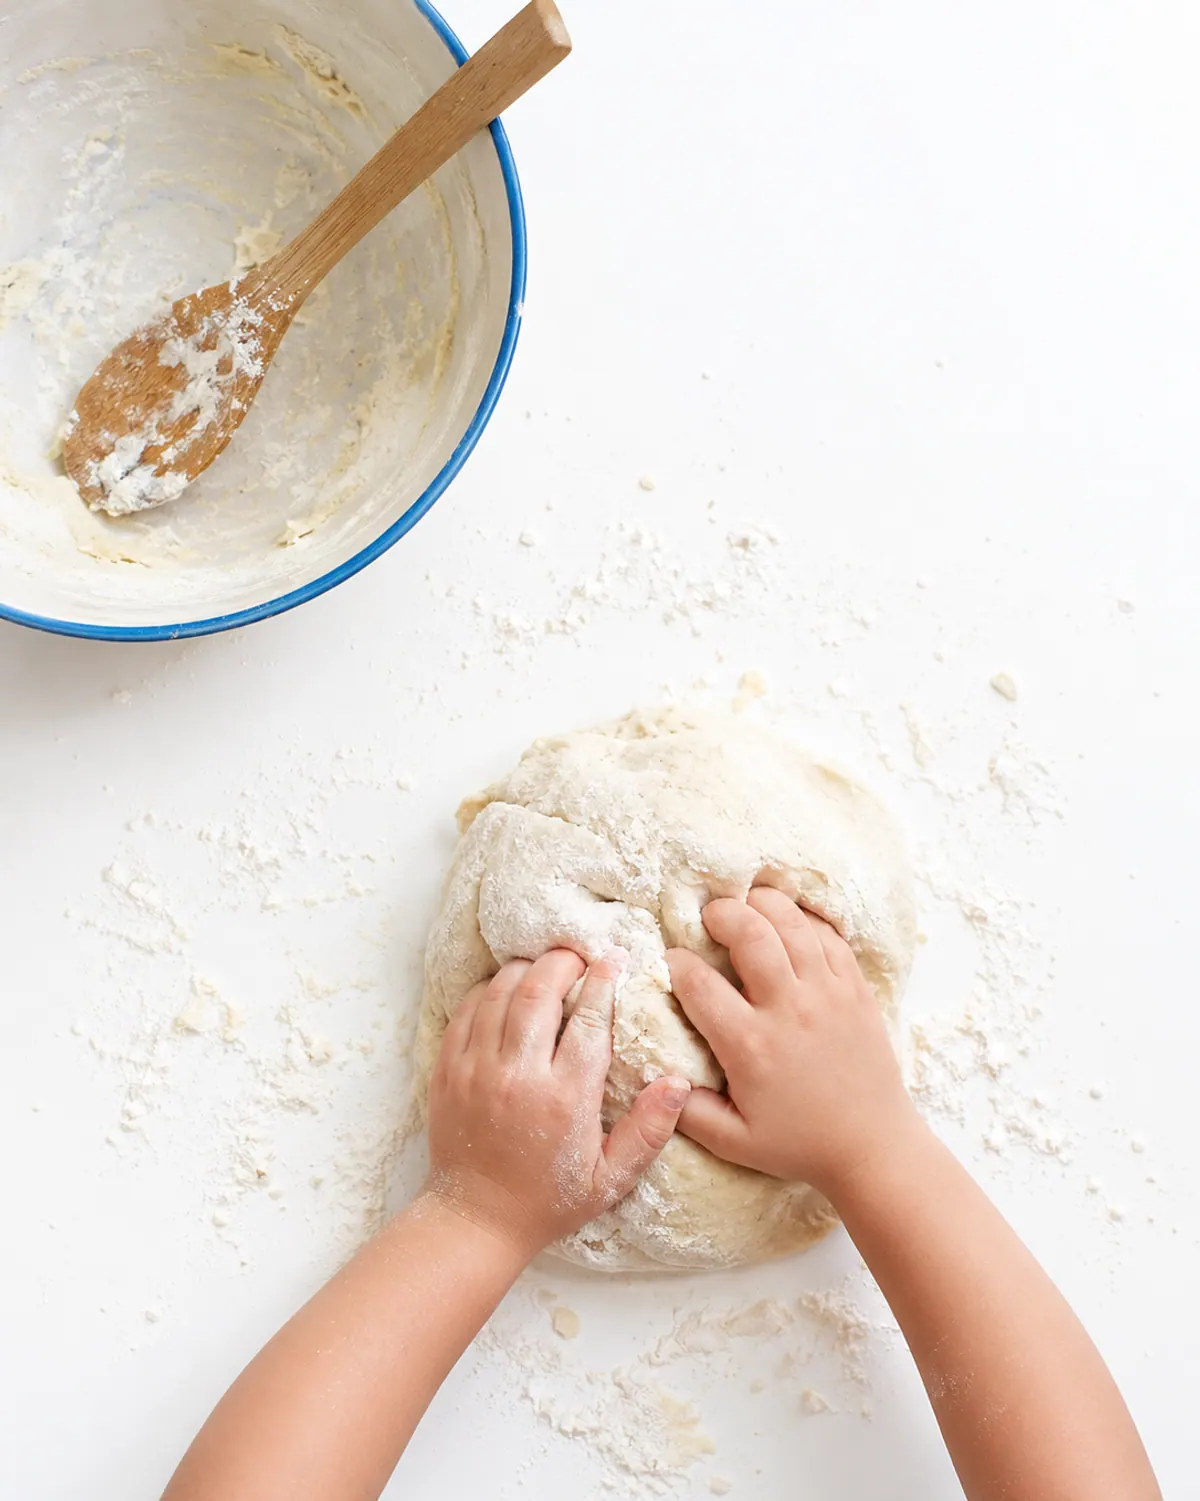
Pour in about half the water and stir, then add the rest a little at a time. Knead for 5 to 10 minutes until smooth. If it's sticky, add a spoon of flour. If it cracks, add a few drops of water.
-
Step 3: Roll to about 1/4 inch
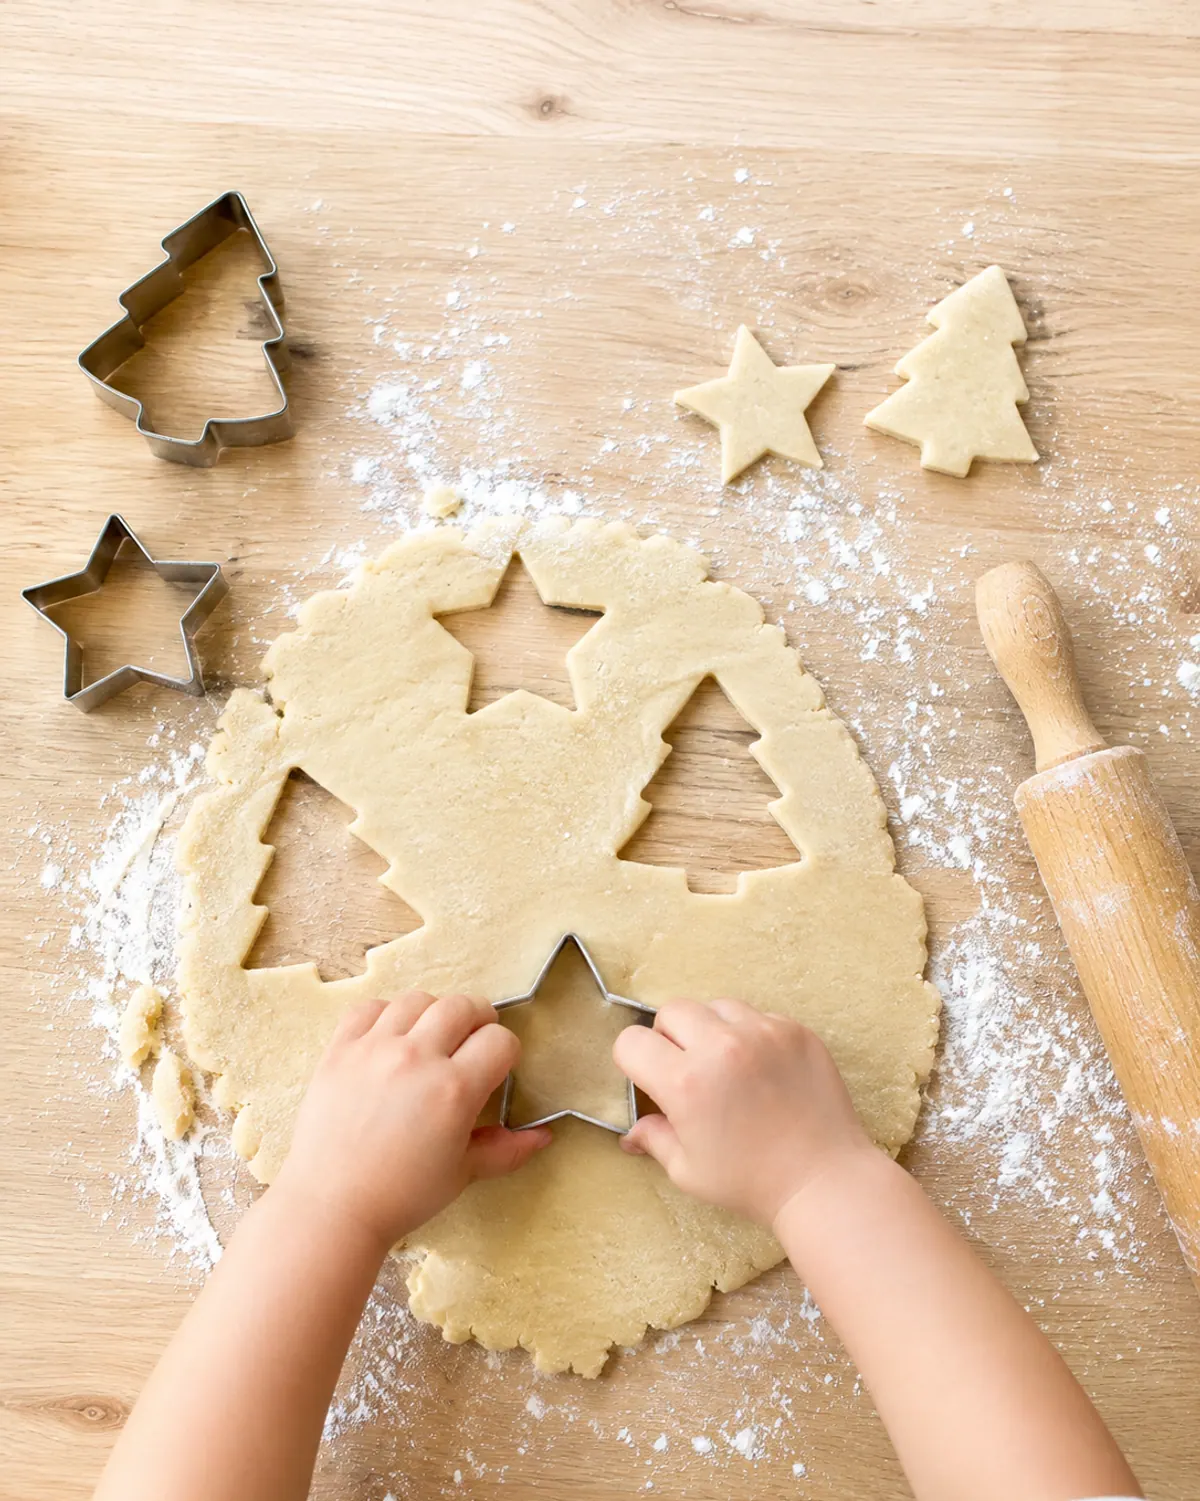
Roll the dough out on parchment or a floured table to about 1/4 inch thick. Keep it even, since thin edges brown and thick middles stay soft. Cut shapes with cookie cutters.
-
Step 4: Poke a hanging hole
Push a drinking straw through the top of each shape to make a clean hole for the ribbon. Make it a little bigger than you think, because holes shrink as they dry.
-
Step 5: Bake or air dry, then decorate
Dry the shapes using one of the methods below. Paint and seal them only once they're hard all the way through.

Bake or Air Dry: Times and Temperatures
Craft blogs disagree on oven temperature, with most landing between 200°F and 250°F. Both work. The rule they all share is low and slow, because high heat makes the dough puff up and brown. Times below are a starting point, so check your ornaments as they go.
| Method | Temperature | Rough time (1/4 inch thick) | Notes |
|---|---|---|---|
| Oven, low | 200°F (about 95°C) | 2 to 3 hours | Least puffing; flip halfway |
| Oven, standard | 250°F (about 120°C) | About 1 to 2 hours | Faster; watch for browning and puffing |
| Air dry | Room temperature | Several days, often up to a week | No oven; flip once a day |
| Air dry, then bake | Overnight, then 200 to 250°F | Shorter bake | Helps stop puffing on thick pieces |
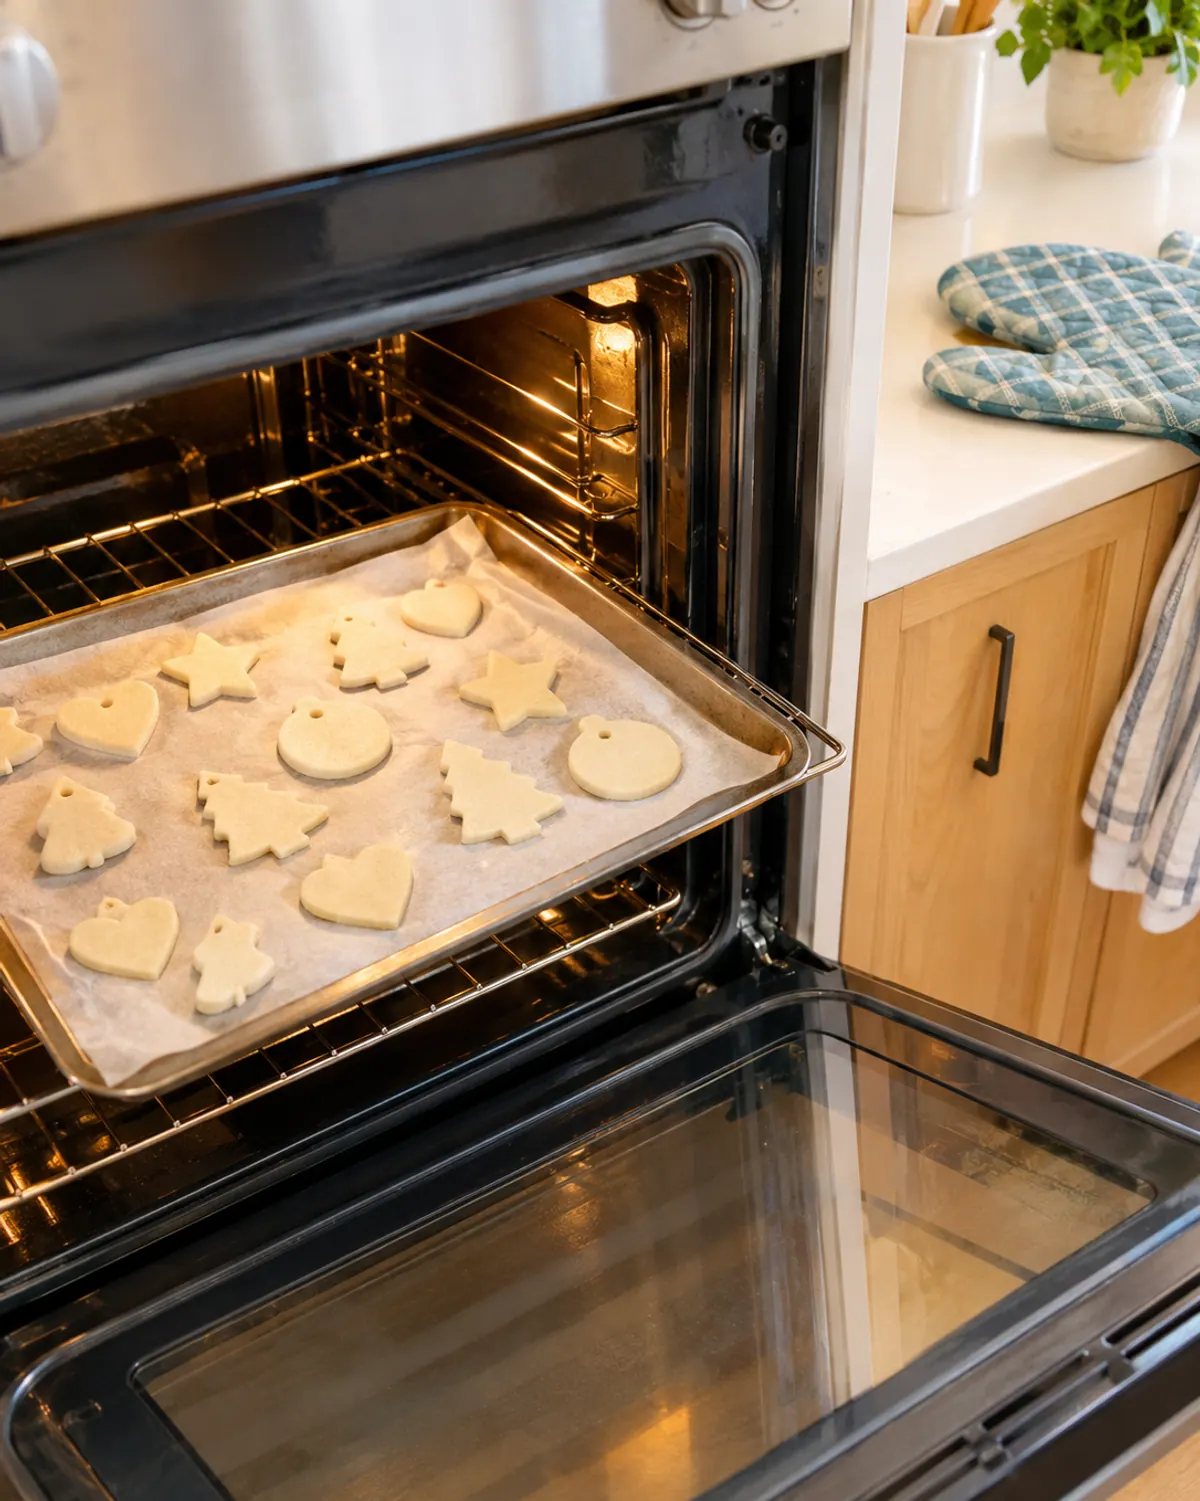
Thicker ornaments, like handprints and footprints, need longer. Tap the back: a hard, hollow sound means they're done. If the back still feels soft or cool, give them more time.
Air drying works well if you don't want the oven on for hours. Set the shapes on a wire rack in a warm, dry spot and flip them every day so both sides dry evenly. Damp weather slows it down.
15 Salt Dough Ornaments for Kids to Make (Handprint, Footprint, Cookie Cutter)
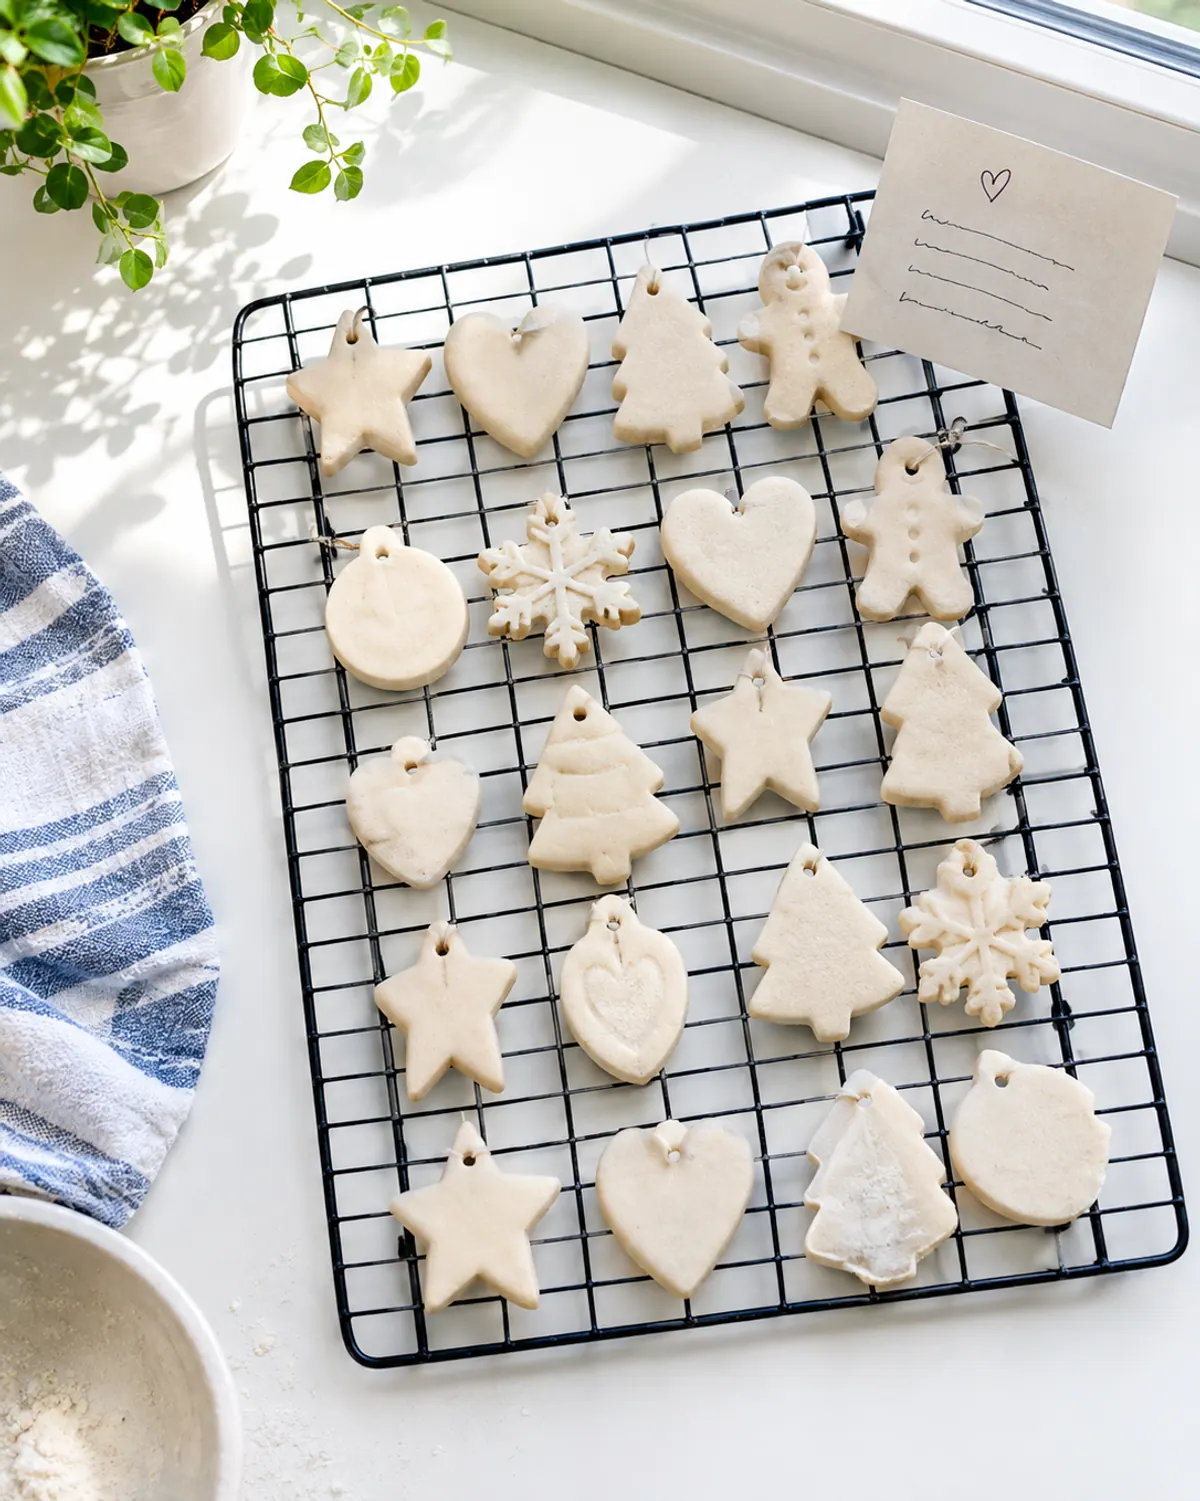
These salt dough ornament ideas start with the easiest. Each one uses the recipe above. For handprint cards, canvases and paint ornaments that don't need dough, see our handprint Christmas crafts. Making ornaments is one way to count down to Christmas, and our advent calendar fillers for kids, not candy list has more small daily surprises.
1Cookie cutter shapes

The classic. Kids cut stars, trees, gingerbread men and stockings, then paint them any way they like once dry.
Ages: 3 to 8.
Prep: 20 minutes plus drying.
Mess: medium.
Supplies: salt dough, cookie cutters, a straw, paint, ribbon.
Safety: not food; stay close to kids who mouth things.
- Plastic cutters are easier for small hands to press than thin metal ones.
2Thumbprint Christmas lights
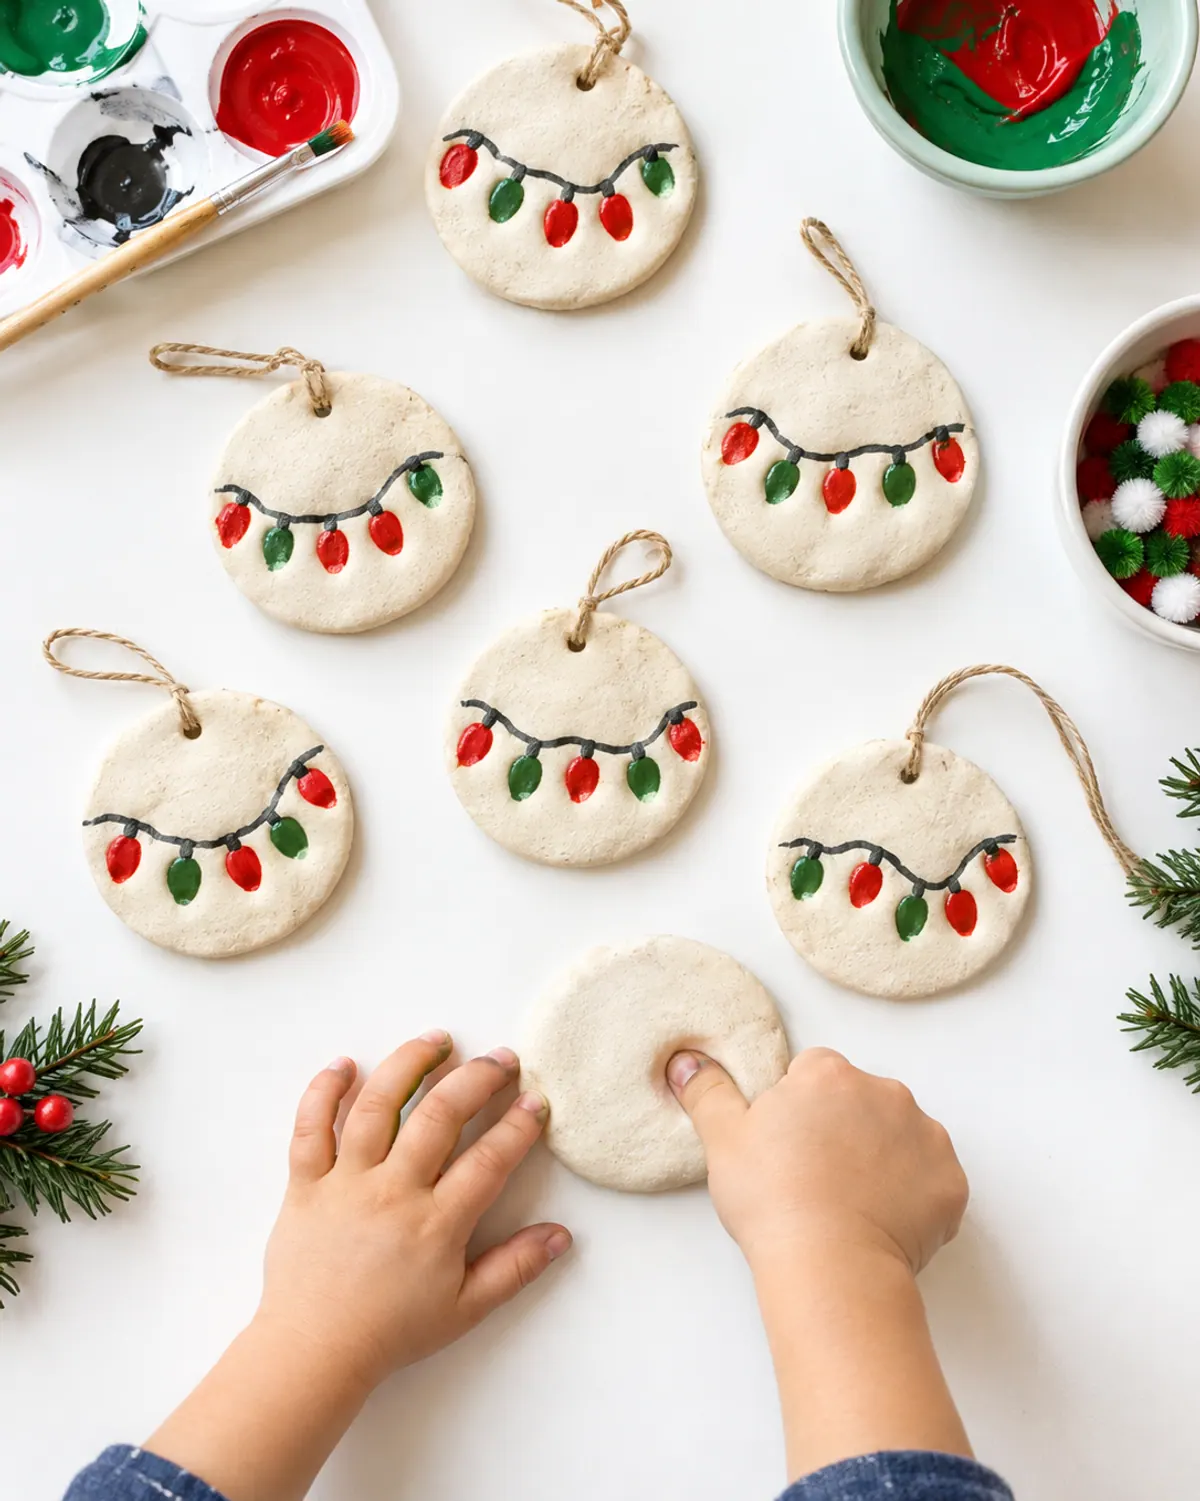
Press a row of thumbprints across a round of dough. Once dry, paint each print a different color and draw a wire between them.
Ages: 2 to 6.
Prep: 15 minutes plus drying.
Mess: low.
Supplies: salt dough, a round cutter or lid, paint, a fine marker.
Safety: wash hands after handling the dough.
- Press gently. Deep prints can crack through thin dough.
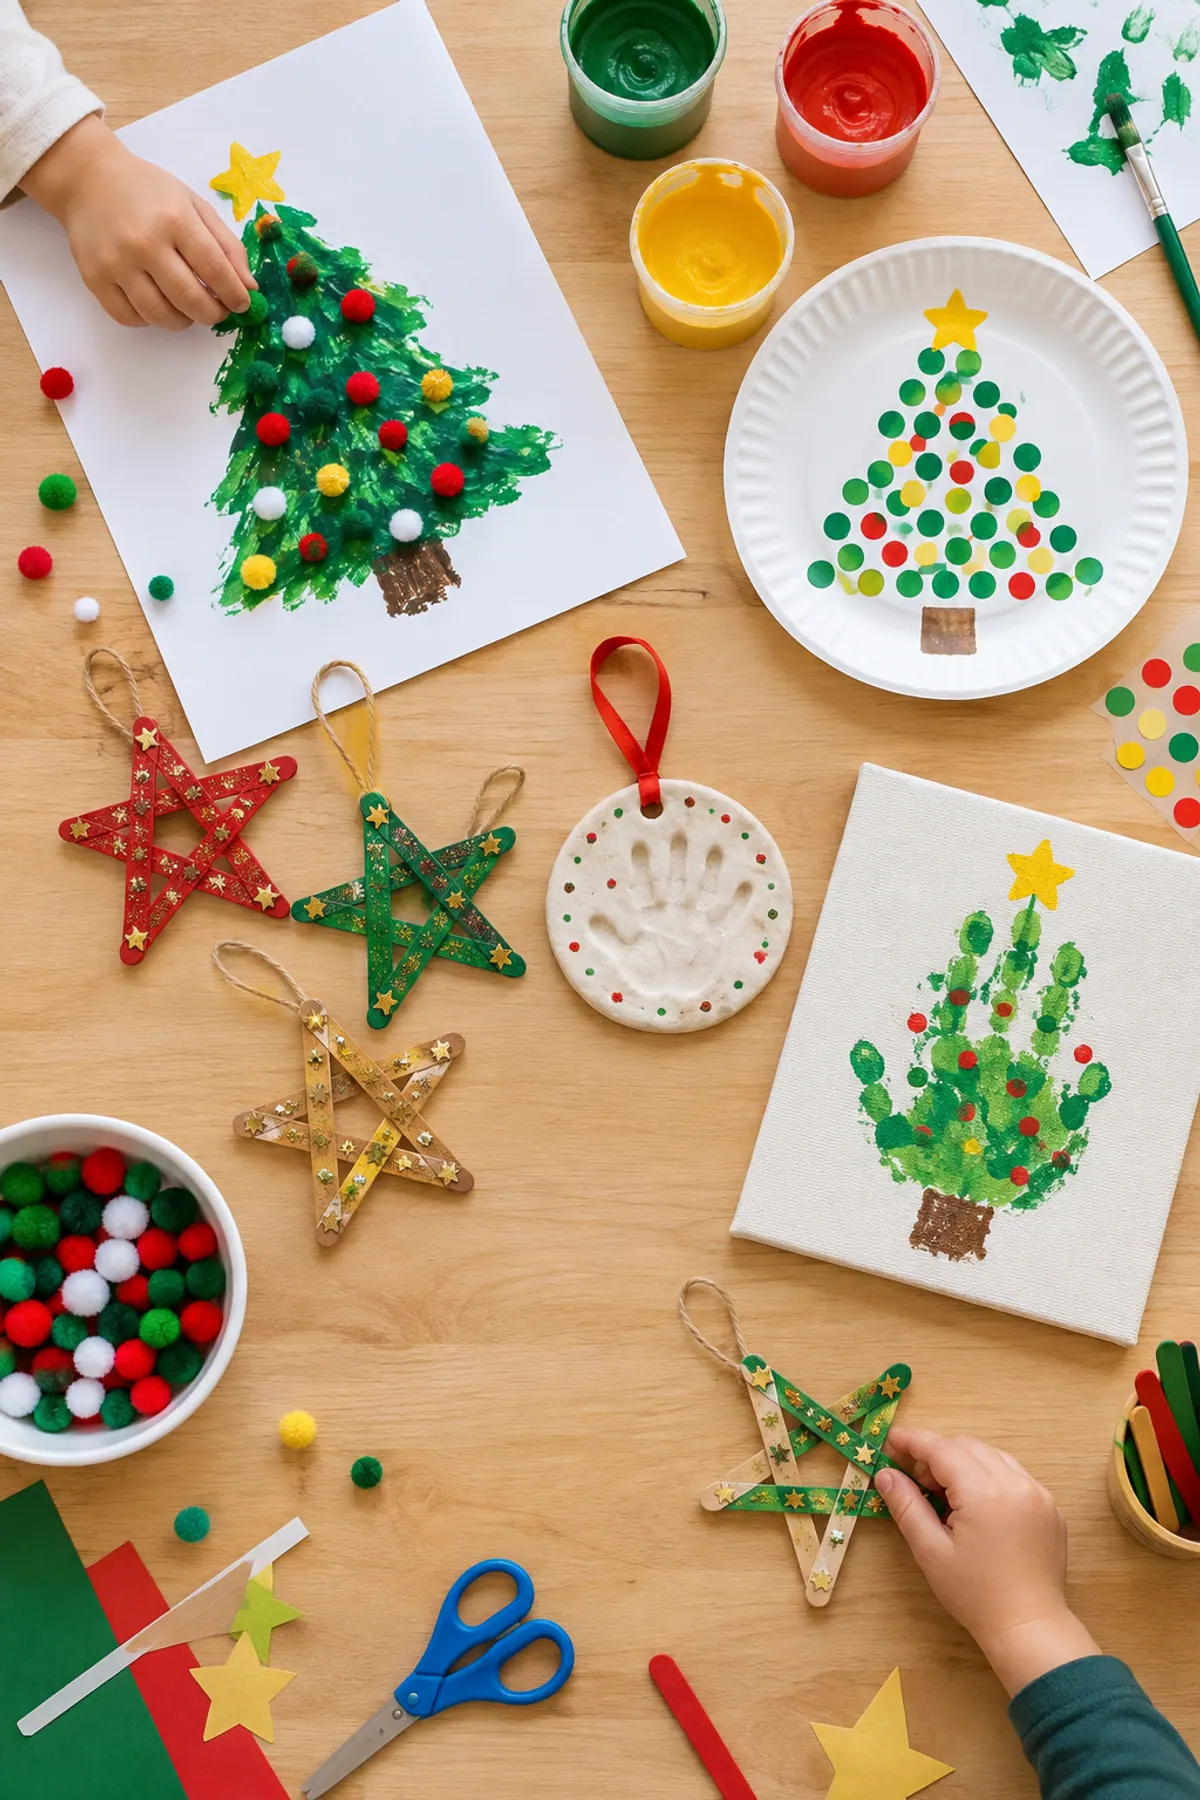
3Handprint ornament

Roll a round a little bigger than your child's hand, about 1/2 inch thick, and press the hand in firmly. Paint the print and add the name and year. It's the most-saved keepsake for a reason.
Ages: 6 months to 8 years.
Prep: 20 minutes plus a longer dry.
Mess: medium.
Supplies: salt dough, a large plate to trace for the circle, a knife (adult), paint, ribbon.
Safety: wipe little hands right away so they don't lick the salty dough.
- Press each finger down separately after the first press for a clearer print.
4Footprint ornament
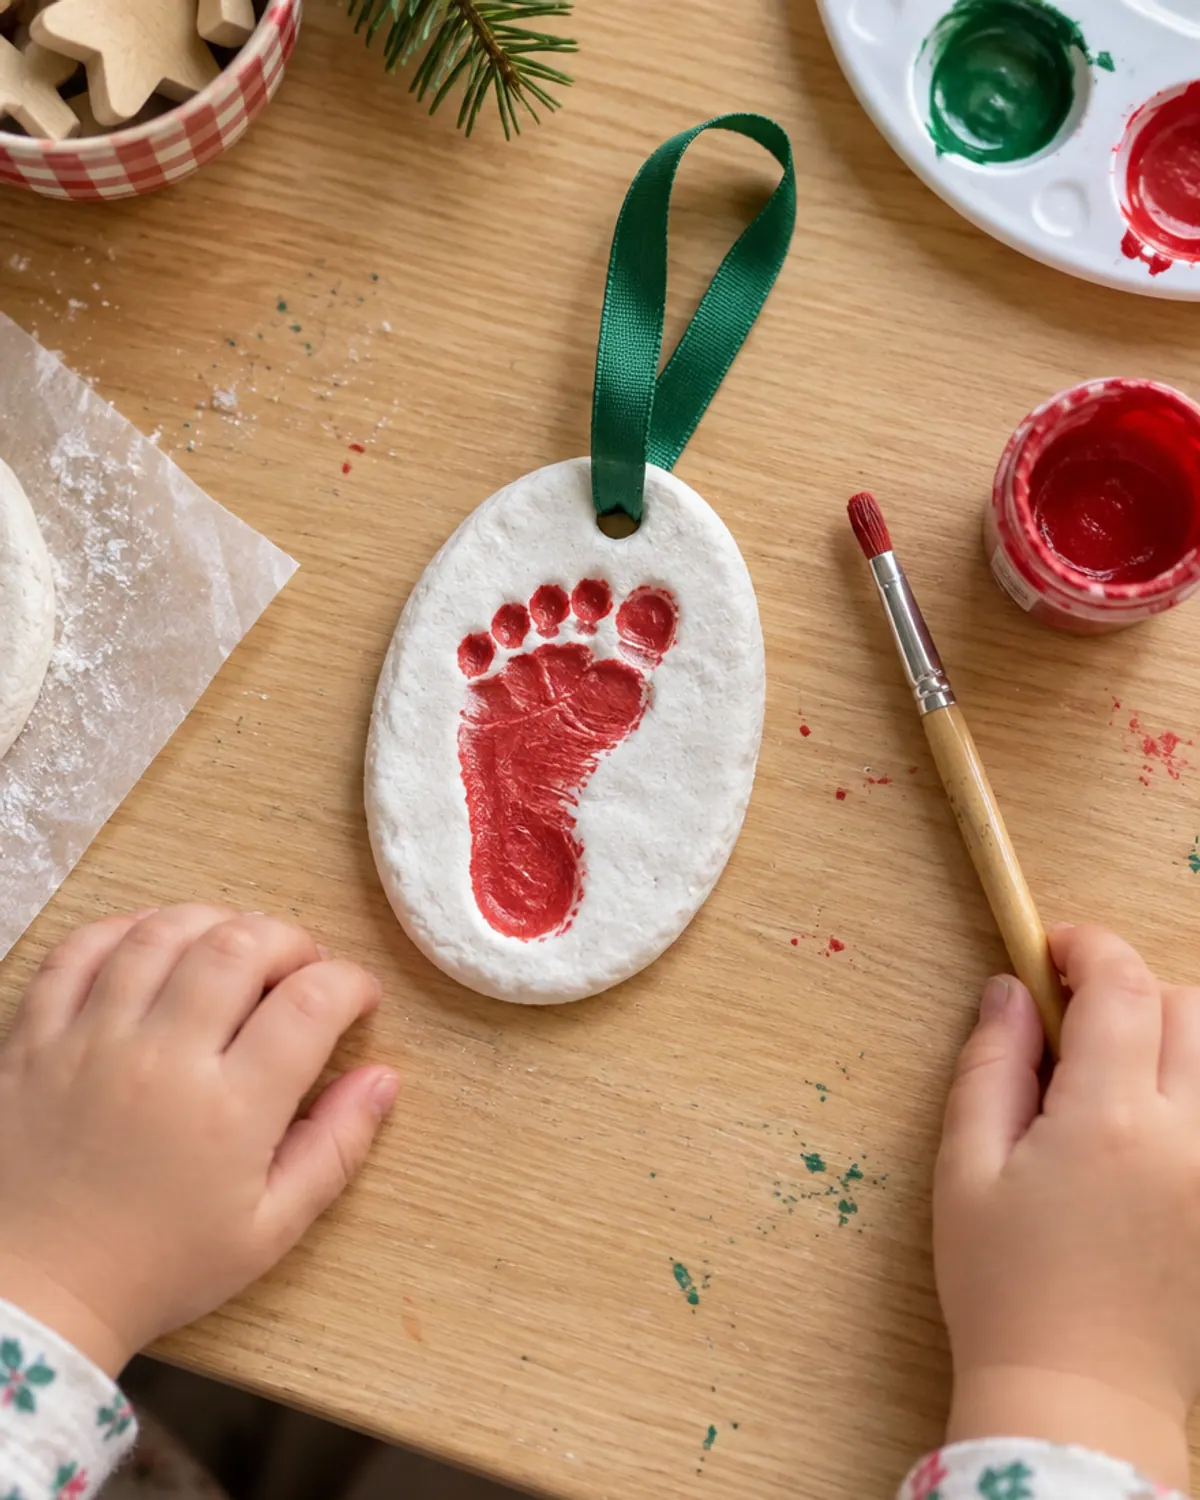
Cut an oval and press a baby or toddler foot in, heel first, then toes. Paint the print and write the date underneath.
Ages: newborn to 3 years.
Prep: 15 minutes plus drying.
Mess: low.
Supplies: salt dough, a butter knife (adult), paint, ribbon.
Safety: one adult holds the child while another presses the foot.
- Try it when the baby is sleepy or fed. Wiggly feet smudge.
5Nature stamp ornaments
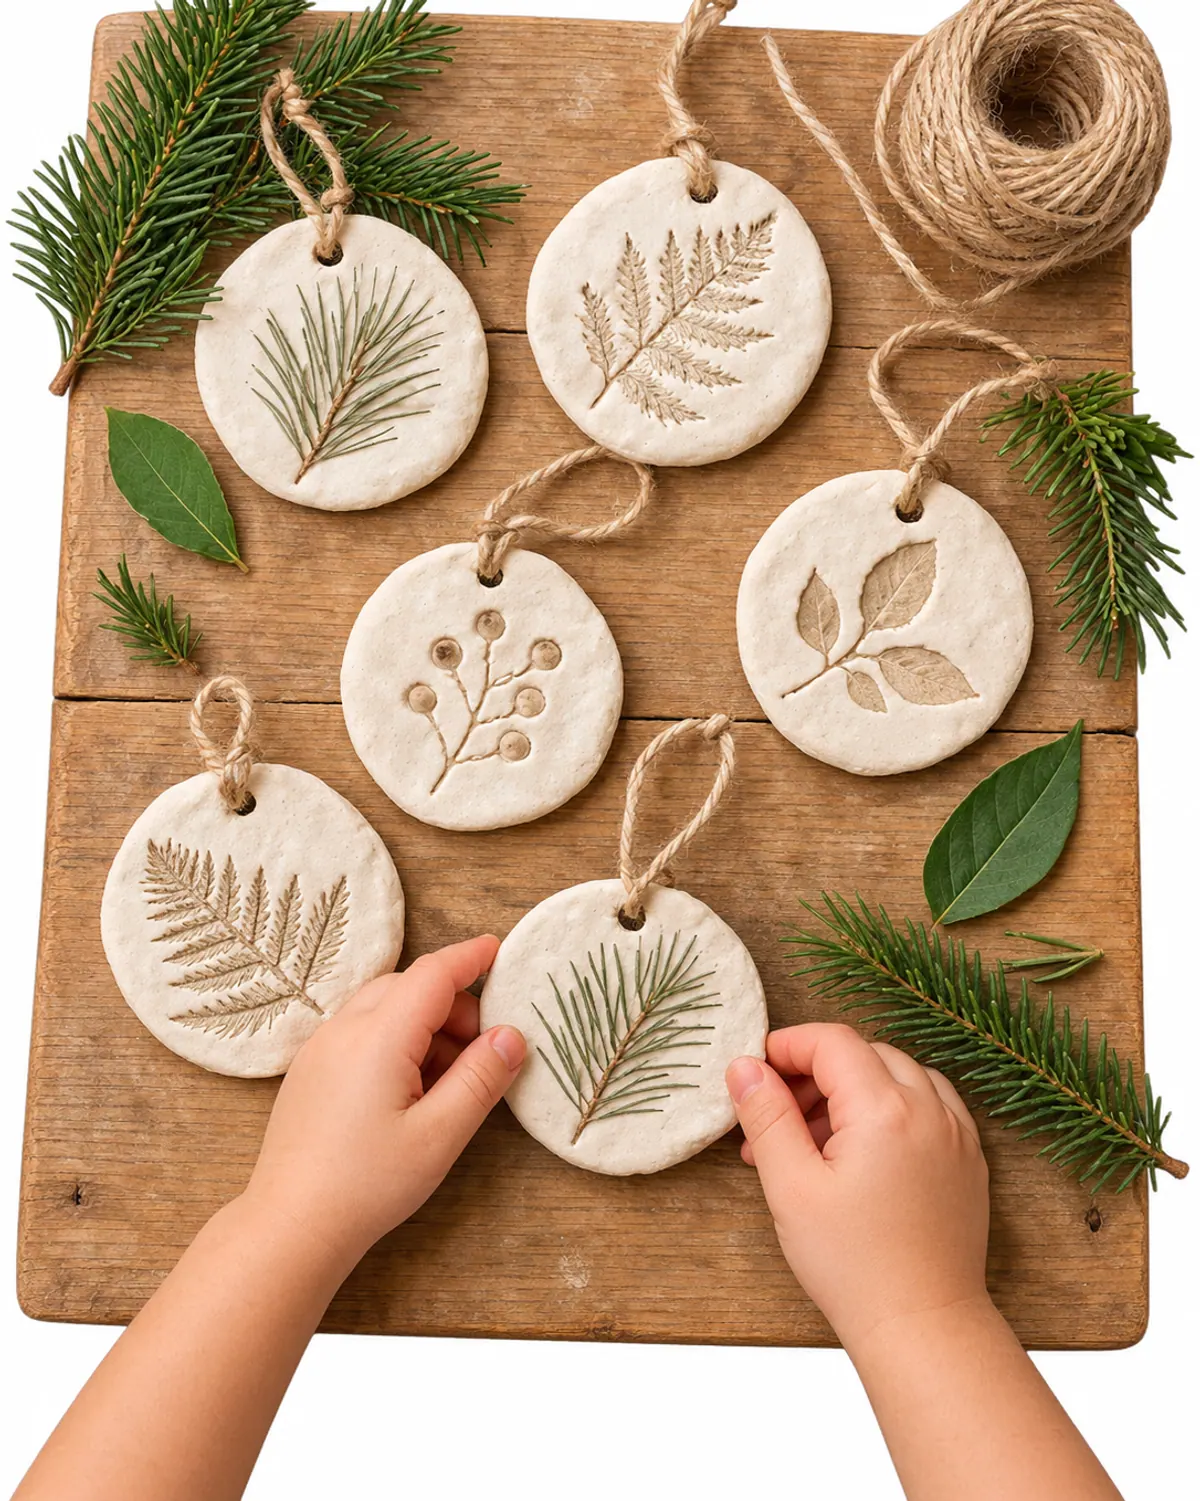
Press pine sprigs, fern leaves or small leaves into rounds of dough, roll lightly with the rolling pin, then peel them off. Leave them unpainted for a simple look.
Ages: 3 to 8.
Prep: 15 minutes plus a nature walk.
Mess: low.
Supplies: salt dough, leaves and sprigs, twine.
Safety: skip holly and mistletoe, which are toxic if eaten.
- Pick sturdy, flat greenery. Soft leaves smear instead of printing.
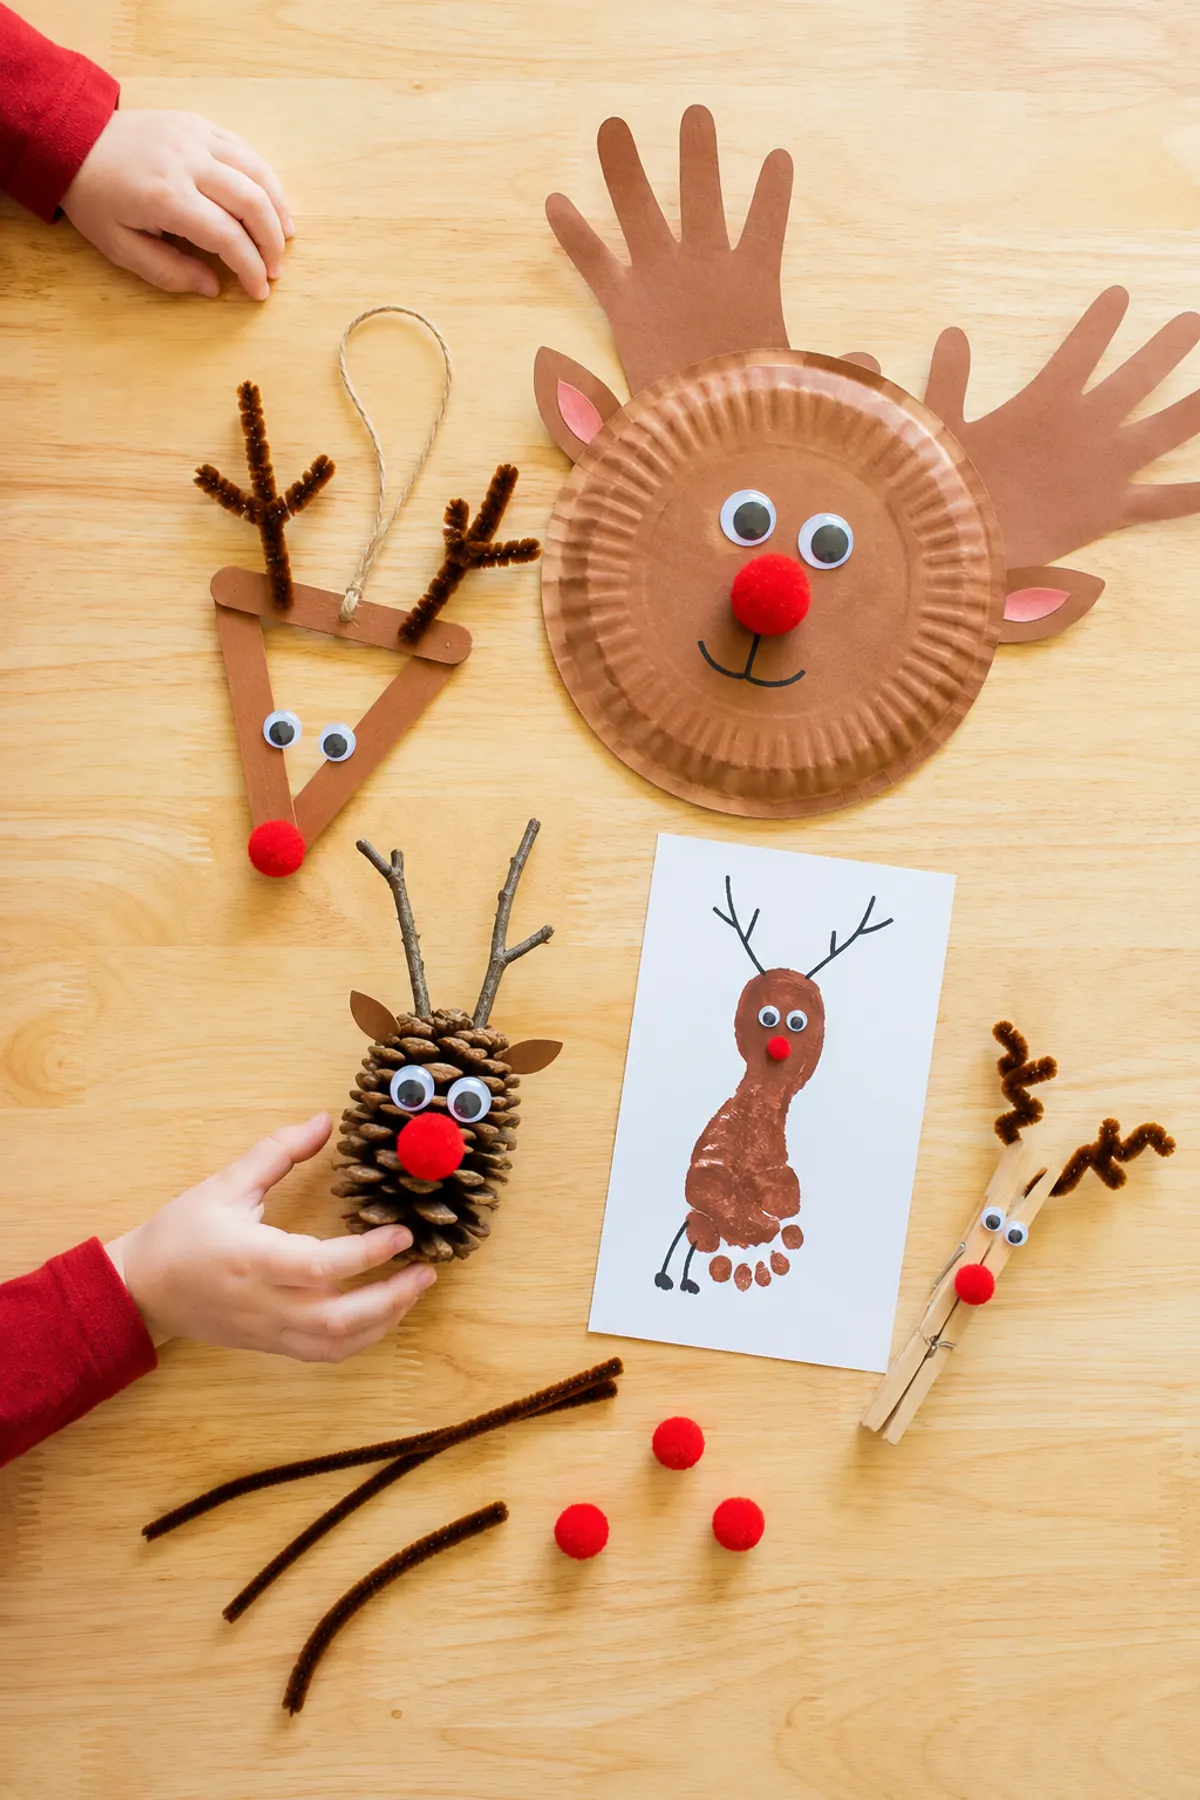
6Reindeer footprint
Press a foot into dough, then paint it brown with antlers above the heel and a red nose near the toes. More ideas in our reindeer crafts for kids.
Ages: 6 months to 5 years.
Prep: 15 minutes plus drying.
Mess: low.
Supplies: salt dough, brown and red paint, ribbon.
Safety: same as the footprint ornament.
- Paint the antlers on with a thin brush after the brown dries.
7Santa handprint
Turn a handprint ornament upside down: the palm is Santa's hat and the fingers are his beard. Paint the palm red, the fingers white and add a pink round between them for his face area.
Ages: 2 to 8.
Prep: 20 minutes plus drying.
Mess: medium.
Supplies: a handprint ornament, red, white and pink paint.
Safety: not food; wash hands after.
- Dab white paint on with a sponge for a fluffy beard.
8Fingerprint snowman
Press three fingerprints in a stack on a small round. Paint them white with a tiny orange nose and a scarf.
Ages: 2 to 6.
Prep: 10 minutes plus drying.
Mess: low.
Supplies: salt dough, white, orange and black paint.
Safety: supervise little ones with paint pots.
- Use a cotton swab for the tiny details.
9Name or initial ornament
Cut a circle or star and press letter stamps or letter cookie cutters into it for the child's name or initial. It's sneaky letter practice for preschoolers.
Ages: 3 to 6.
Prep: 15 minutes.
Mess: low.
Supplies: salt dough, letter stamps or a toothpick, paint.
Safety: adult handles toothpicks for kids under 4.
- Write letters in reverse if your stamps don't flip them.
10Gingerbread people
Cut gingerbread shapes and paint them brown with white paint icing and red paint buttons. This is a painted look, not a food: they're still salt dough.
Ages: 3 to 8.
Prep: 20 minutes plus drying.
Mess: medium.
Supplies: salt dough, a gingerbread cutter, brown, white and red paint.
Safety: remind kids these aren't cookies.
- Puffy paint or a white paint pen makes neat icing lines.
11Lace or texture ornaments
Lay a scrap of lace, a doily or textured fabric on the dough and roll over it once. Peel it off for a pretty pattern, then paint white or leave plain.
Ages: 4 to 8.
Prep: 15 minutes.
Mess: low.
Supplies: salt dough, lace or a paper doily, a round cutter.
Safety: nothing extra beyond the usual.
- A light brush of gold paint over the raised pattern looks lovely.
12Cinnamon-color salt dough
Stir a few spoons of ground cinnamon into the flour for brown dough with a warm smell. It's still a craft dough, so the same not-food rules apply.
Ages: 3 to 8.
Prep: 20 minutes plus drying.
Mess: medium.
Supplies: the recipe above plus ground cinnamon.
Safety: cinnamon powder can irritate eyes and lungs, so an adult adds it.
- Leave these unpainted and tie them with white ribbon.
13Mitten pair
Trace a mitten shape, cut two, and poke holes so you can tie them together with one ribbon. Kids paint stripes and dots.
Ages: 4 to 8.
Prep: 20 minutes plus drying.
Mess: medium.
Supplies: salt dough, a paper mitten template, a butter knife (adult), paint, ribbon.
Safety: adult does the cutting.
- Paint one mitten with each child's name for siblings.
14Gift tags
Cut small rectangles with a clipped corner, poke a hole and let kids paint them. Write names with a paint pen and tie them to presents.
Ages: 3 to 8.
Prep: 15 minutes plus drying.
Mess: low.
Supplies: salt dough, a butter knife (adult), paint pens, twine.
Safety: tie tags on gifts for adults or big kids, not toddlers or homes with dogs.
- Make them thin so they dry faster.
15Countdown number ornaments
Cut 24 small circles and stamp a number on each, then hang one on the tree each day. It's a fun add-on to our Christmas countdown ideas.
Ages: 3 to 8.
Prep: 40 minutes plus drying.
Mess: medium.
Supplies: salt dough, number stamps, paint, ribbon.
Safety: hang them high if you have a dog.
- Split the job over two afternoons. Twenty-four is a lot for small attention spans.

How to Paint and Seal Salt Dough Ornaments So They Last
Salt pulls in moisture from the air. Unsealed ornaments can go soft or crumble in damp weather, so sealing is the step that makes them last for years.
-
Step 1: Paint once fully dry
Use acrylic craft paint or washable paint. Acrylic is brighter and more water-resistant, but it stains clothes, so use smocks.
-
Step 2: Let the paint dry
Give it a few hours, or overnight for thick coats.
-
Step 3: Seal every side
Brush on Mod Podge or a clear water-based sealer, or have an adult use a clear acrylic spray outdoors or in a well-ventilated room. Coat the front, back, edges and inside the hole.
-
Step 4: Add a second coat
Two thin coats beat one thick one. Let each coat dry before the next.

Store finished ornaments wrapped in tissue in a sealed container in a dry spot, not a damp basement. A packet of silica gel in the box helps, but keep those packets away from kids and pets.
Why Salt Dough Puffs Up or Cracks (Fixes)
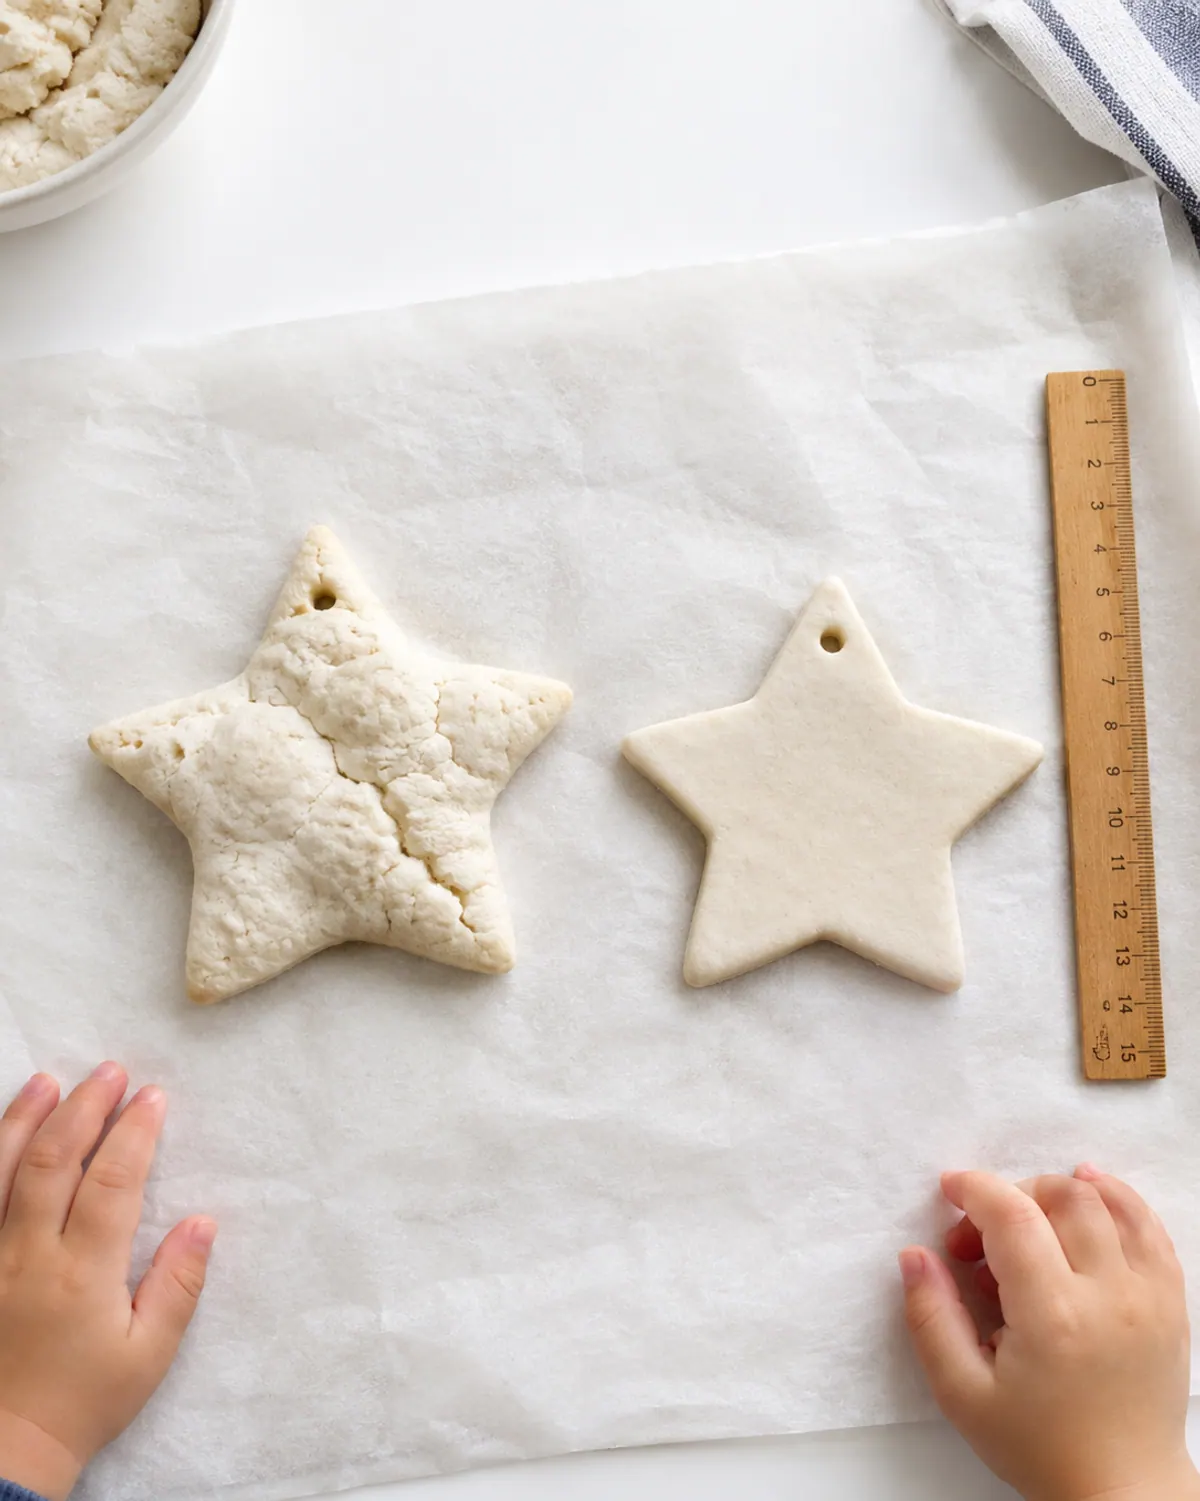
Three things cause most puffing and cracking: heat that is too high, dough that is rolled thick or uneven, and flour that has a leavener in it. Use plain all-purpose flour, never self-rising, roll to an even 1/4 inch and start the oven at 200°F. On a humid day, air drying can take two to three days instead of one, so plan for that rather than turning up the heat.
| Problem | Likely cause | Fix |
|---|---|---|
| Puffed or bubbled | Oven too hot, or self-rising flour | Bake at 200 to 250°F with all-purpose flour; air dry overnight first |
| Puffed in the middle, flat at the edges | Rolled thicker than 1/4 inch, so the inside steamed | Roll to an even 1/4 inch (a pair of chopsticks on each side of the rolling pin works as a guide) |
| Cracked while drying | Dough too dry, or dried too fast | Knead in a little water; dry lower and slower |
| Still soft after two days of air drying | Humid room or a rainy week | Flip the pieces twice a day, run a fan nearby, or finish in a 200°F oven for 1 to 2 hours |
| Cracked edges after cutting | Dough not kneaded enough | Knead 5 to 10 minutes until smooth |
| Brown edges | Too hot, or thin edges | Lower the heat; roll to an even thickness |
| Soft in the middle | Not dried long enough | Return to a low oven, or keep air drying |
| Soft or sticky weeks later | Moisture got in | Dry again on low heat, then seal every side |
Is Salt Dough Safe? Kids, Pets and What to Do If Eaten
Salt dough is safe to craft with when an adult is nearby, but it should never be eaten. The Tennessee Poison Center at Vanderbilt University Medical Center tested three popular homemade dough recipes in 2016. They found about 3.9 to 5.7 grams of salt per tablespoon of dough.
By the center's numbers, one tablespoon of two of those three recipes was enough to put a child of about 22 pounds (10 kg) in the toxic range for salt. Too much salt can cause a condition called hypernatremia, with confusion, extreme sleepiness and seizures.
If a child eats salt dough
Dogs are the bigger risk, because salt dough ornaments smell like food to them and they can eat a whole one. The ASPCA and the American Animal Hospital Association both warn that homemade salt dough ornaments can poison dogs. Signs include vomiting, diarrhea, extreme thirst, wobbliness, tremors and seizures, and it can be fatal.

Pet-safe salt dough habits
For more on supervising messy play, see our play safety notes and our Christmas sensory bin ideas, which include taste-safe options for toddlers who still mouth everything.
Want more December crafts while the ornaments dry? Our kids Christmas crafts by age has ideas from toddler to age 8, and the Christmas Activity Pack adds a 24-day countdown, picture bingo and coloring pages.
Frequently asked questions
What is the ratio for salt dough ornaments?
Use two parts flour to one part salt, with about one part water added slowly: 1 cup all-purpose flour, 1/2 cup table salt and about 1/2 cup warm water. Add flour if it's sticky and a few drops of water if it cracks.
What temperature do you bake salt dough ornaments at, and for how long?
Bake low and slow at 200 to 250°F. Ornaments about 1/4 inch thick often take 1 to 3 hours depending on the temperature, flipped halfway. Thicker handprint ornaments take longer. They're done when they're hard and sound hollow when tapped.
Can you air dry salt dough ornaments instead of baking?
Yes. Set them on a wire rack in a warm, dry spot and flip them once a day. It can take several days or up to a week, longer in damp weather. Air drying also helps prevent puffing.
Why did my salt dough ornaments puff up?
Puffing usually means the oven was too hot or the flour was self-rising. Use all-purpose flour, bake at 200 to 250°F, and try air drying overnight before baking. Also check that your recipe wasn't written in Celsius.
How long do salt dough ornaments last?
Sealed on every side and stored in a dry container, salt dough ornaments can last for years. Unsealed ones can soften or crumble when they pull in moisture from the air.
Is salt dough safe for kids and dogs?
It's safe to craft with under supervision, but it's not food. It's high in salt, which can be dangerous for small children and dogs if eaten. If a child eats some, call Poison Help at 1-800-222-1222. If a dog eats some, call your vet or a pet poison line right away.

Save it for later
Pin this to your Holiday Crafts board so it's there when you need it.
Save to Pinterest