This post contains affiliate links. As an Amazon Associate we earn from qualifying purchases, at no extra cost to you. Read our disclosure.
Safety first: Always supervise little ones, and skip small parts for kids who still put things in their mouths. Please read our play safety notes before you start.
Key takeaways
- One binder, six tabs and one page per tab is enough to start.
- Clear page protectors and a dry-erase marker make every page reusable.
- Ten minutes a day for six weeks beats one big weekend session.
- Match the page to your child's interest first, then to their age.
- Keep markers capped and small counters in a pouch, with an adult nearby.
In this post14 sections
- What a preschool learning binder is (and is not)
- What you need
- Set up your binder in 5 steps
- The 6 binder sections
- 1. Letters
- 2. Numbers and counting
- 3. Shapes and colors
- 4. Fine motor and tracing
- 5. Patterns and sorting
- 6. All about me
- A 6 week rotation (10 minutes a day)
- Binder tweaks for ages 3, 4 and 5
- Mistakes that make a binder collect dust
- FAQ
What a preschool learning binder is (and is not)
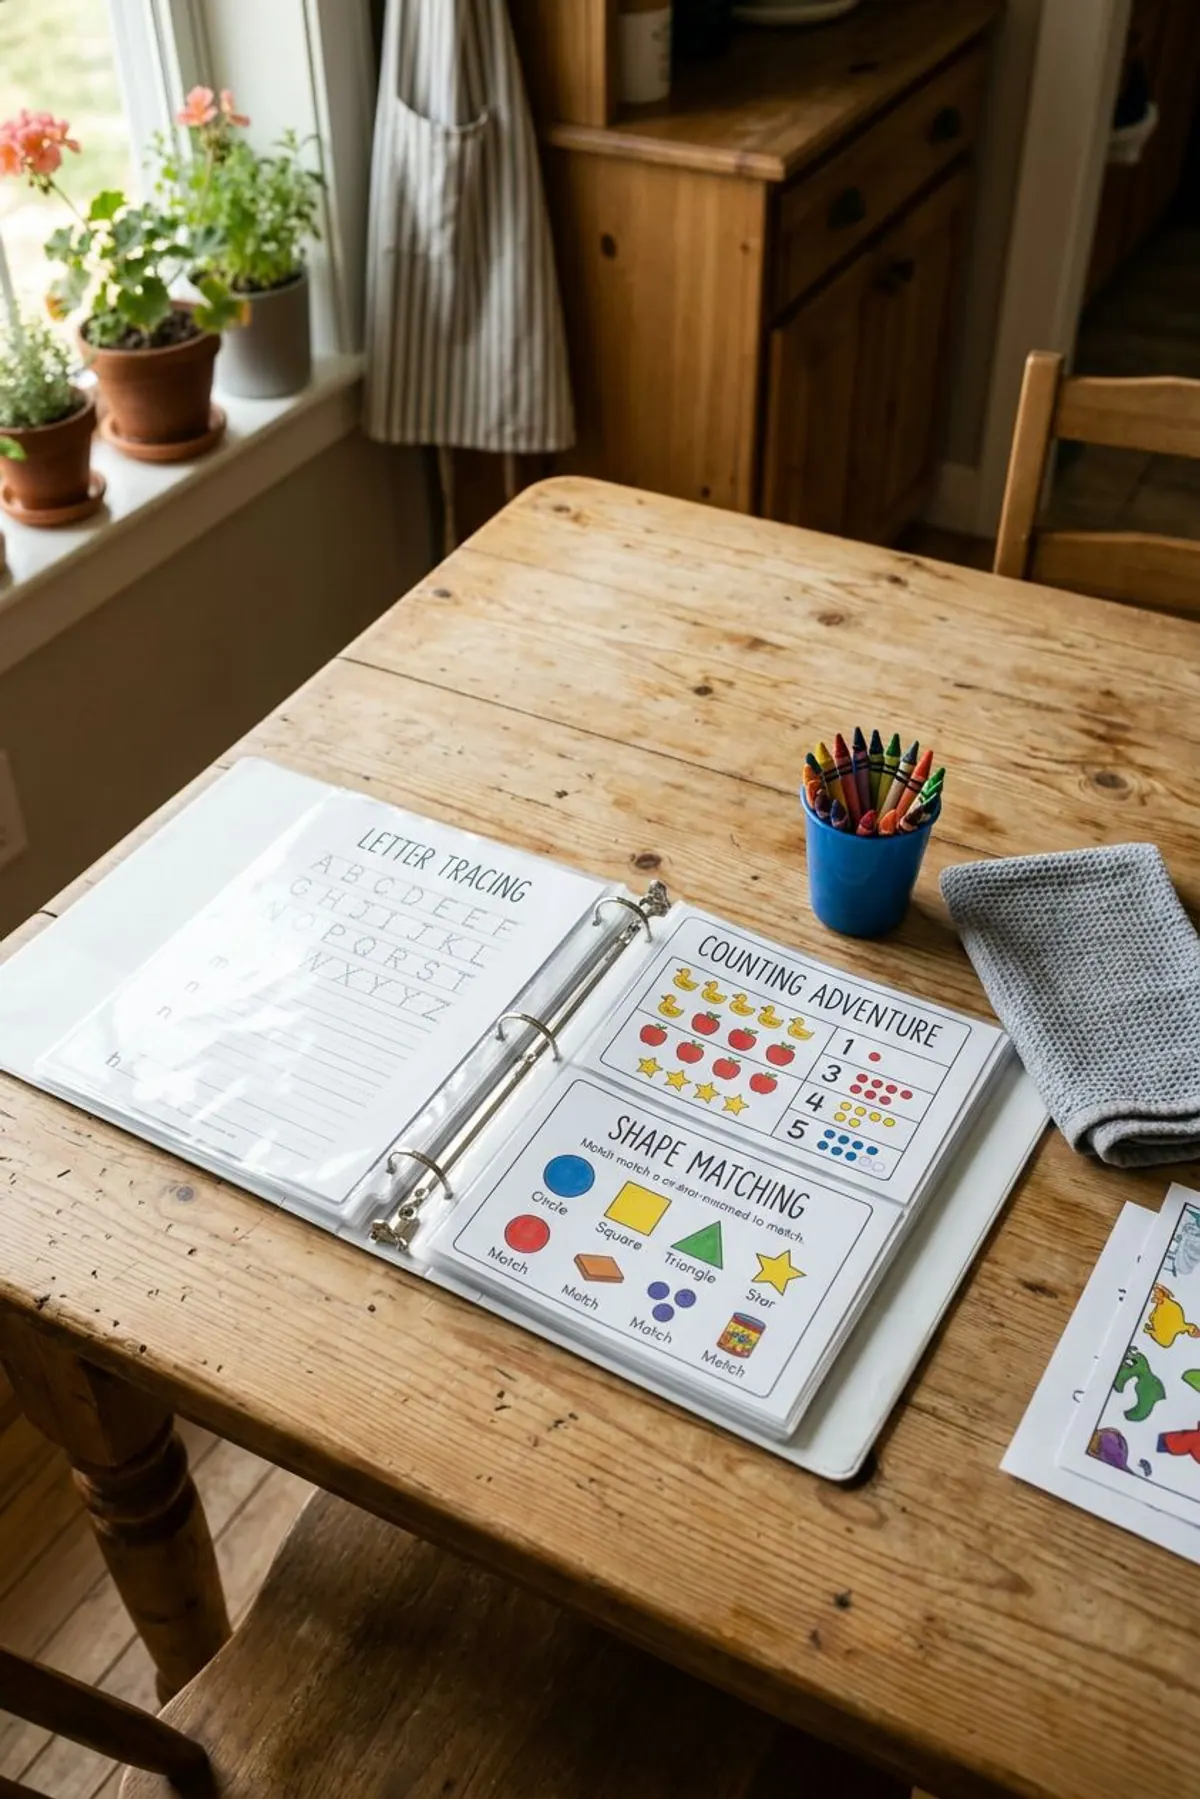
A preschool learning binder is a three-ring binder with one page per skill, each slid into a clear page protector. Your child traces and marks the page with a dry-erase marker, wipes it clean and does it again. It is a short, repeatable routine, not a curriculum or a worksheet pile.
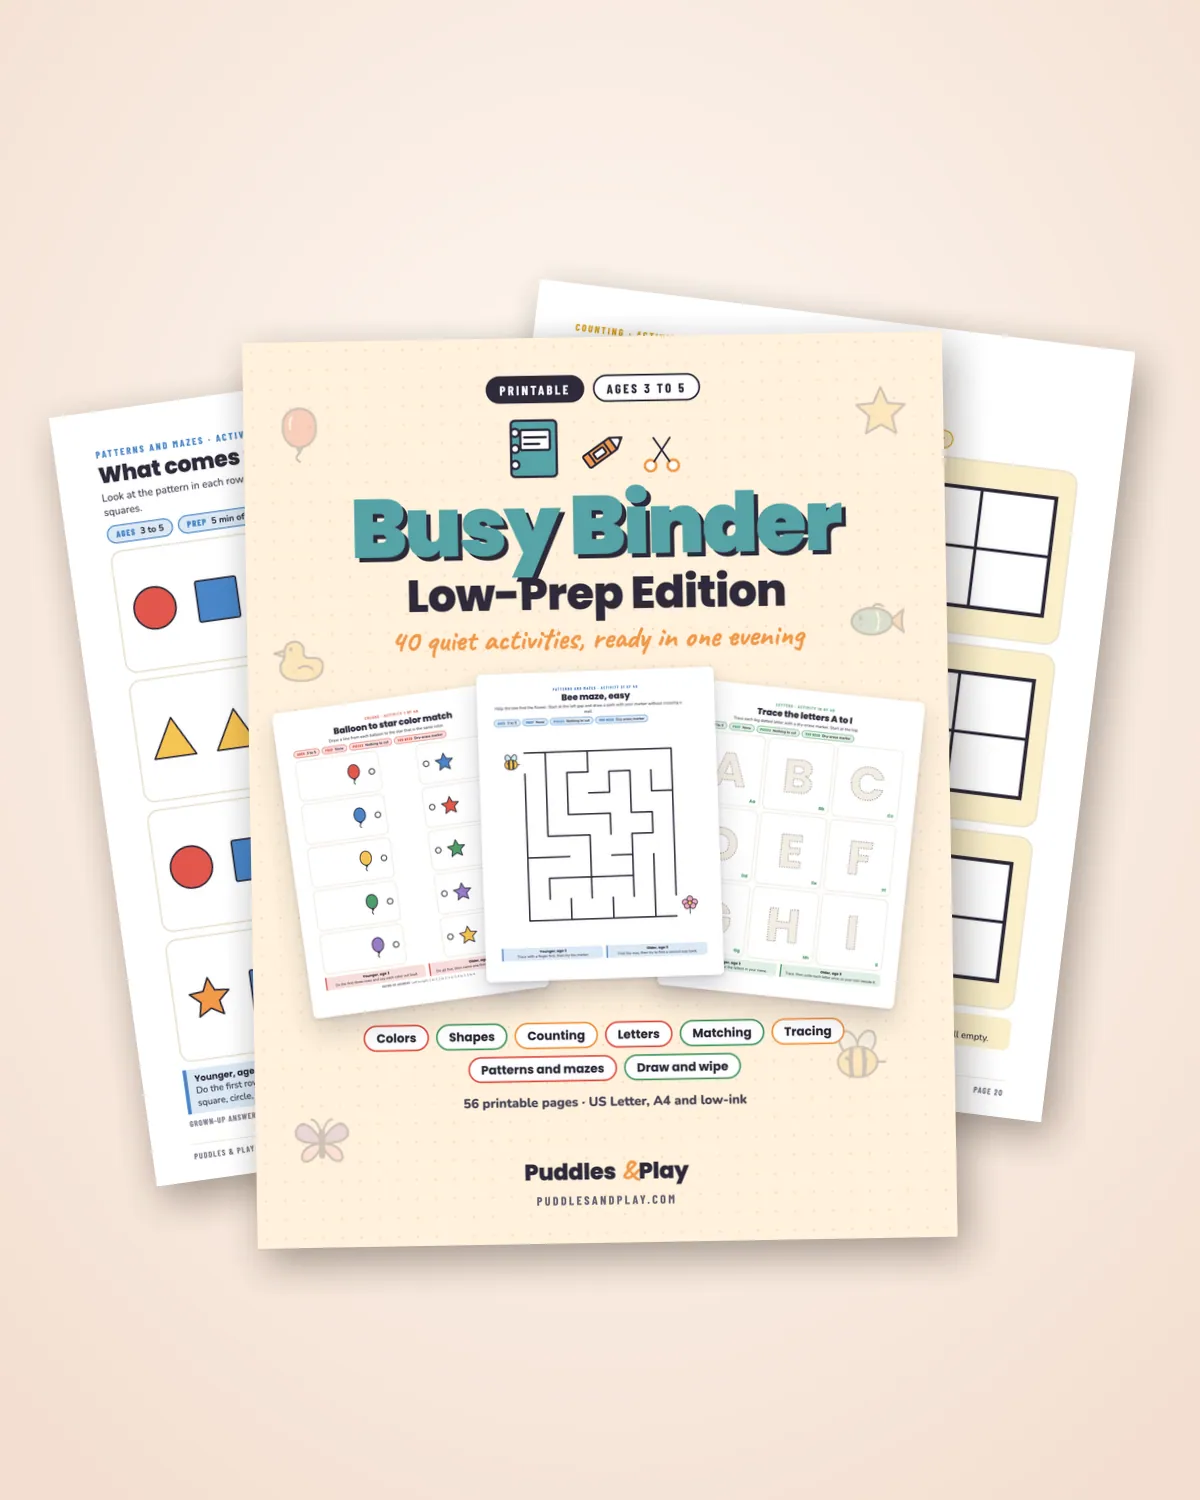
The setup below works with pages you draw by hand, print yourself or buy. We do not hand out a free printable pack here, so each section describes the page you need and how to use it. If you want ready-made pages, our Busy Binder for Toddlers has 40 activities for ages 3 to 5. Some links on this page are Amazon links, and we may earn a small commission if you buy.
What you need
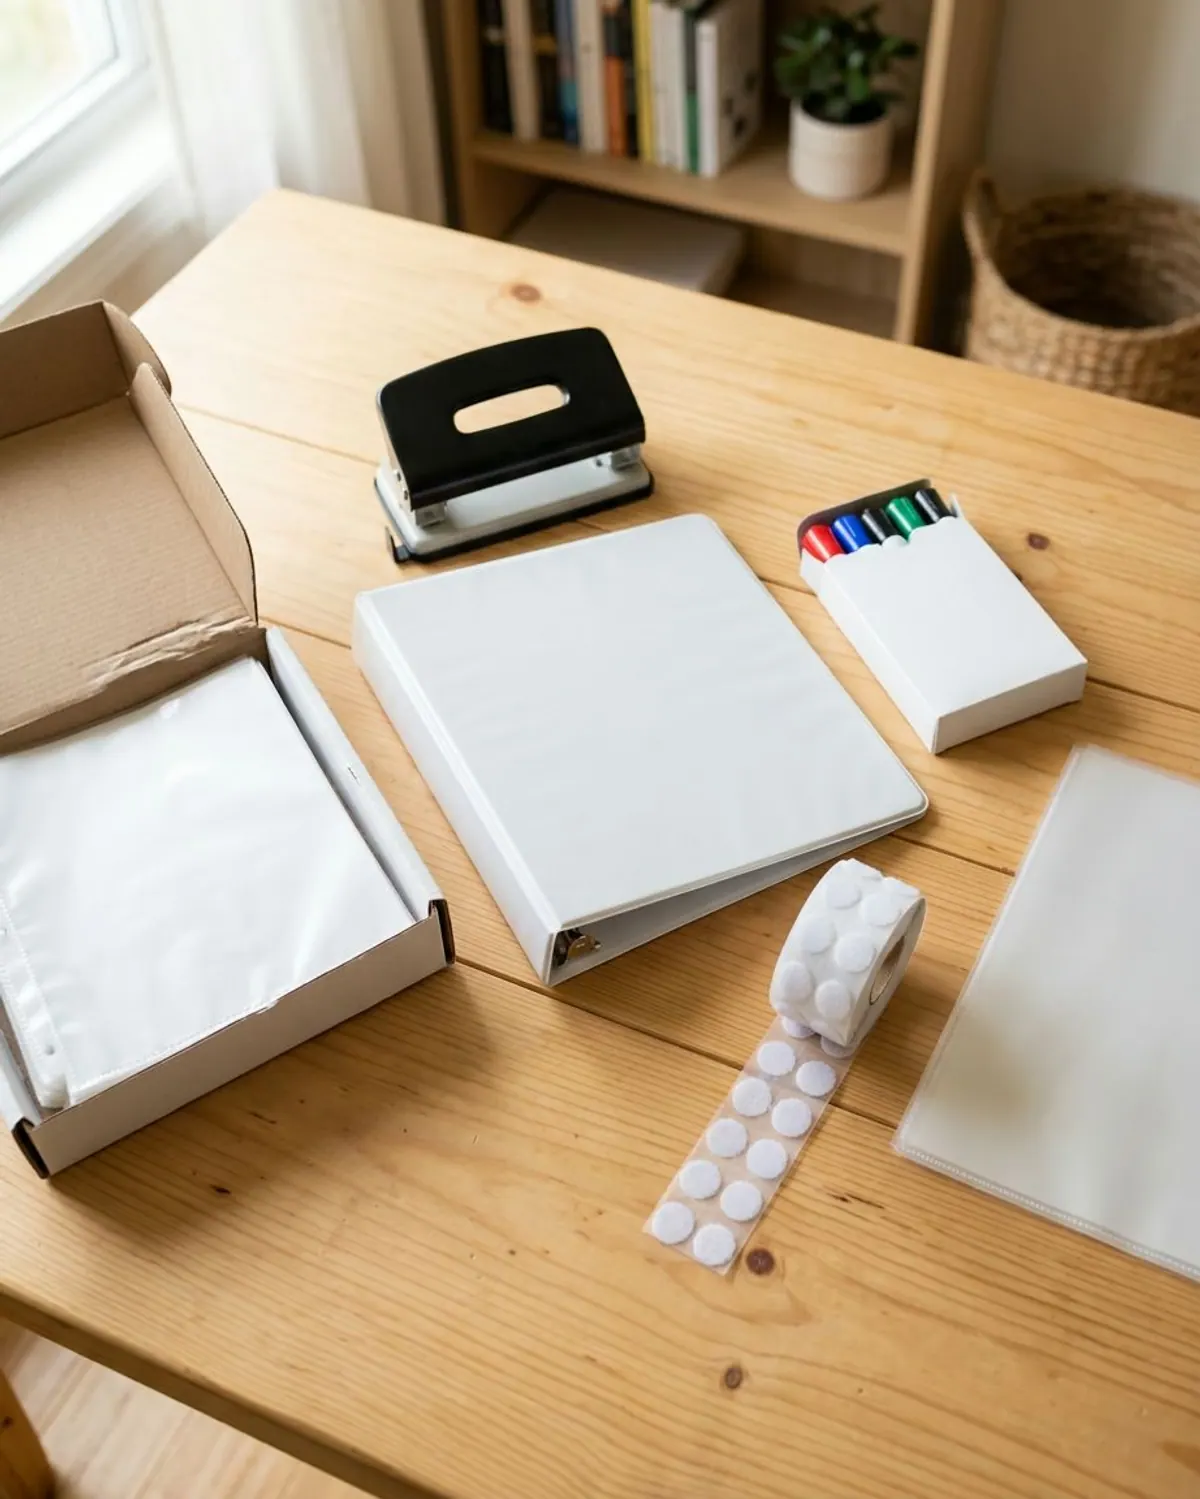
Learning binder supply list
Set up your binder in 5 steps
-
Step 1: Pick a binder your child can open
A 1 inch binder opens flat and weighs little. A big binder is hard for small hands and slides off the table.
-
Step 2: Make 6 tabs
Label the tabs Letters, Numbers, Shapes and colors, Fine motor, Patterns and All about me. Add a small sticker to each so a pre-reader can find them.
-
Step 3: Add one page per tab
Start with a single page in each section. A short binder feels doable and you can add pages as your child gets ready.
-
Step 4: Add a tool pouch
Clip a pouch inside the front cover for markers, a cloth and counters. This means the binder is ready to go wherever it lands.
-
Step 5: Set a 10 minute habit
Pick one time, like after breakfast, and do one page. Stop when your child stops, even at 3 minutes.
The 6 binder sections
Each section lists the age, prep time and mess level, plus supplies and a safety note. Start at the section that matches your child's interest, not the one that matches their age.
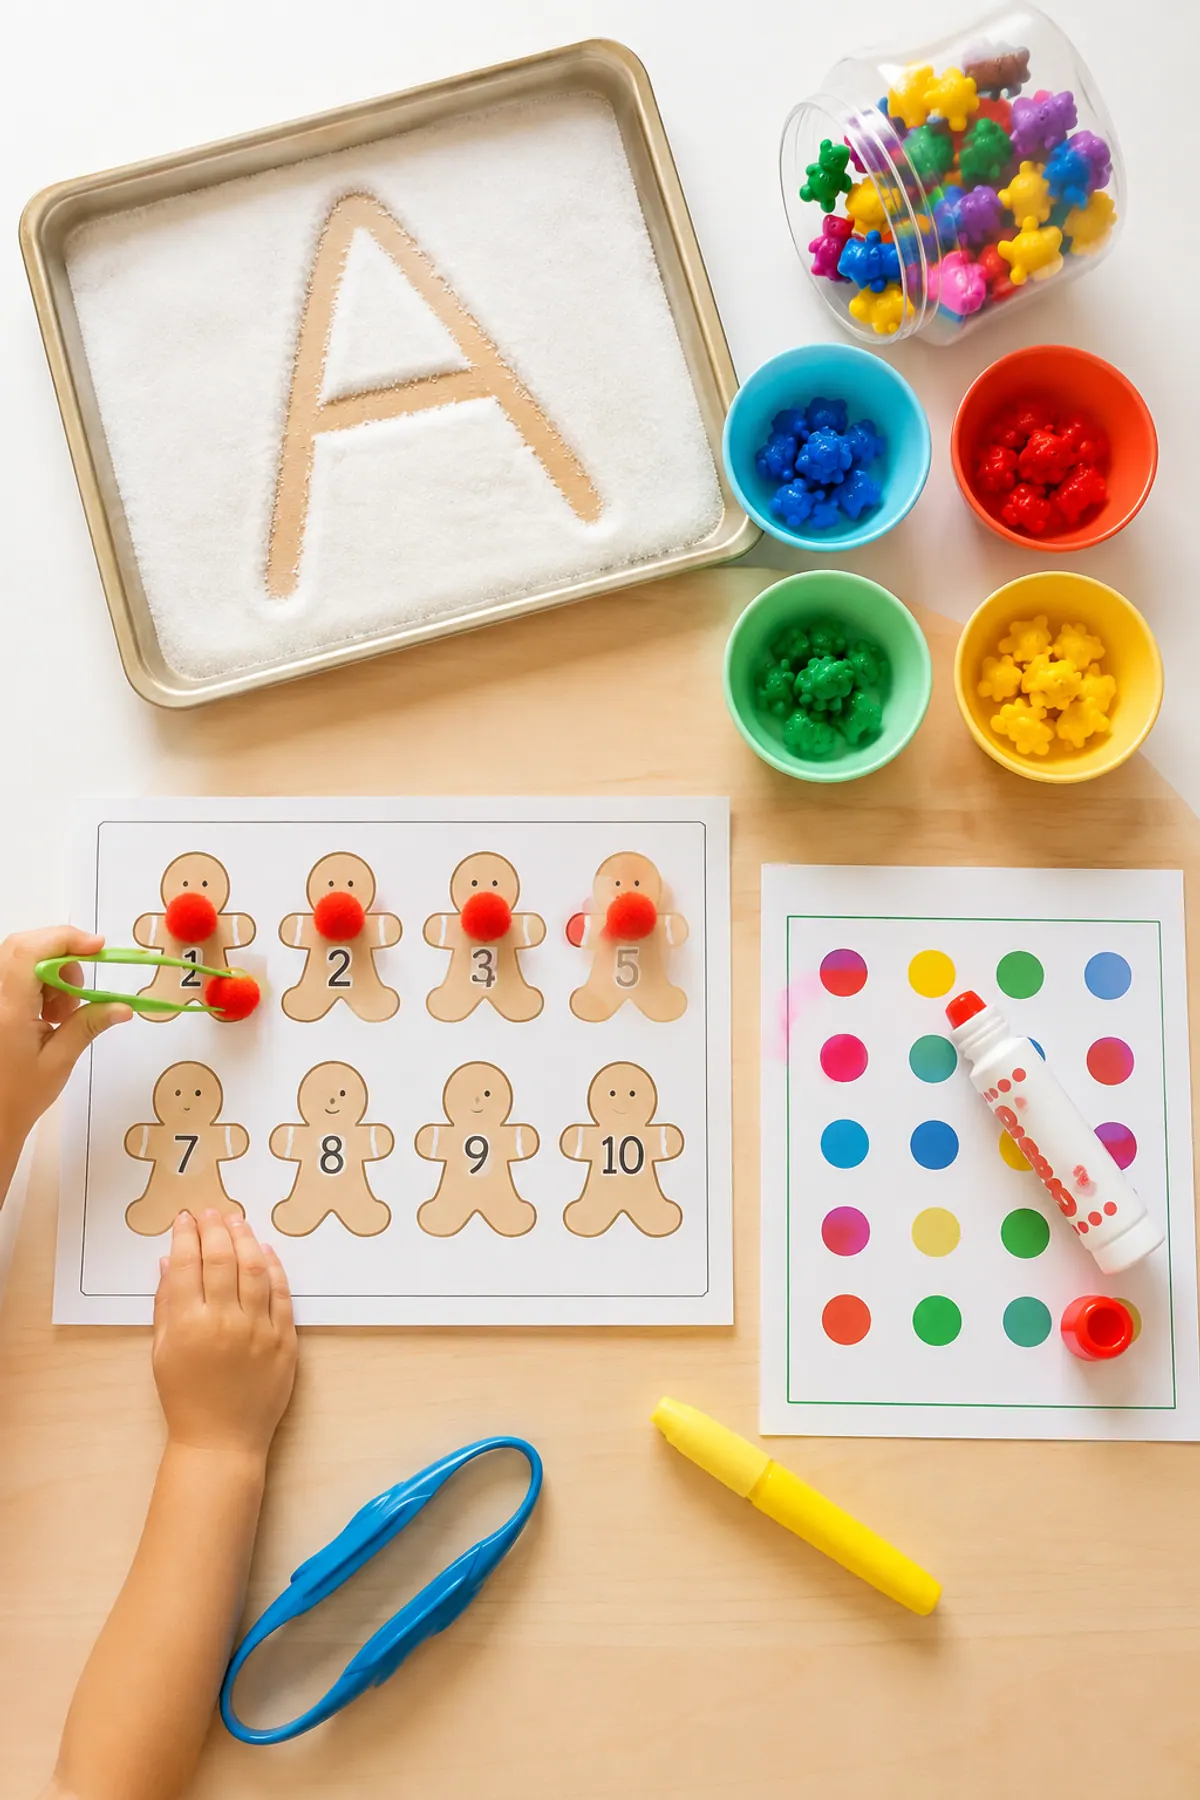
1Letters
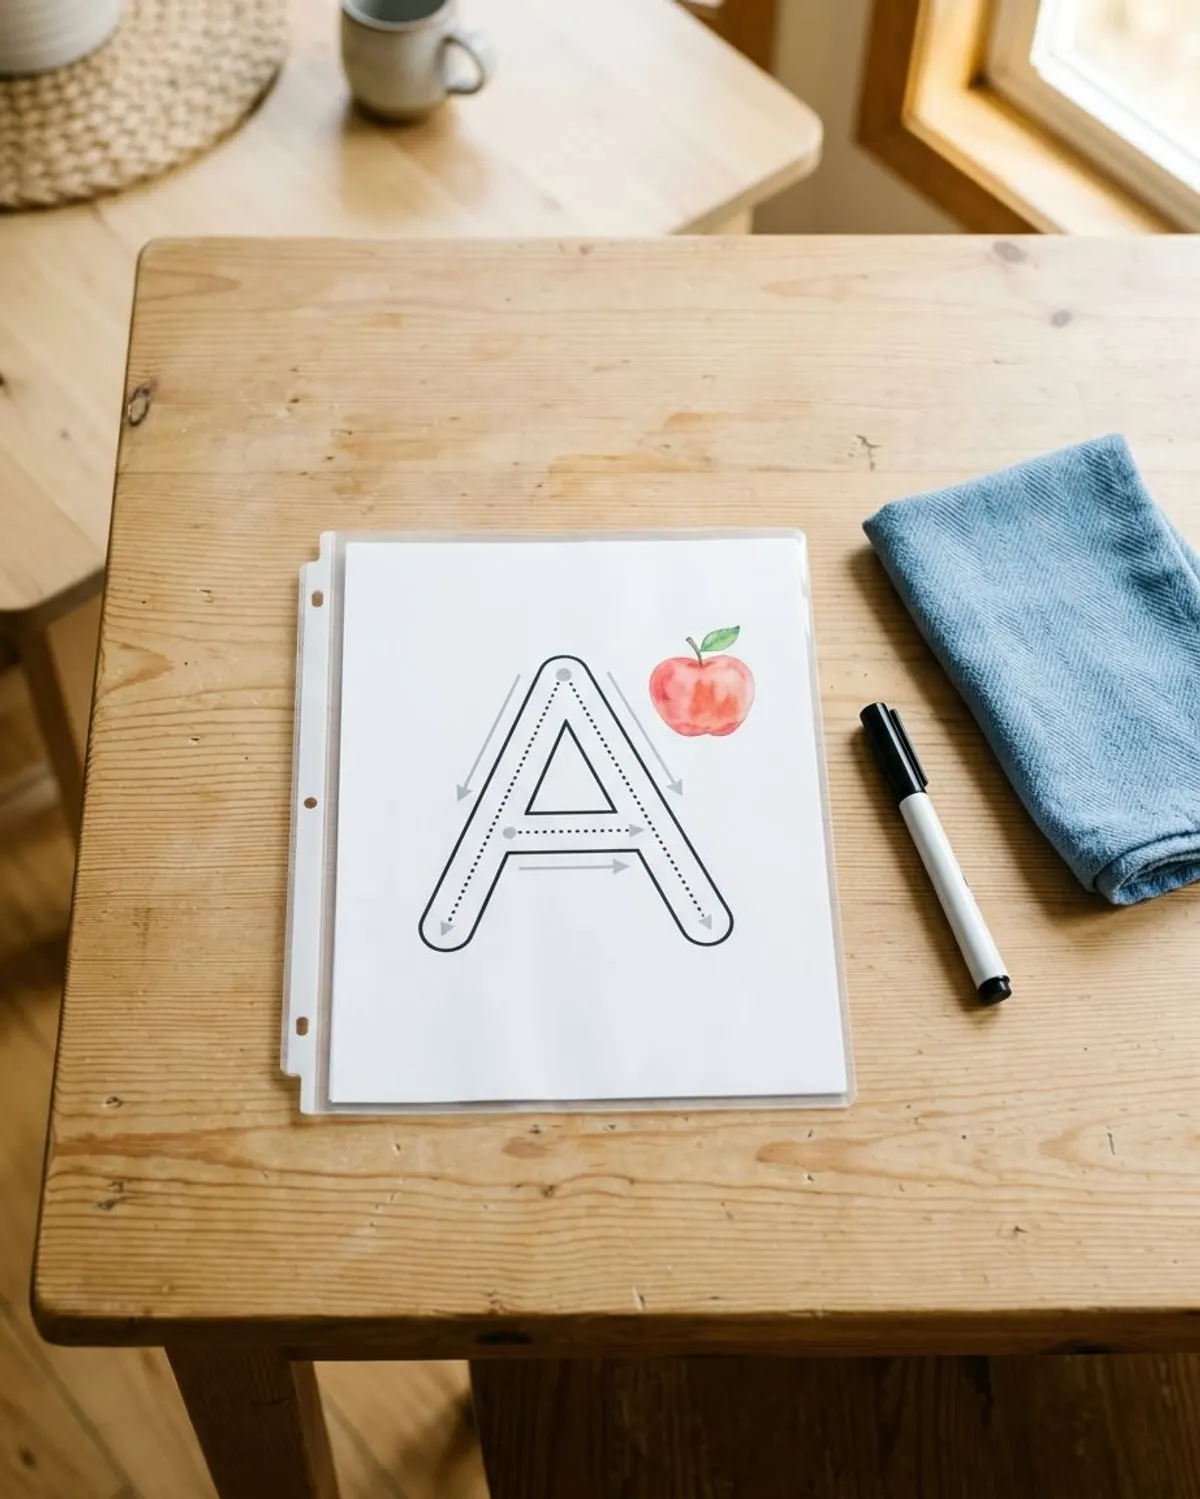
Start with the first letter of your child's name. Make a big letter, one picture that starts with it and arrows that show where to start. Your child traces with a finger first, then a dry-erase marker.
Ages: 3 to 5 years.
Prep: 10 minutes for the first page.
Mess: none.
Supplies: page protector, chunky dry-erase marker, cloth.
- Safety: keep marker caps on when not tracing and stay with a child who mouths things.
Thicker barrels are easier for small hands.
2Numbers and counting
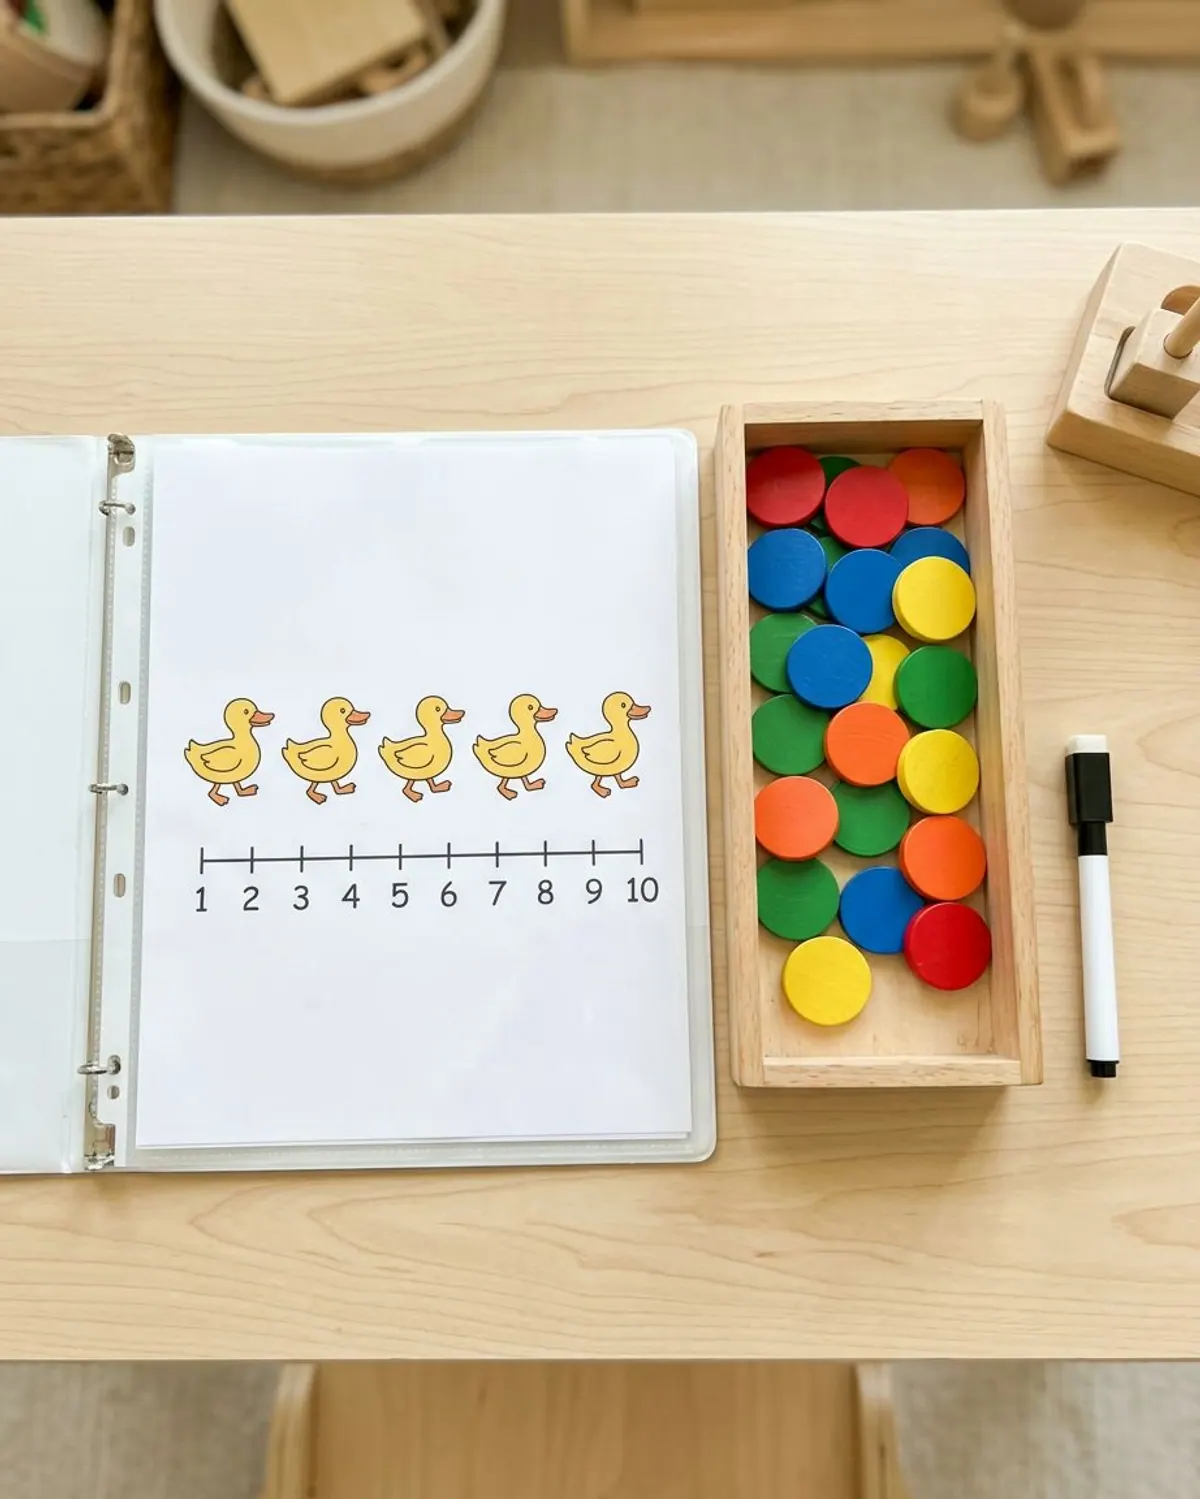
Draw 5 ducks or apples, add a number line from 1 to 10 and let your child touch each duck as they count. Add large counters and have them place one on each duck, then circle the number.
Ages: 3 to 5 years.
Prep: 10 minutes.
Mess: none.
Supplies: page protector, large counters, dry-erase marker.
- Safety: use counters bigger than a toilet paper tube opening for any child who mouths objects.
Big, flat counters for sorting and counting.
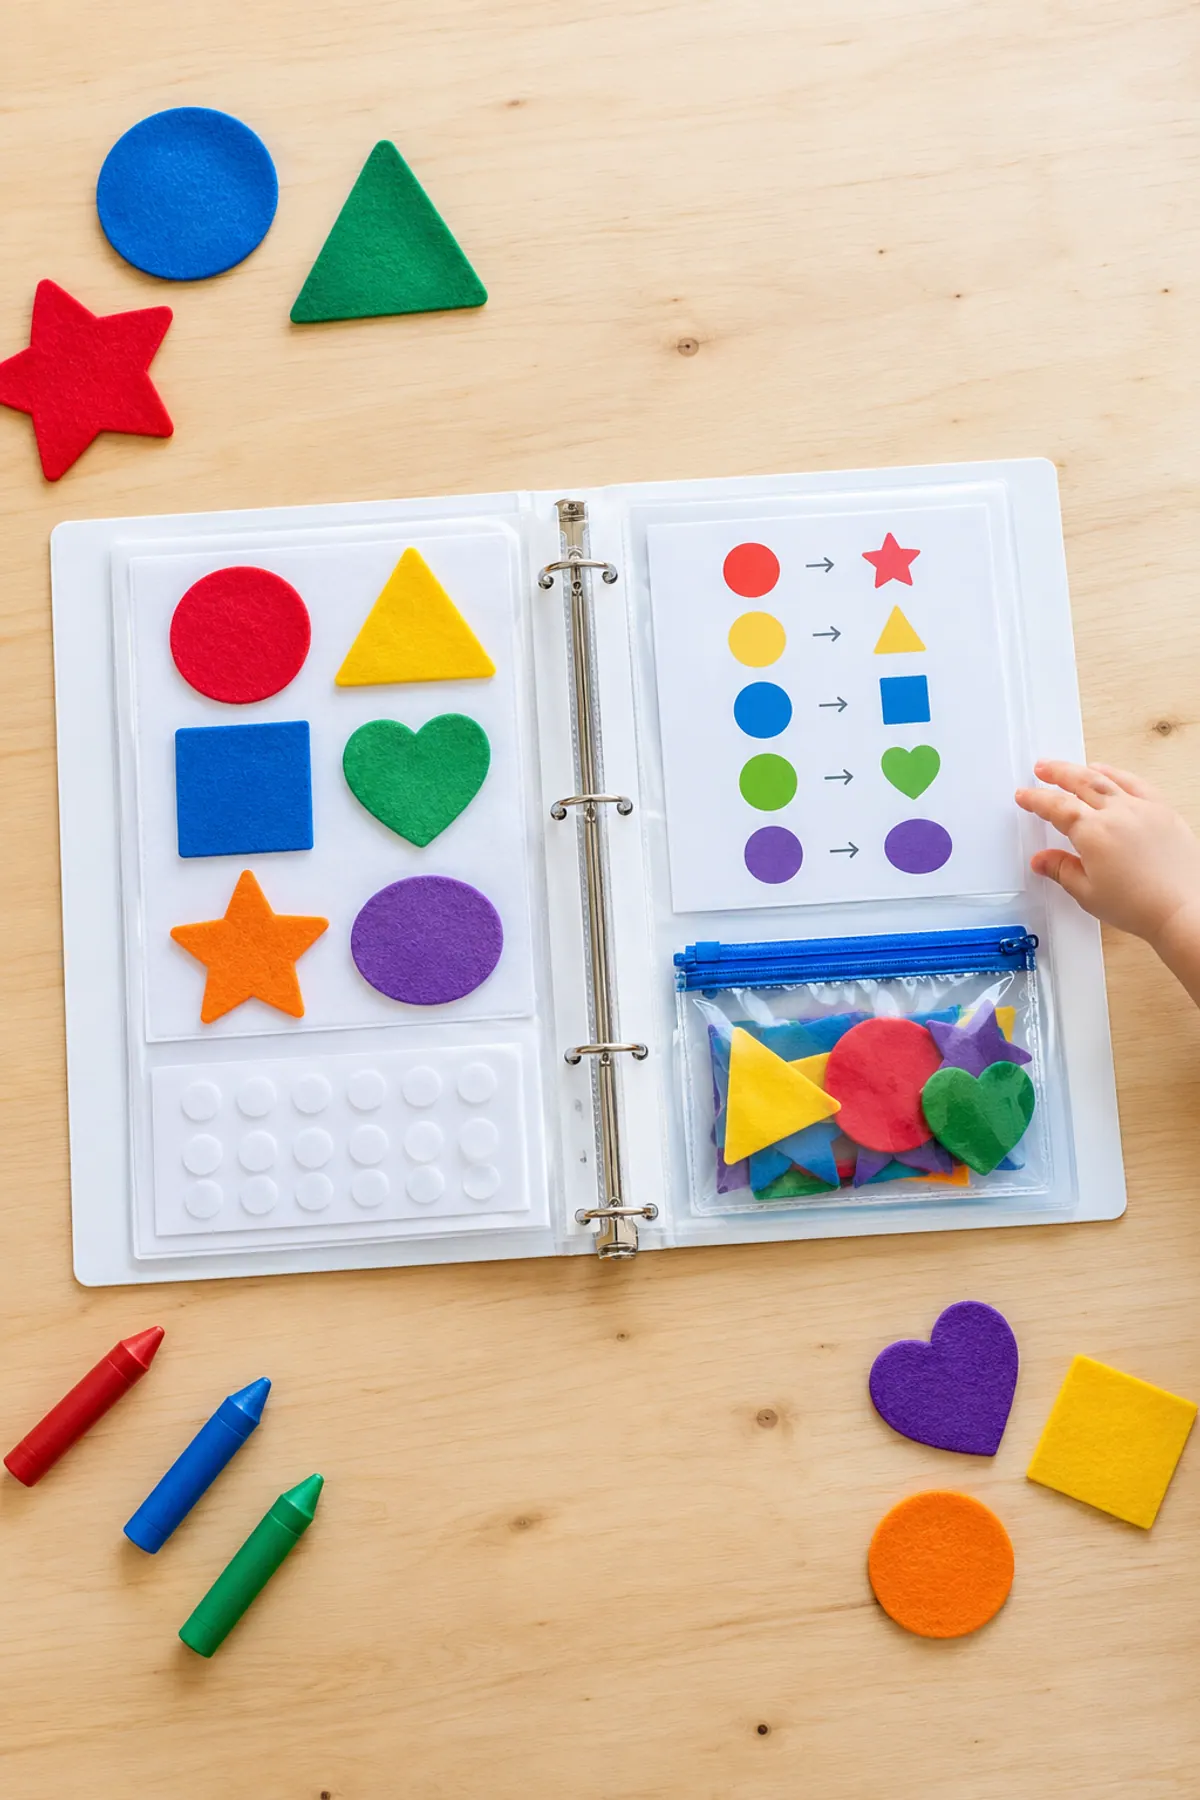
3Shapes and colors
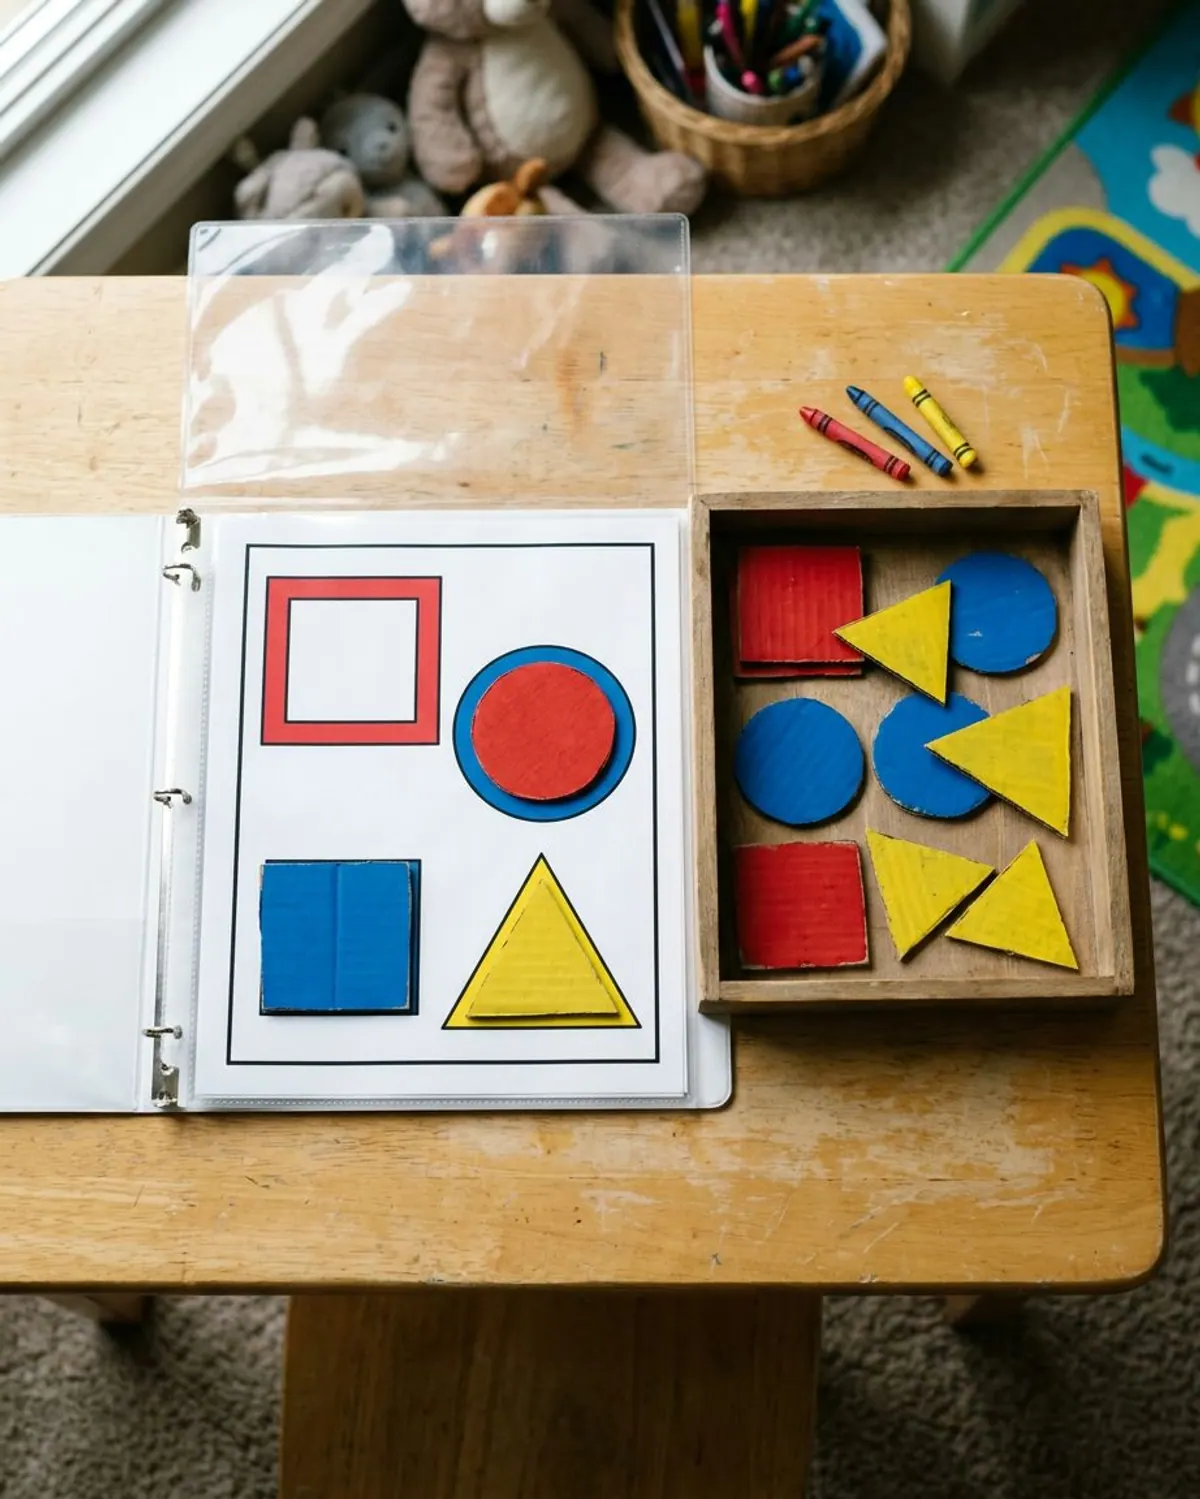
Draw an outline of a circle, square, triangle and rectangle on a page. Cut matching shapes from colored cardstock and add a hook-and-loop dot so your child can stick each shape onto its outline.
Ages: 3 to 5 years.
Prep: 15 minutes (adult cutting).
Mess: none.
Supplies: cardstock, scissors, hook-and-loop dots.
- Safety: the dots are small. Store them in the pouch and skip this page if your child still mouths objects.
Lets shapes stick and come off again.
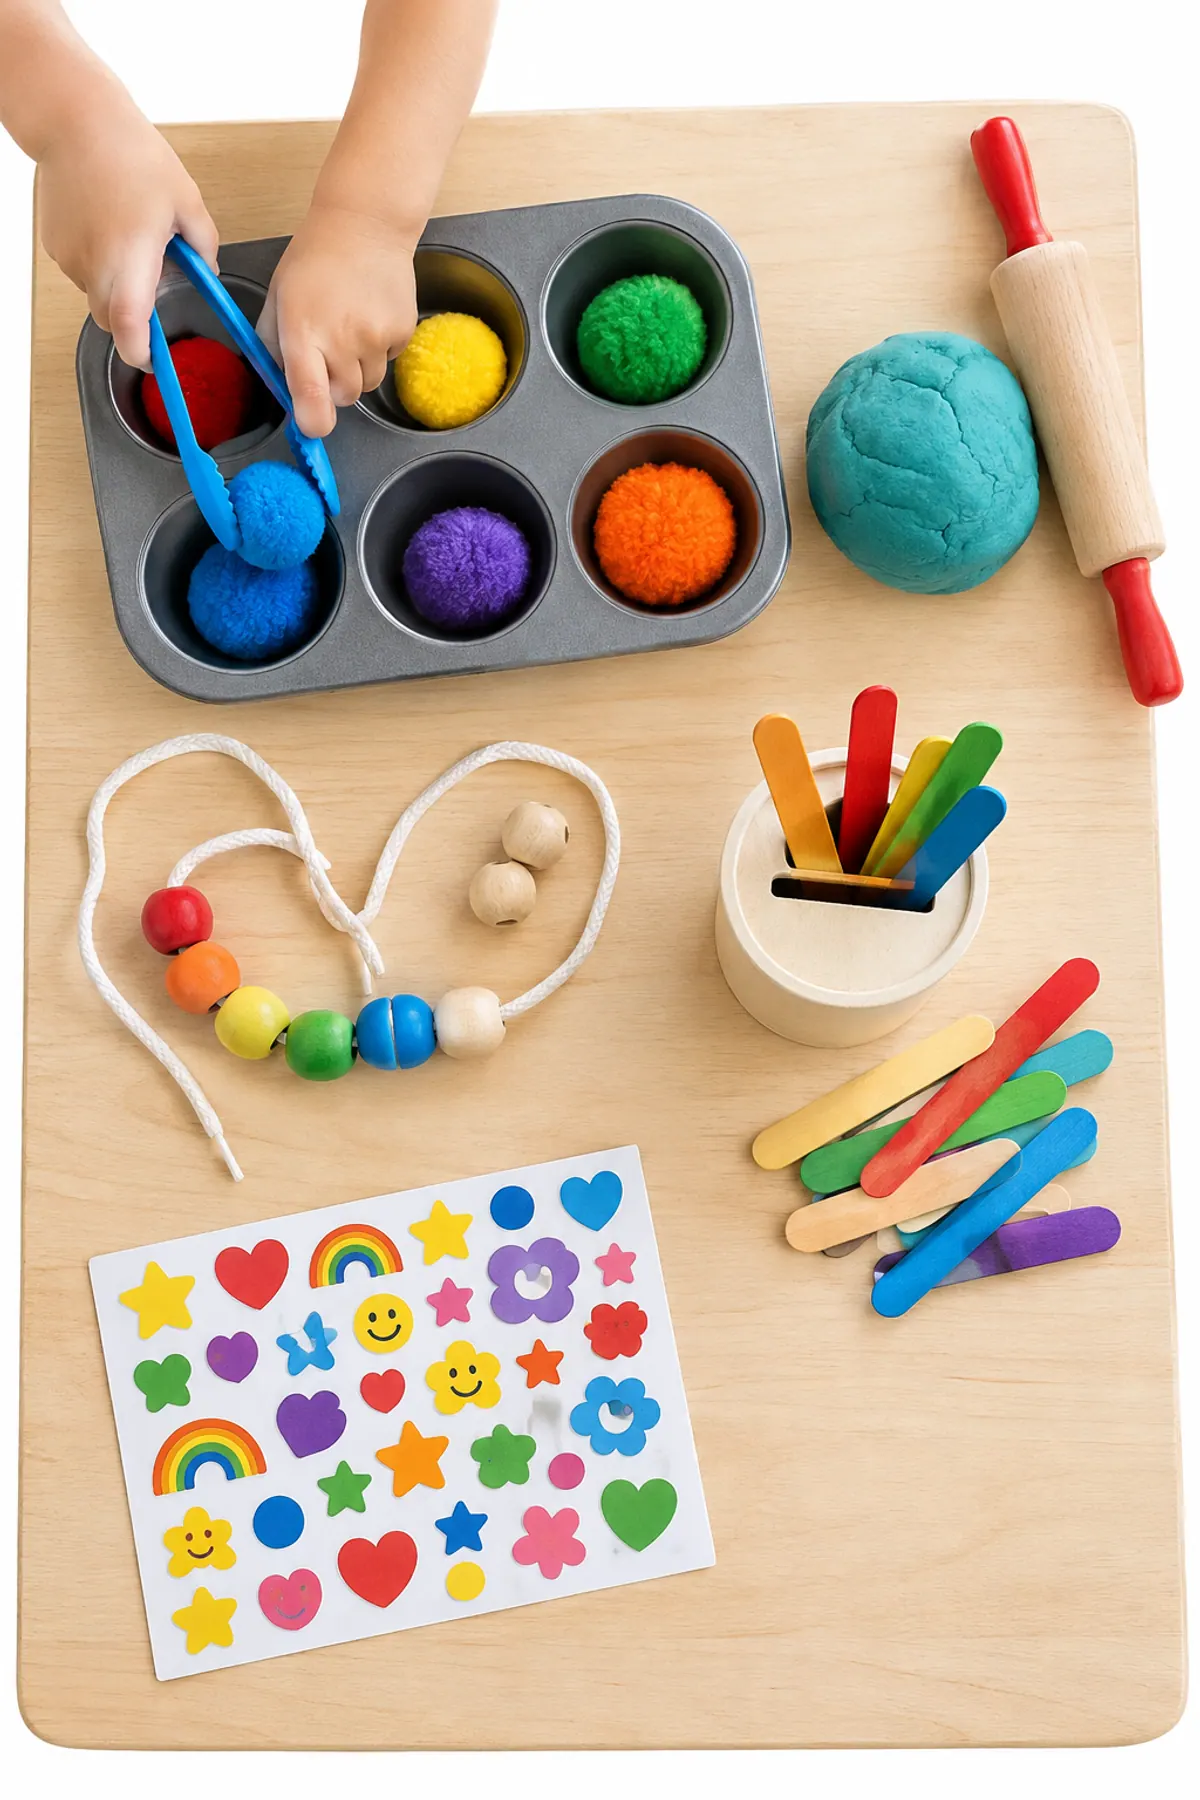
4Fine motor and tracing
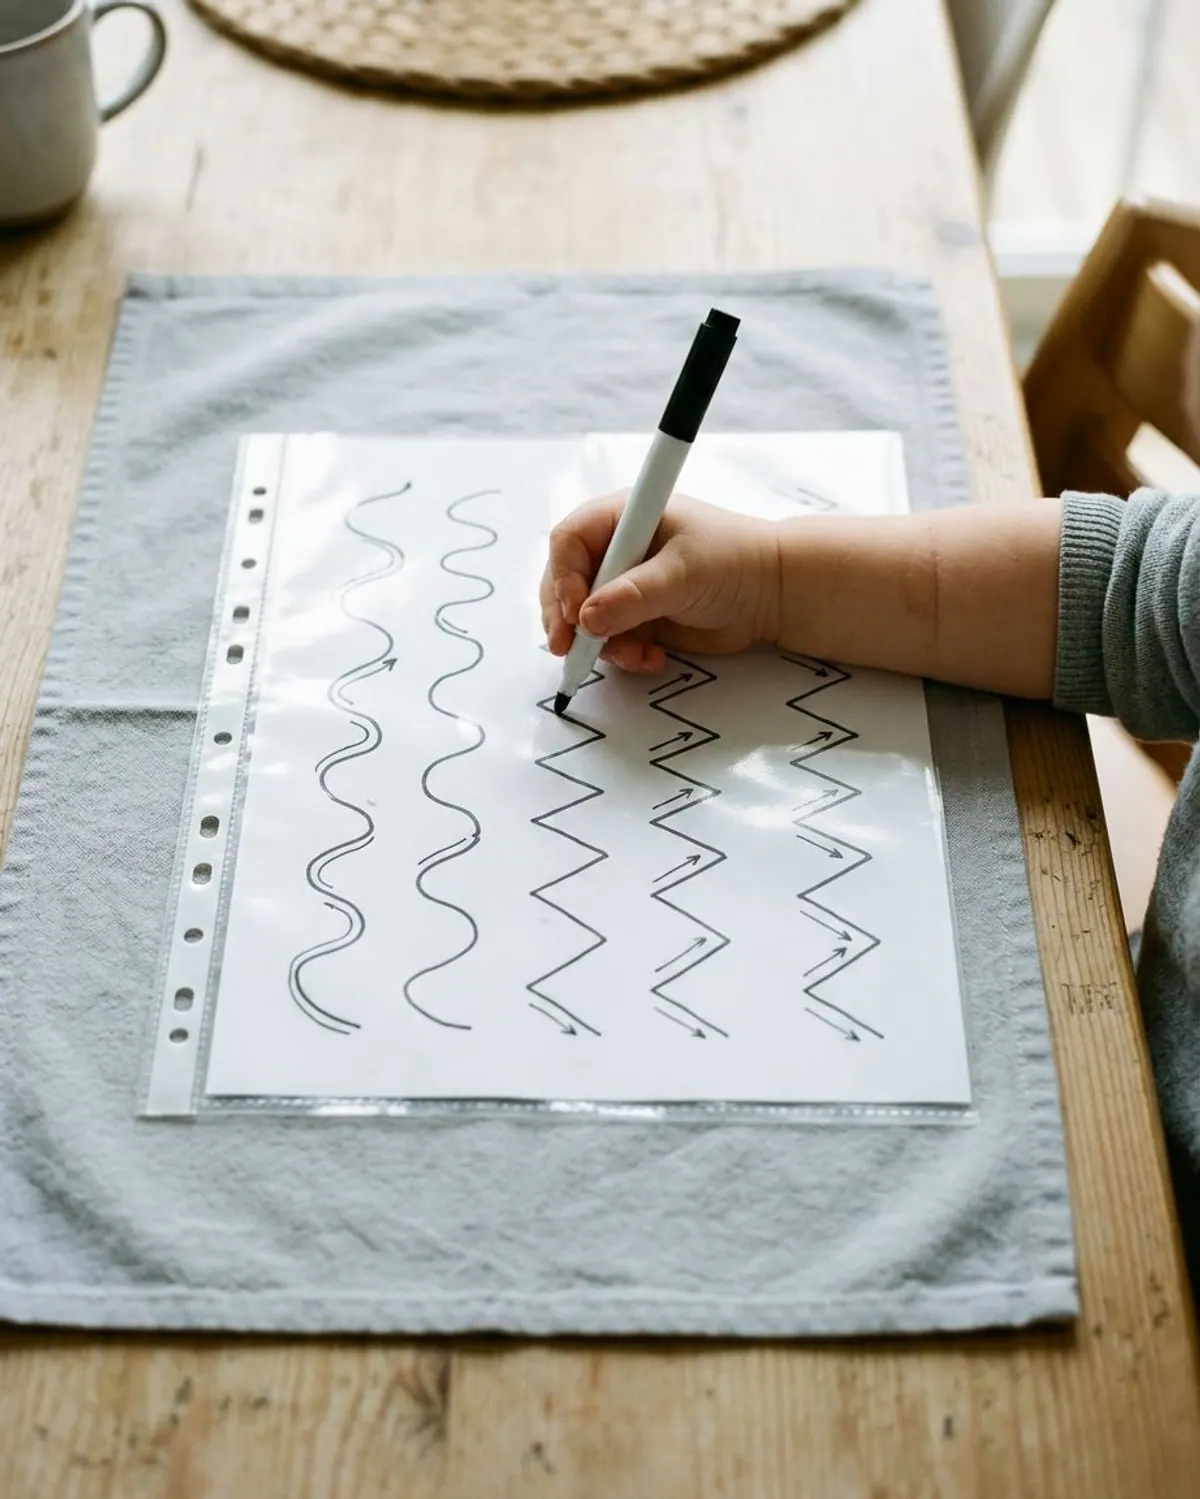
Make a page of wavy lines, zigzags, loops and a dotted path from a car to a house. Your child traces each line with a marker. These strokes are the same ones used for early writing.
Ages: 3 to 5 years.
Prep: 5 minutes.
Mess: none.
Supplies: page protector, chunky marker, cloth.
- Safety: keep caps on when not tracing.
The wipe-clean surface that makes the binder reusable.
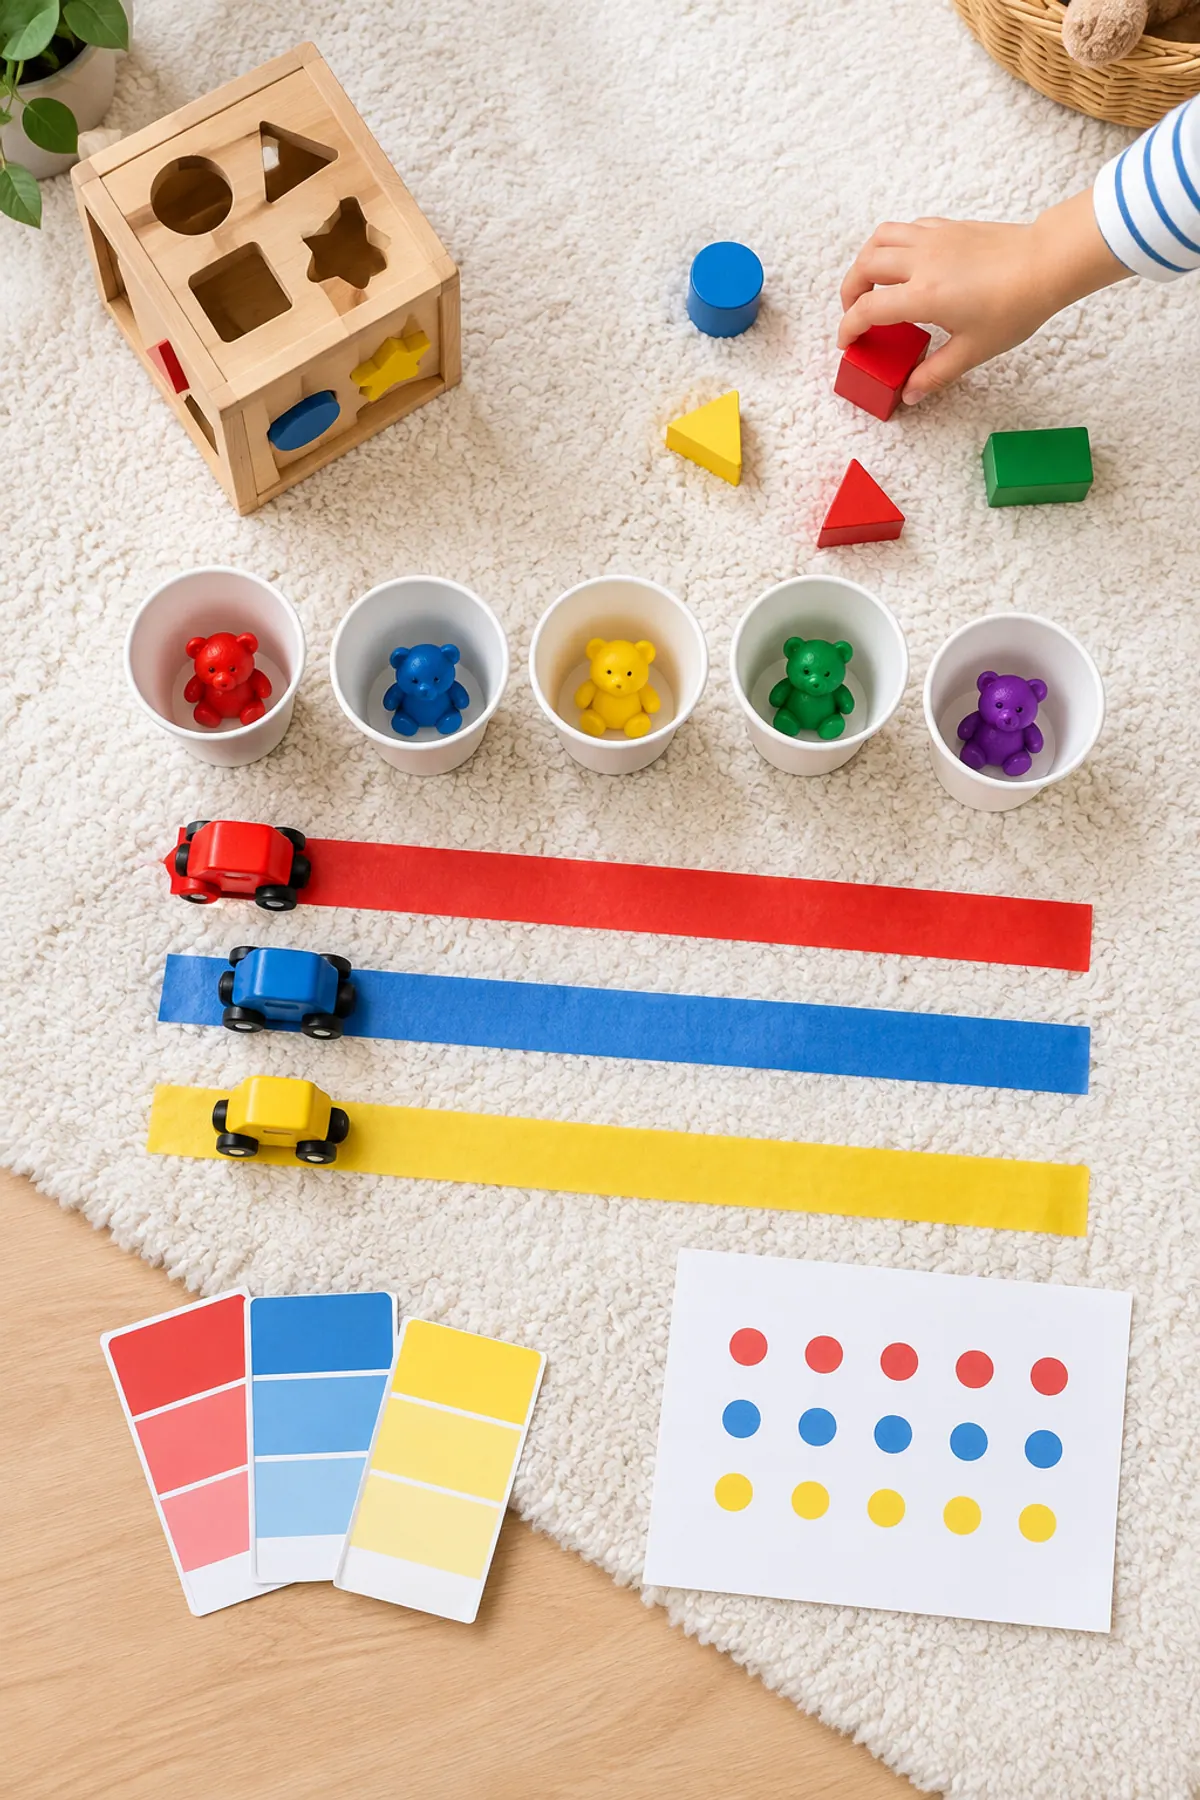
5Patterns and sorting
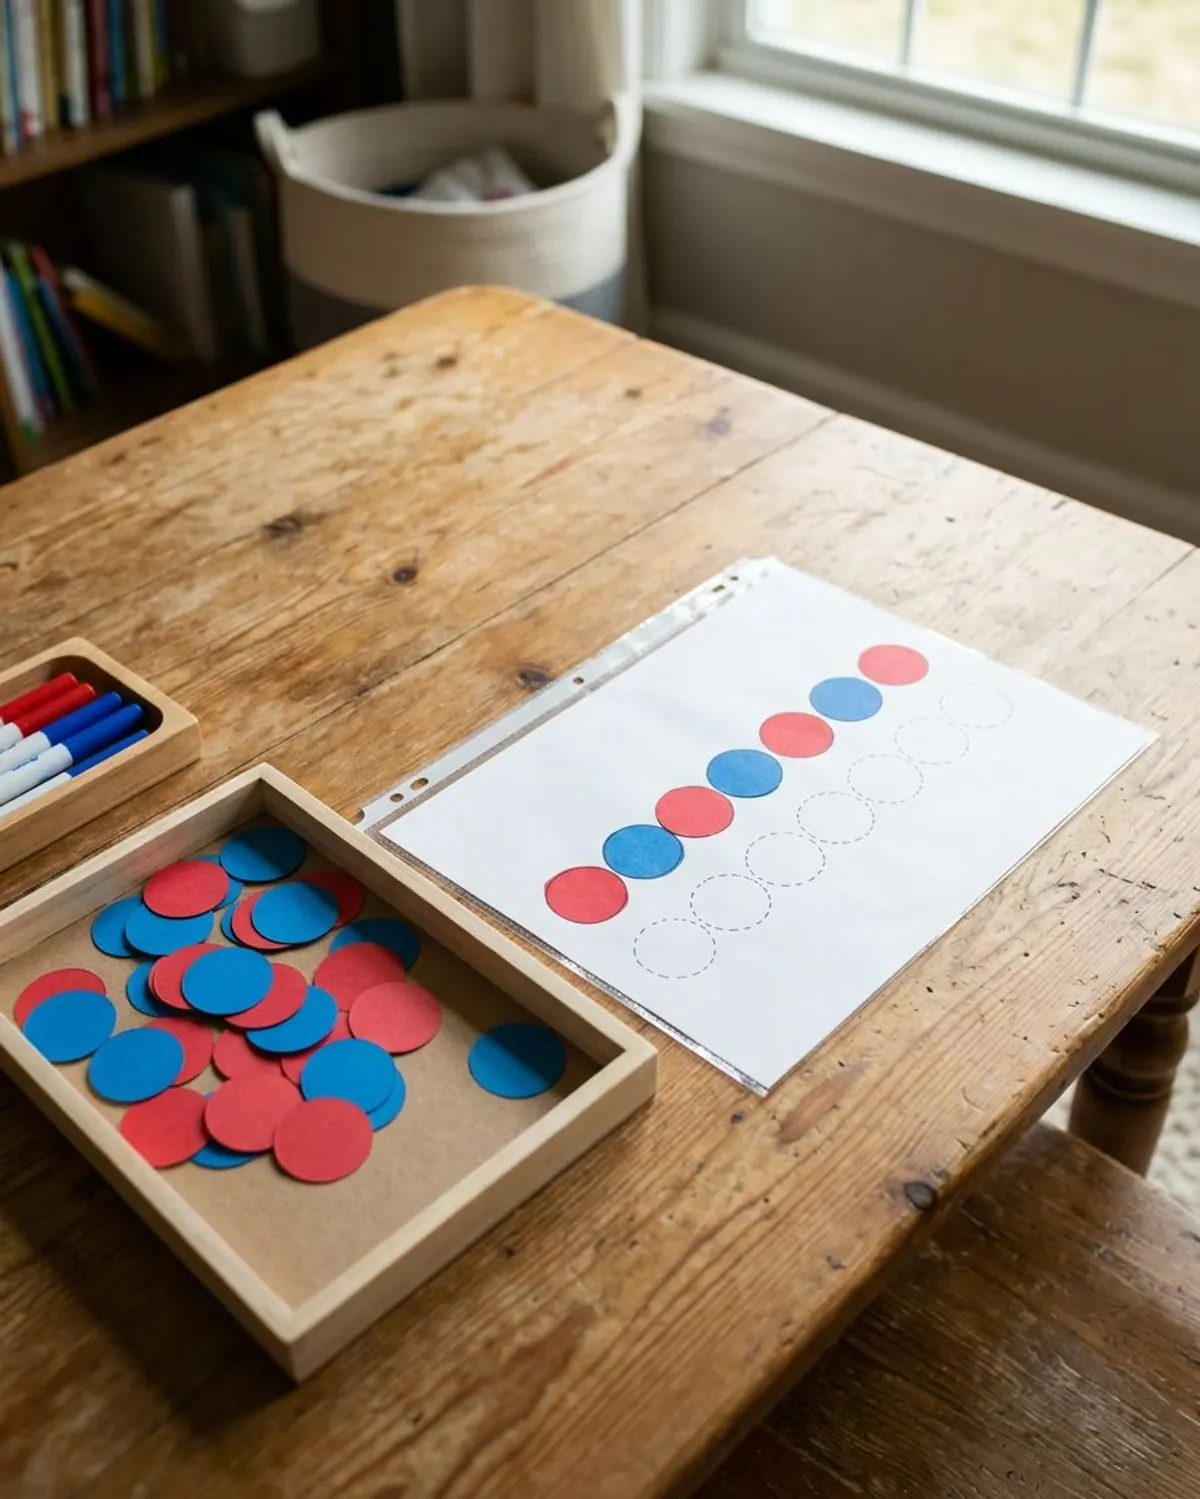
Draw a strip of red, blue, red, blue circles and leave empty dotted circles. Your child places colored paper circles to finish the pattern. Later, try three colors or a sort by color.
Ages: 3 to 5 years.
Prep: 10 minutes (adult cutting).
Mess: none.
Supplies: colored paper, scissors, hook-and-loop dots.
- Safety: paper circles are fine, but use big circles so they do not go in a mouth.
Cut shapes and circles for patterns and sorting.
6All about me
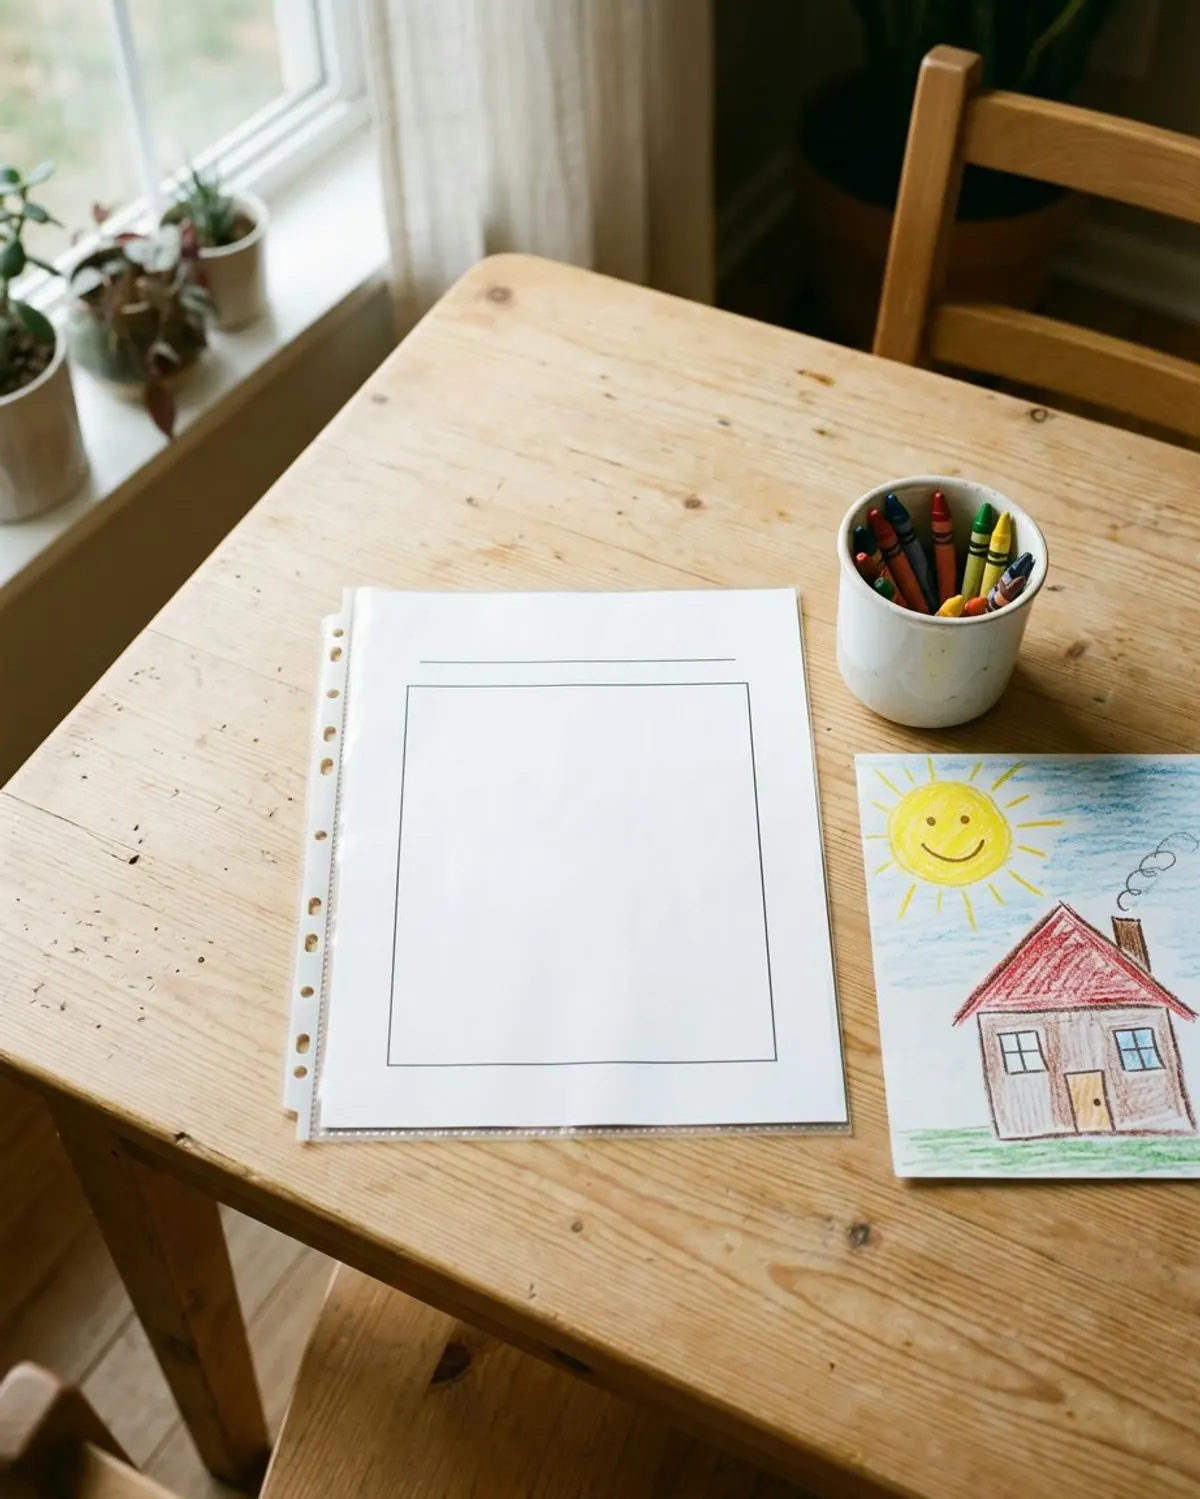
Make a page with a line for your child's name, a box for a drawing and space for their age. Add a new drawing each month. It becomes a keepsake and shows progress over time.
Ages: 3 to 5 years.
Prep: 5 minutes.
Mess: low.
Supplies: page protector, crayons or pencil.
- Safety: crayons and pencils only, no scissors, unattended.
Chunky crayons for the drawing box.
A 6 week rotation (10 minutes a day)
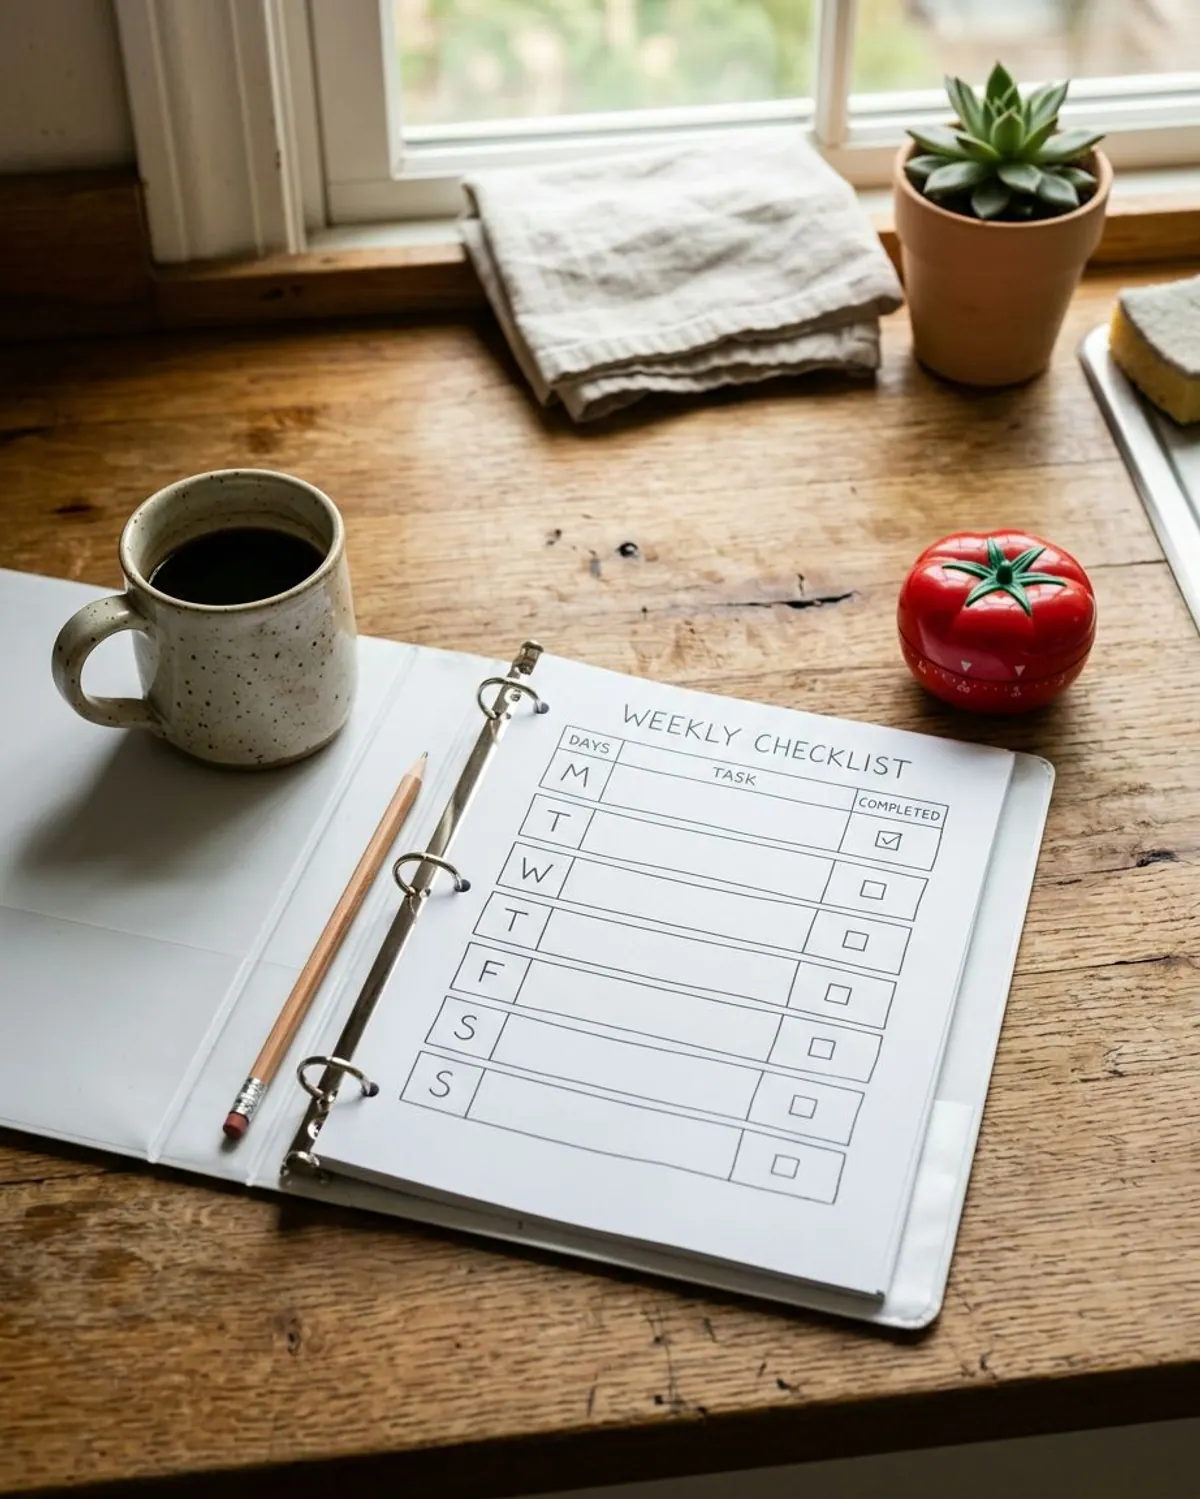
You do not have to use the whole binder at once. This plan rotates one section a week, with a repeat of the favorites. Five days a week is enough, so skip weekends if it is more fun that way.
| Week | Focus | Binder page | 10 minute activity |
|---|---|---|---|
| 1 | Letters | Letter tracing page | Trace the first letter of your child's name and find objects that start with it |
| 2 | Numbers | Counting page | Count stairs, spoons or toys and mark the number |
| 3 | Shapes and colors | Shape matching page | Find a circle, square and triangle in the house |
| 4 | Fine motor | Line tracing page | Trace the page, then make big lines in a tray of dry rice or on paper |
| 5 | Patterns | Pattern strip | Make a pattern with blocks, then on the page |
| 6 | All about me | Name and drawing page | Draw your family and review your favorite page |
Binder tweaks for ages 3, 4 and 5
| Age | Letters and numbers | Fine motor | Patterns |
|---|---|---|---|
| 3 years | Trace big letters, count to 5 | Straight and wavy lines | Red and blue AB pattern |
| 4 years | Name letters and count to 10 | Zigzags, loops and shapes | AB, then ABC patterns |
| 5 years | Letter sounds, write own name, count to 20 | Write letters on lines | ABB patterns and sorting by two features |
Mistakes that make a binder collect dust
What we like
- One page per section to start
- 10 minutes or less, then stop
- Pages that wipe clean and can repeat
- A tool pouch inside the cover
- Praise for effort, not neatness
Keep in mind
- Filling it with 40 pages on day one
- Forcing a full page when your child is done
- Using pages far above your child's age
- Leaving markers unsupervised
- Hiding it on a high shelf
Learning binder shopping list
-
1 inch three-ring binder
Typically $5 to $12
Holds 20 to 30 page protectors.
Check price on Amazon for 1 inch three-ring binder -
Chunky dry-erase markers
Typically $6 to $14
Easy grip for small hands.
Check price on Amazon for Chunky dry-erase markers -
Clear page protectors
Typically $10 to $20
Make every page reusable.
Check price on Amazon for Clear page protectors -
Tab dividers
Typically $4 to $8
Lets a pre-reader find each section.
Check price on Amazon for Tab dividers -
Zip pouch for binders
Typically $5 to $10
Holds markers, a cloth and counters.
Check price on Amazon for Zip pouch for binders -
Large counting discs
Typically $8 to $16
Counters for the numbers page.
Check price on Amazon for Large counting discs
Want more preschool ideas? Try preschool activities at home, fine motor activities for toddlers and our toddler busy binder guide for the younger set.
Frequently asked questions
What goes in a preschool learning binder?
Six sections work well: letters, numbers and counting, shapes and colors, fine motor tracing, patterns and sorting, and an All About Me page. Put one page in each section to start.
How do you make a preschool learning binder?
Use a 1 inch binder, clear page protectors, 6 tab dividers and a dry-erase marker. Add one page per section, a pouch for tools and a 10 minute daily habit.
What age is a learning binder for?
Most children ages 3 to 5 can use one with help. Younger toddlers do better with simple busy binder pages and sticky dots, and an adult nearby.
How long should a learning binder session last?
Ten minutes or less. Stop when your child loses interest, even after a few minutes, and return to the page the next day.
Save it for later
Pin this to your Printables board so it's there when you need it.
Save to Pinterest