This post contains affiliate links. As an Amazon Associate we earn from qualifying purchases, at no extra cost to you. Read our disclosure.
Safety first: Always supervise little ones, and skip small parts for kids who still put things in their mouths. Please read our play safety notes before you start.
Key takeaways
- Three versions: baby oil and water, glitter glue, and dry rice with sequins.
- An adult makes the bottle and supervises play.
- Glue the lid, tape the neck, then leak test for 24 hours upside down on a paper towel.
- Never use water beads, and keep solid fillers bigger than a toilet paper tube is wide.
- Dry bottles carry the lowest leak risk and make a good first bottle.
In this post12 sections
- Quick facts: how to make sensory bottles
- What you need for sensory bottles DIY
- Version 1: baby oil and water sensory bottle
- Version 2: glitter glue sensory bottle
- Version 3: dry sensory bottle with rice and sequins
- How to seal and leak test a sensory bottle
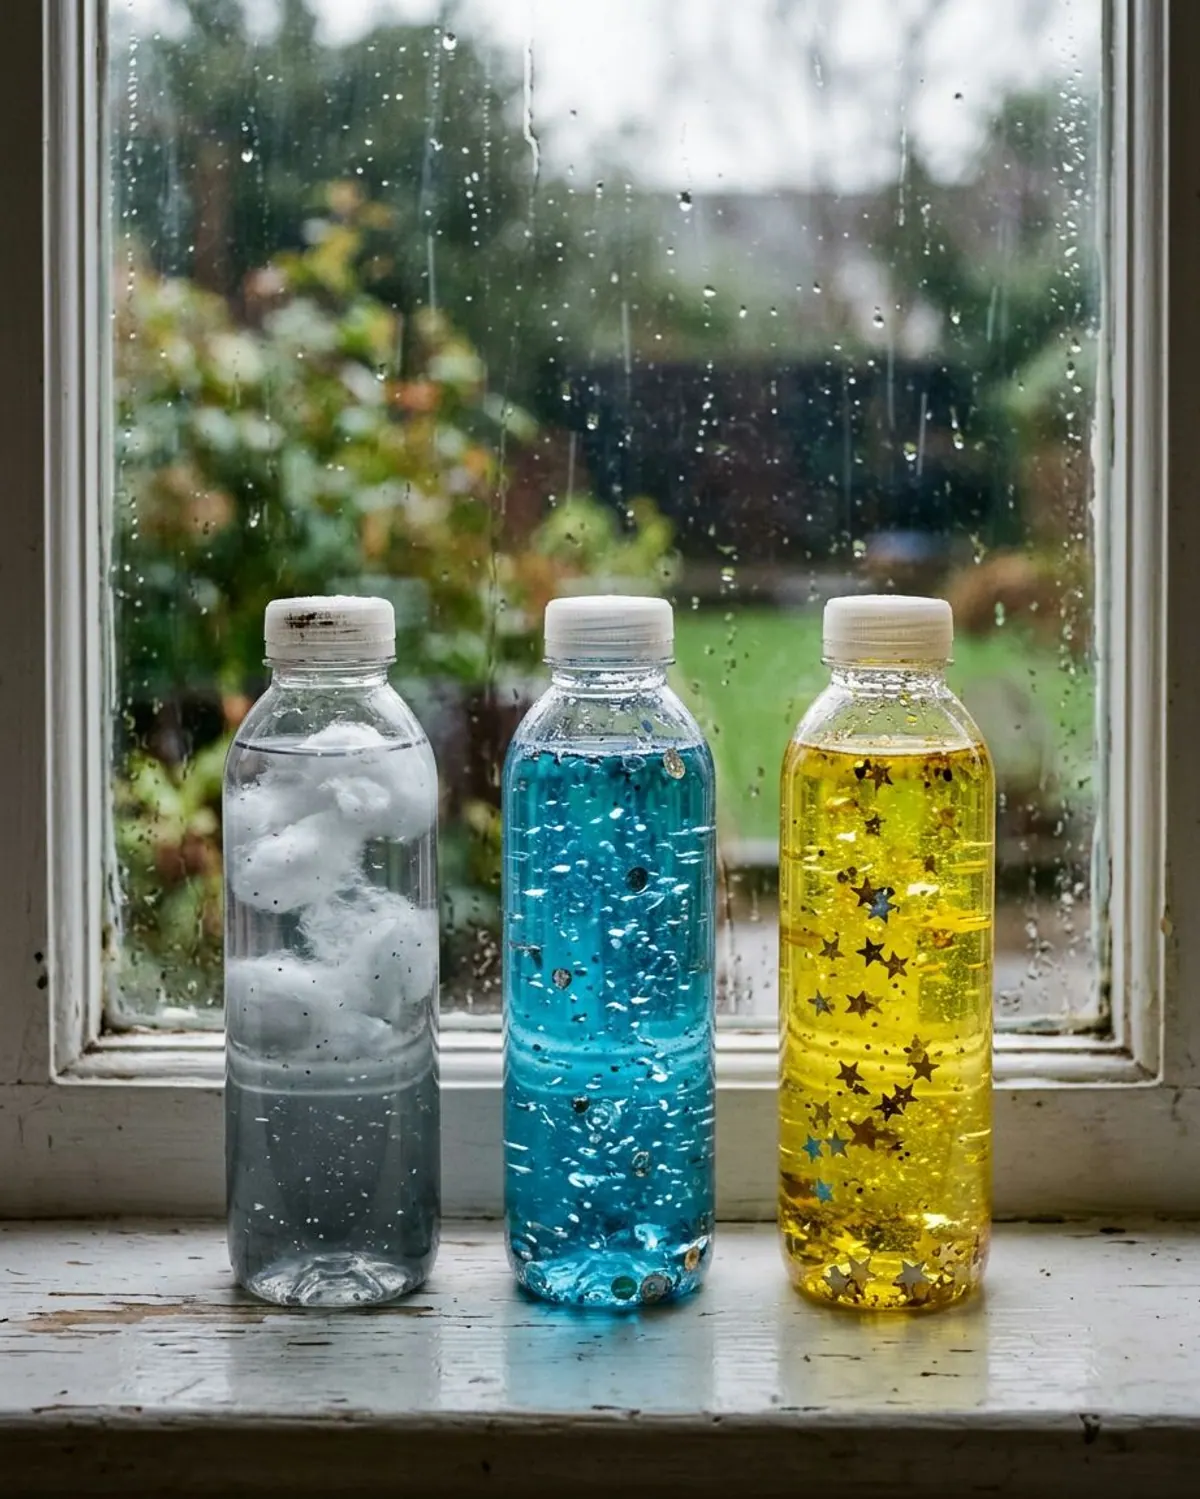
- Sensory bottle ideas: ocean, galaxy and weather
- Common mistakes with DIY sensory bottles
- Sensory bottle troubleshooting
- Play ideas and when to put it away
- Sensory bottle supplies
- FAQ
Quick facts: how to make sensory bottles
| Question | Short answer |
|---|---|
| Time to make one | 10 to 15 minutes, plus 24 hours to leak test |
| Cost | About $2 to $5 per bottle with items you may already own |
| Best bottle | A small clear plastic water bottle or a clear plastic jar, 8 to 12 ounces |
| Three versions | Baby oil and water, glitter glue and water, or dry (rice and sequins) |
| Who makes it | An adult. Children watch, pick colors and shake the finished bottle |
| Biggest rule | Glue the lid shut, test for leaks, and keep the bottle in sight during play |
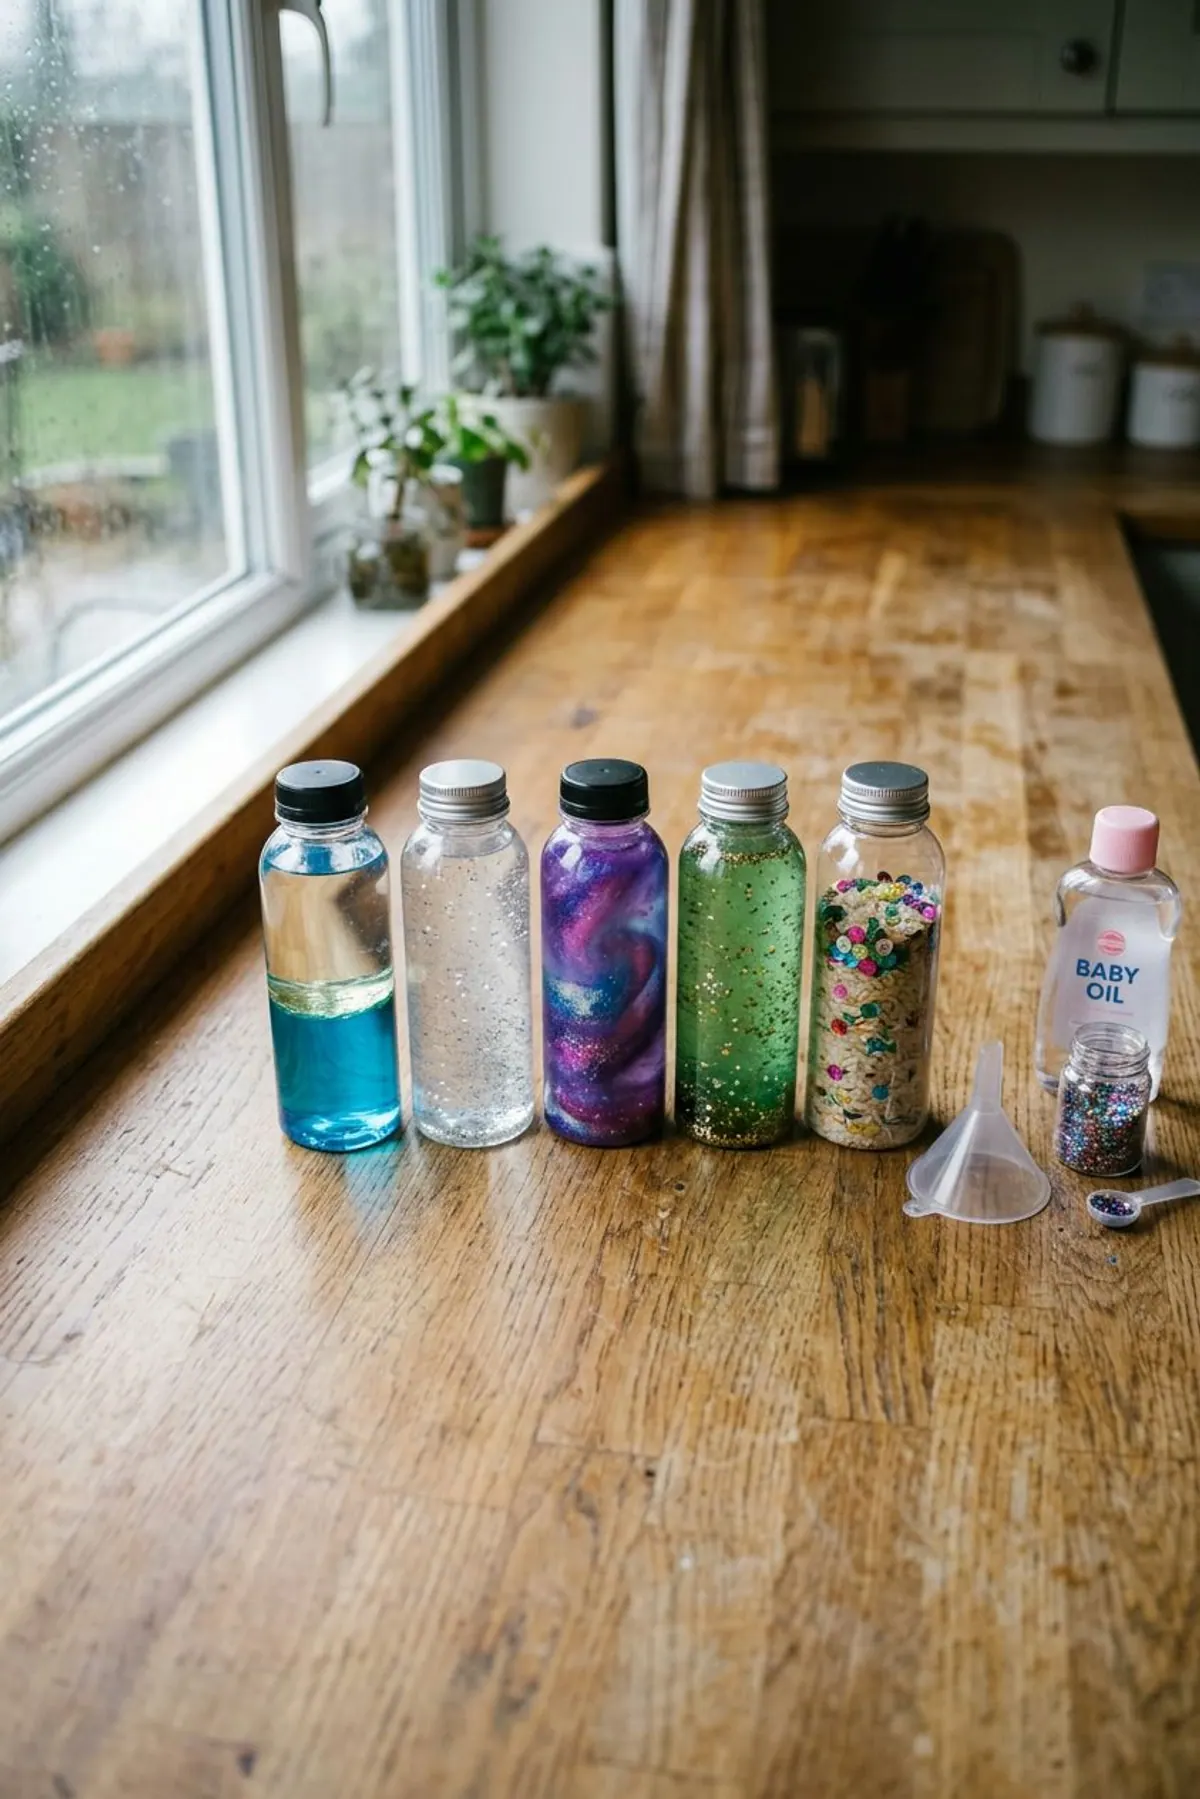
This is how to make sensory bottles at home in three ways, with the sealing and leak-testing steps that most blog posts rush past. A sensory bottle is a sealed bottle of liquid or dry filler that your child can shake, tip and watch. We do not claim it calms kids or builds skills: it is a quiet, low-mess, screen-free thing to look at and shake. An adult makes it, and an adult stays close during play.
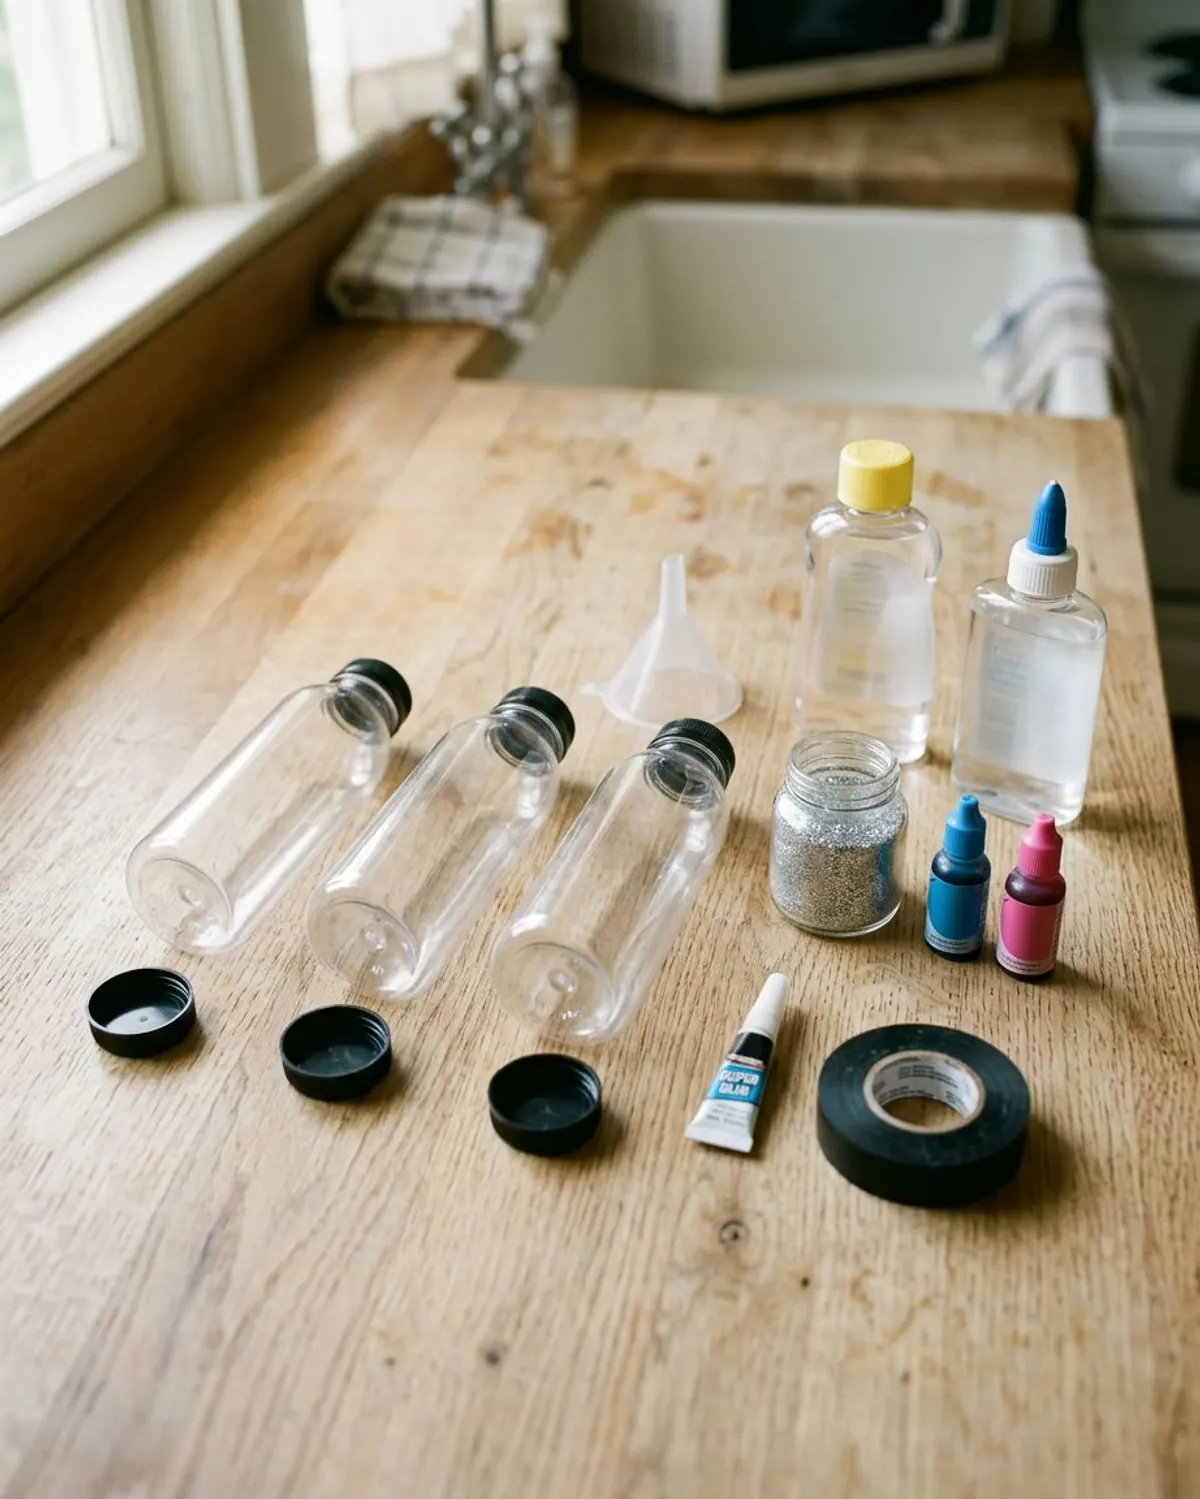
What you need for sensory bottles DIY
Sensory bottle supply list
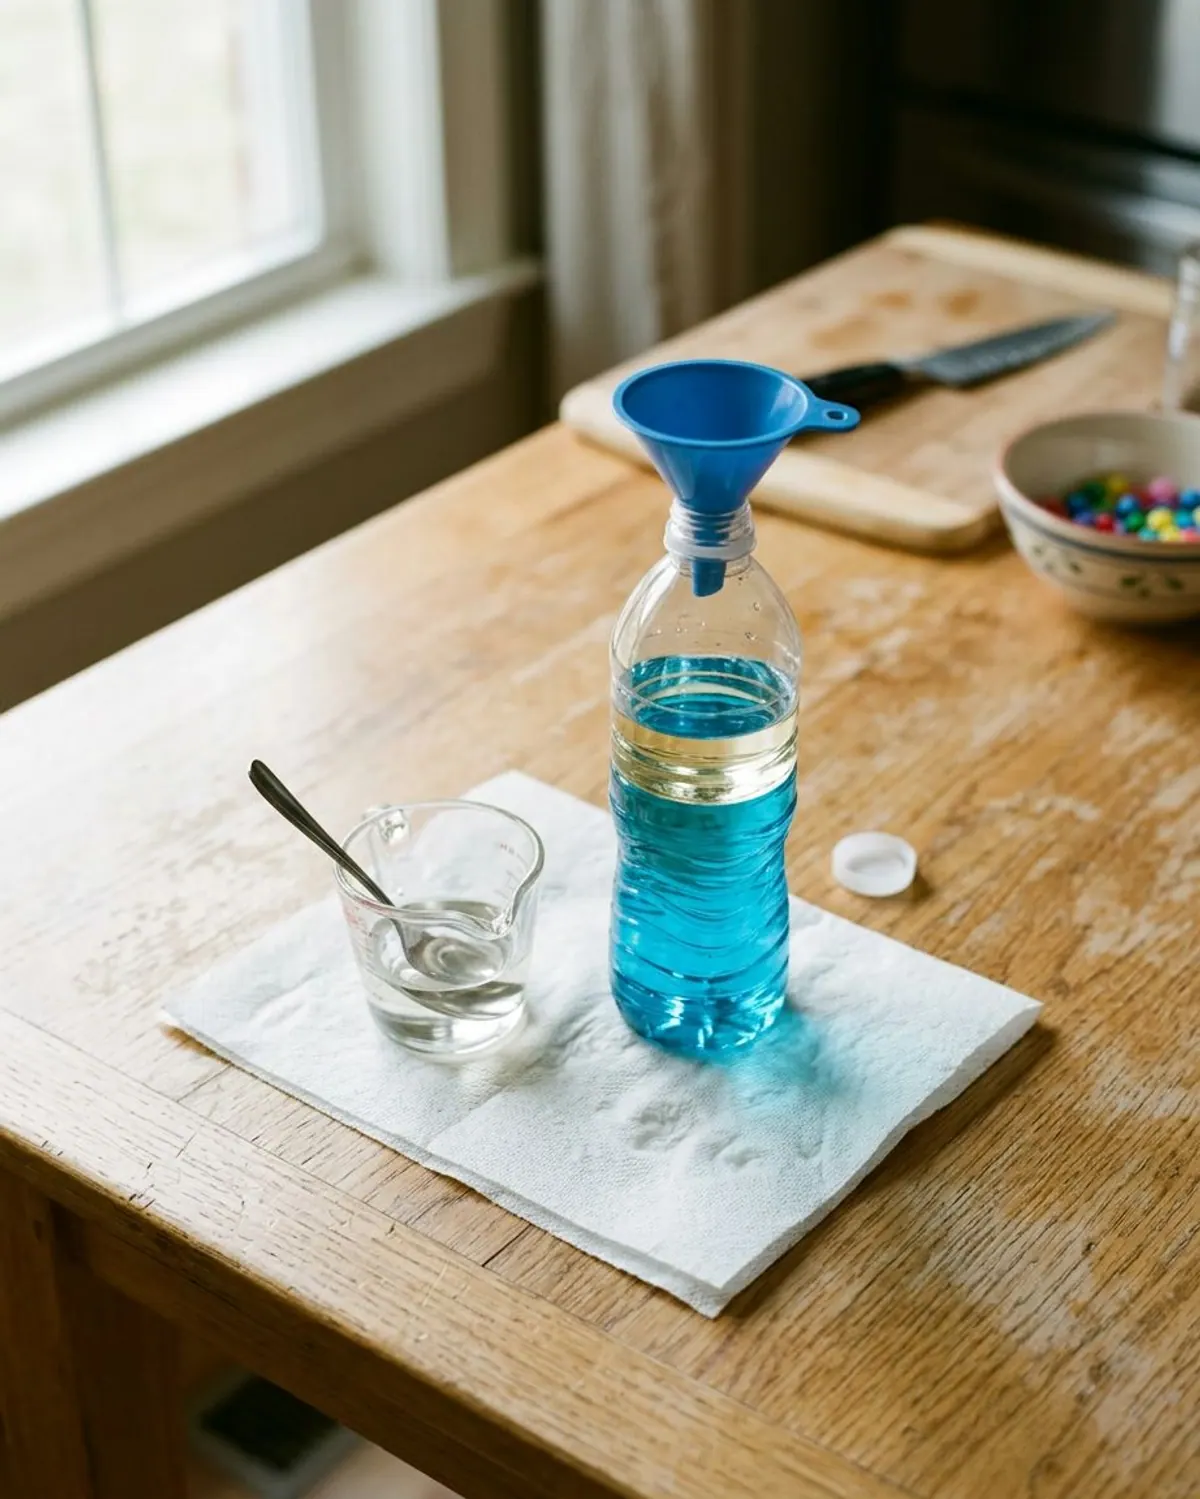
Version 1: baby oil and water sensory bottle
This is the classic. Oil and water do not mix, so the colored water rolls under the oil in slow waves when you tip the bottle. It is the one most people mean by a DIY sensory bottle with baby oil.
-
Step 1: Fill the bottle halfway with water
Add 3 or 4 drops of food coloring and swirl. Stop at half so there is room for the oil.
-
Step 2: Add baby oil to about 1 inch below the top
Pour slowly through the funnel. Leave about an inch of air so the liquid can move.
-
Step 3: Add a few large sequins
Drop in 5 or 6 large sequins or foam shapes. Nothing smaller than a quarter.
-
Step 4: Seal it for good
Wipe the rim dry, add a line of super glue inside the lid and screw it on tight. Wrap tape around the join. See the sealing section below.
Version 2: glitter glue sensory bottle
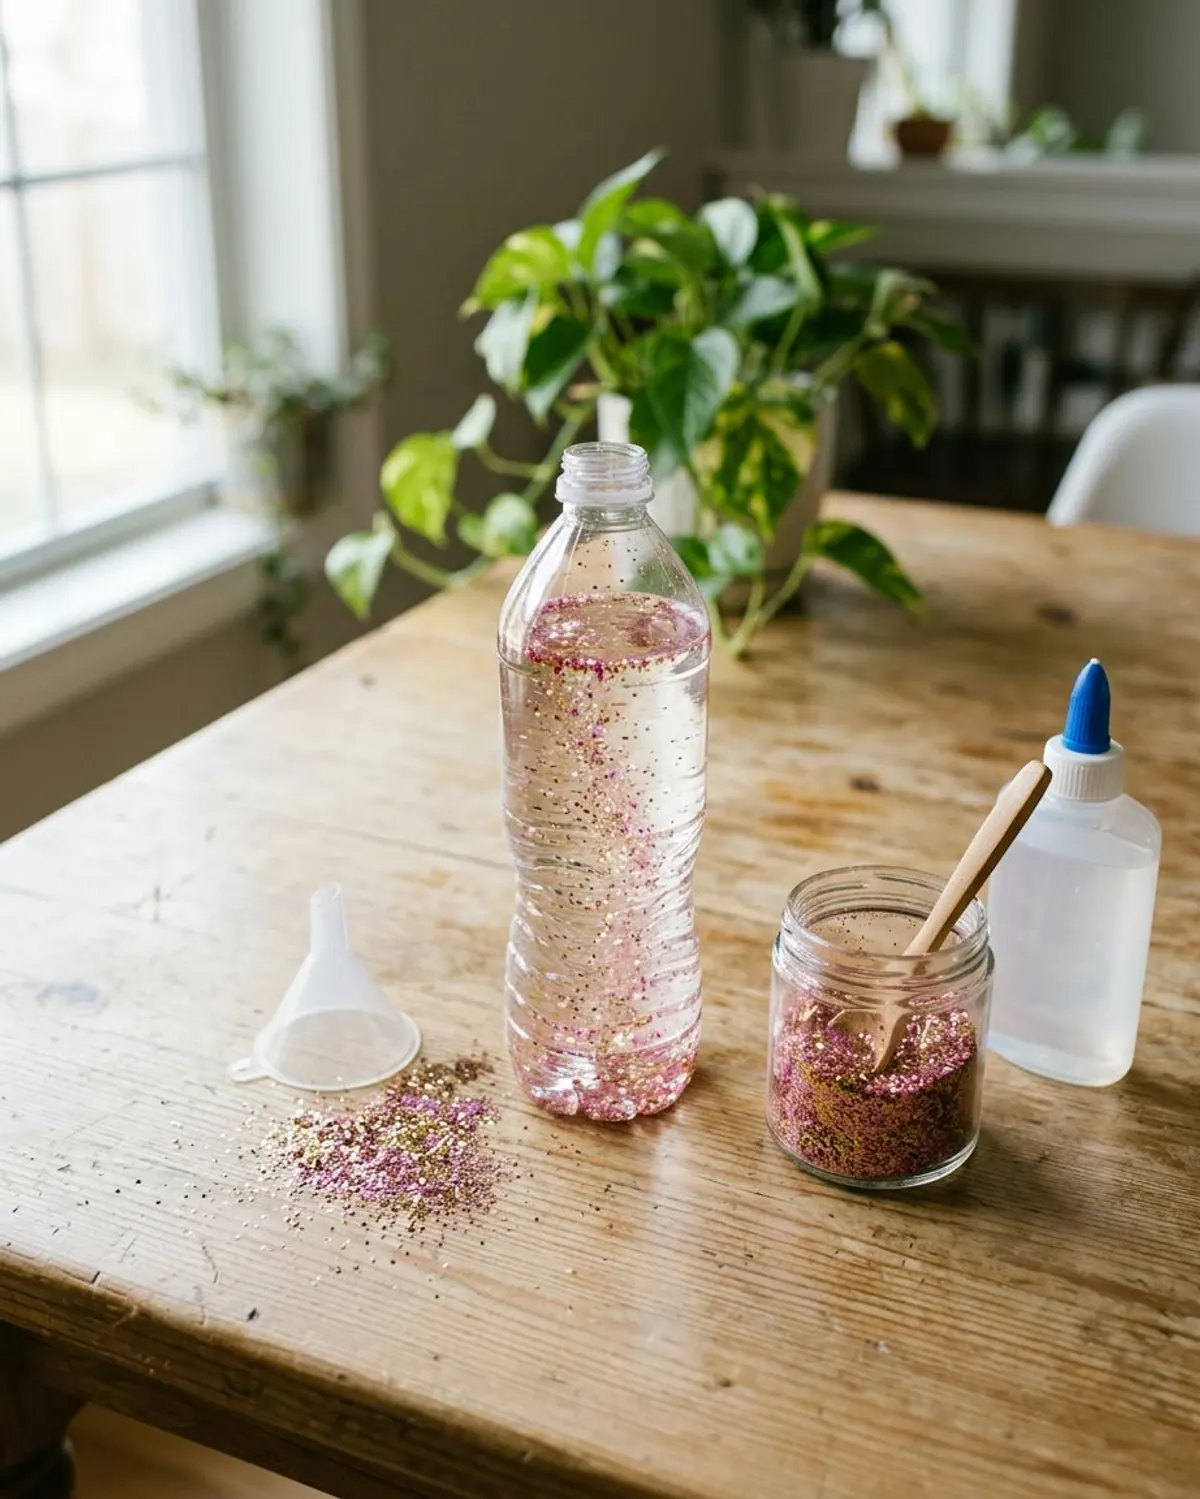
Clear glue makes the glitter fall slowly, so a shake becomes a 20 second show. It is the most popular version for a good reason: no oil in the house.
-
Step 2: Add warm water and stir
Fill about three quarters with warm water and shake until the glue dissolves. Thicker glue mix means a slower fall, so add more glue for a slower show.
-
Step 3: Add glitter
Add 1 or 2 teaspoons of fine glitter. Fine glitter stays in the liquid, so it is fine here, but keep the bottle sealed.
-
Step 4: Glue and tape the lid
Same as before: a ring of super glue inside the lid and tape around the neck.
Version 3: dry sensory bottle with rice and sequins
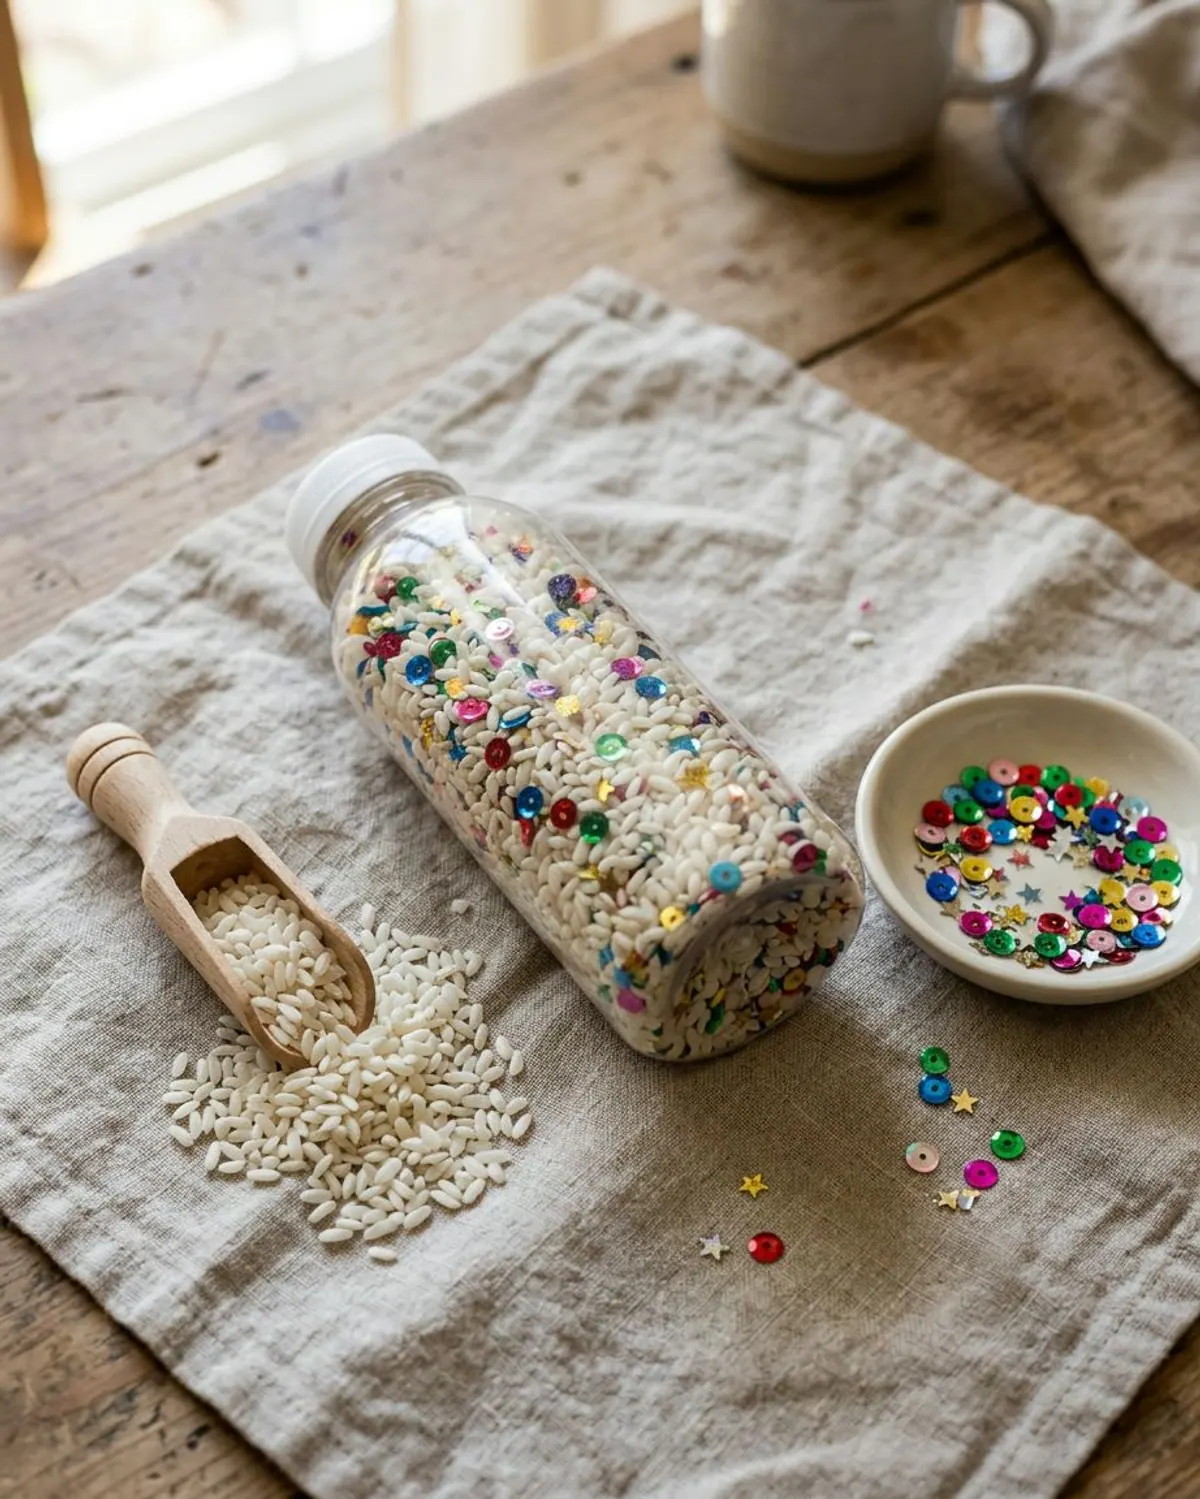
A dry bottle has no liquid, so there is nothing to leak. Kids shake it to hear it. It is the lowest risk of the three, and a good first bottle.
-
Step 1: Fill a third of the bottle with rice
Use a funnel and a small scoop.
-
Step 2: Add large sequins or foam stars
Keep them bigger than a toilet paper tube is wide. Nothing small or loose.
-
Step 3: Seal and test
Super glue and tape on the lid, then give it a hard shake while holding the lid. Nothing should move.
How to seal and leak test a sensory bottle
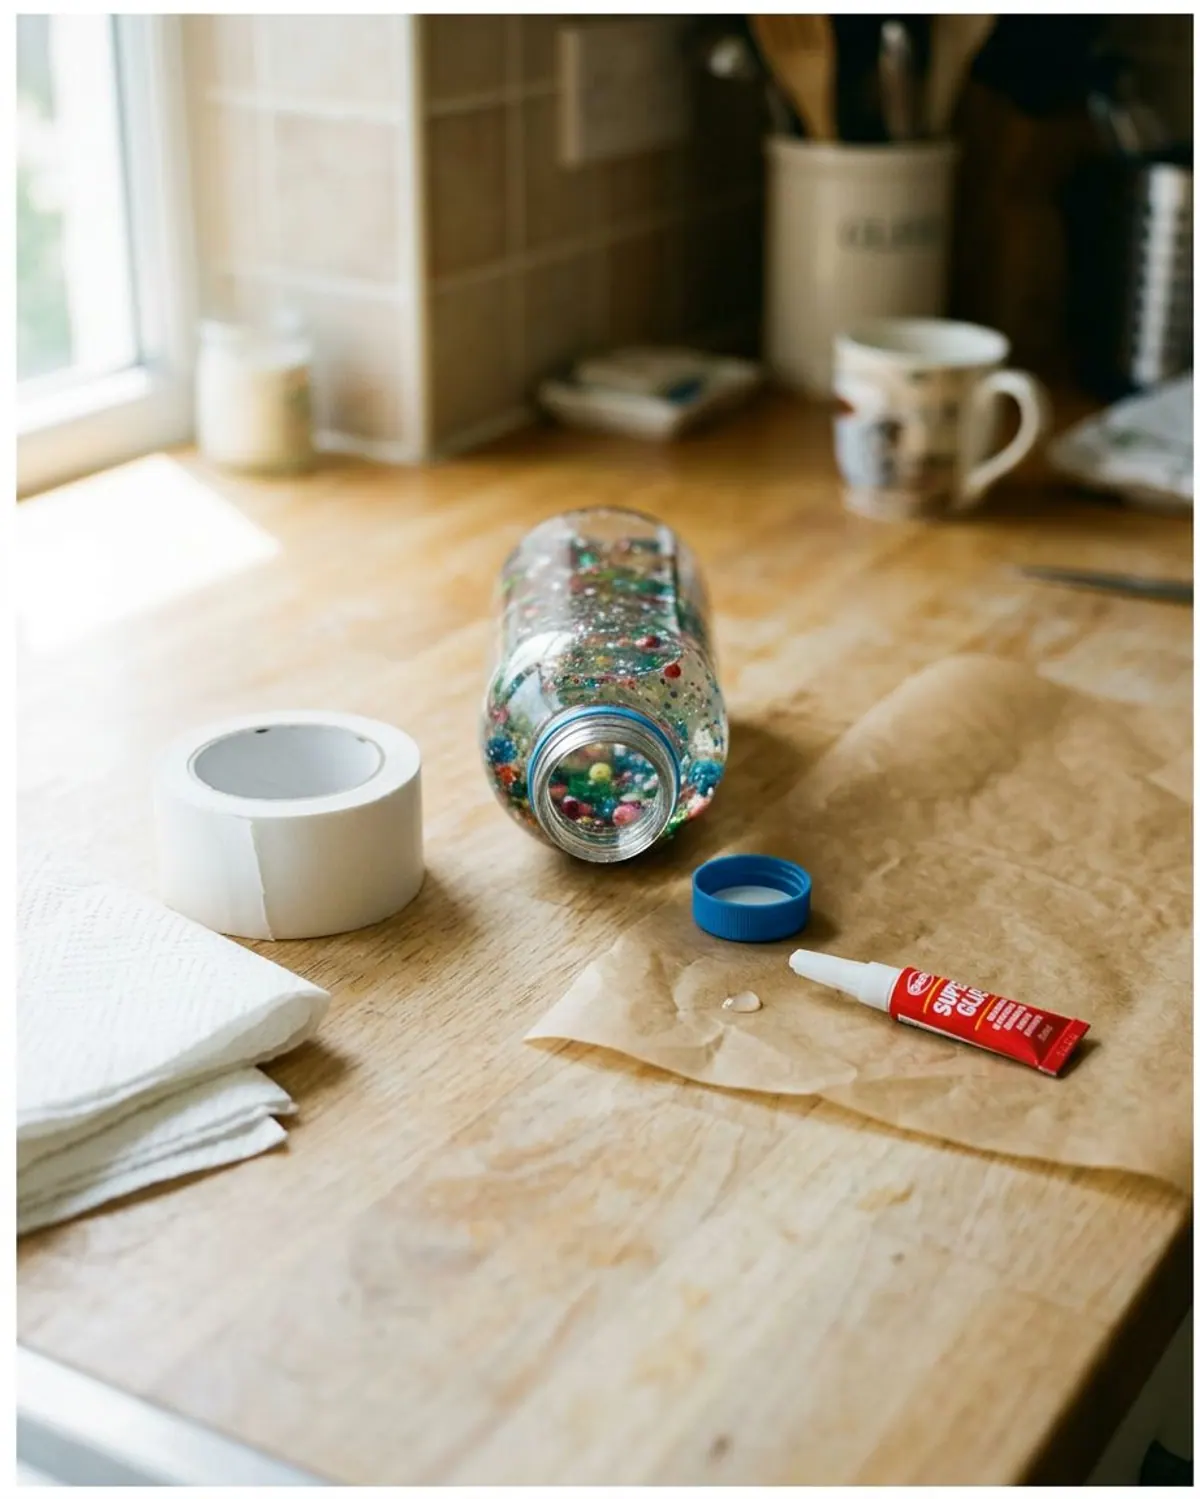
Sealing is the step that decides whether this is a calm activity or a dangerous one. A lid that only screws on can be opened by a determined toddler. A leak can also soak the floor or end up in a mouth.
-
Step 1: Dry the threads
Wipe the bottle neck and the inside of the lid. Glue will not hold on a wet surface.
-
Step 2: Run a thin line of super glue inside the lid
Use a gel super glue or hot glue. Screw the lid on and hold for 30 seconds. An adult only, in a ventilated room.
-
Step 3: Tape around the join
Wrap strong tape 2 or 3 times around the neck. It covers the seam and makes a second barrier.
-
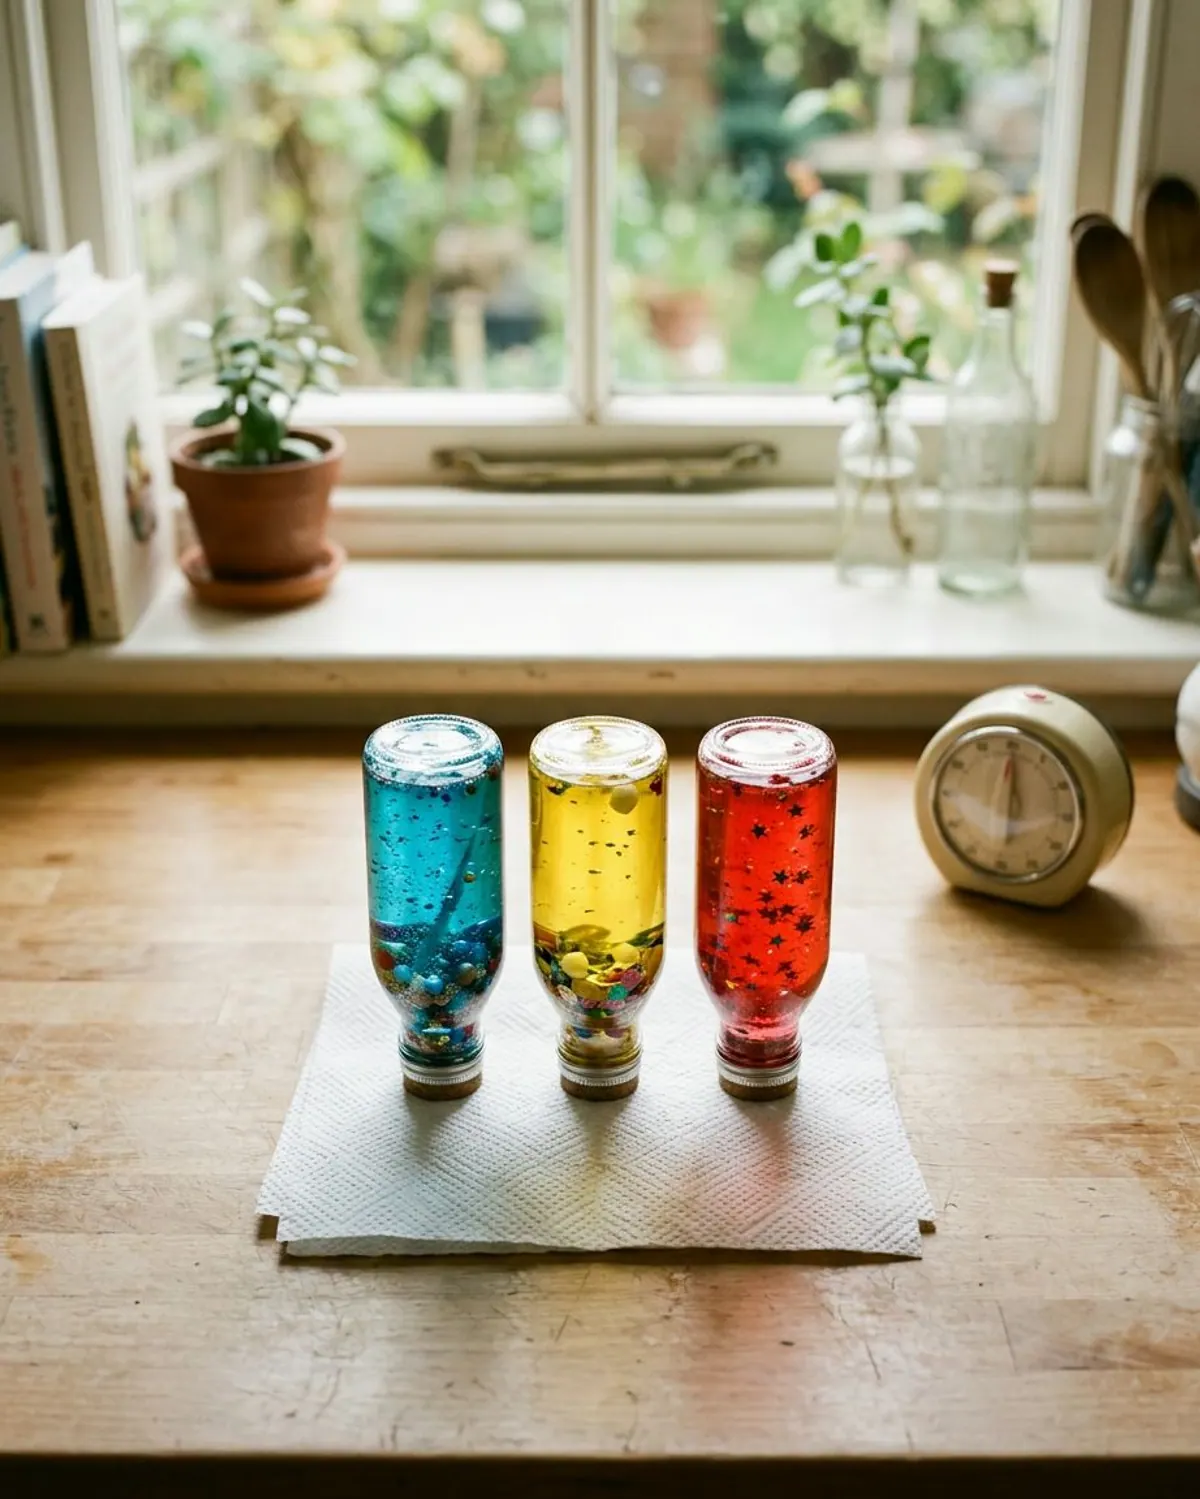
Step 4: Stand it upside down on a paper towel for 24 hours
Look at the towel after a day. If it is dry, the bottle is sealed. If not, redo the lid.
| Version | Time | Cost | Looks like | Leak risk | Good for |
|---|---|---|---|---|---|
| Baby oil and water | 15 min | About $3 | Slow rolling waves | Medium (liquid) | Watching, tipping |
| Glitter glue and water | 15 min | About $2 | Slow falling glitter | Medium (liquid) | A slow shake show |
| Dry rice and sequins | 10 min | About $1 | Rattling sounds | Lowest (no liquid) | Shaking, first bottles |
Sensory bottle ideas: ocean, galaxy and weather
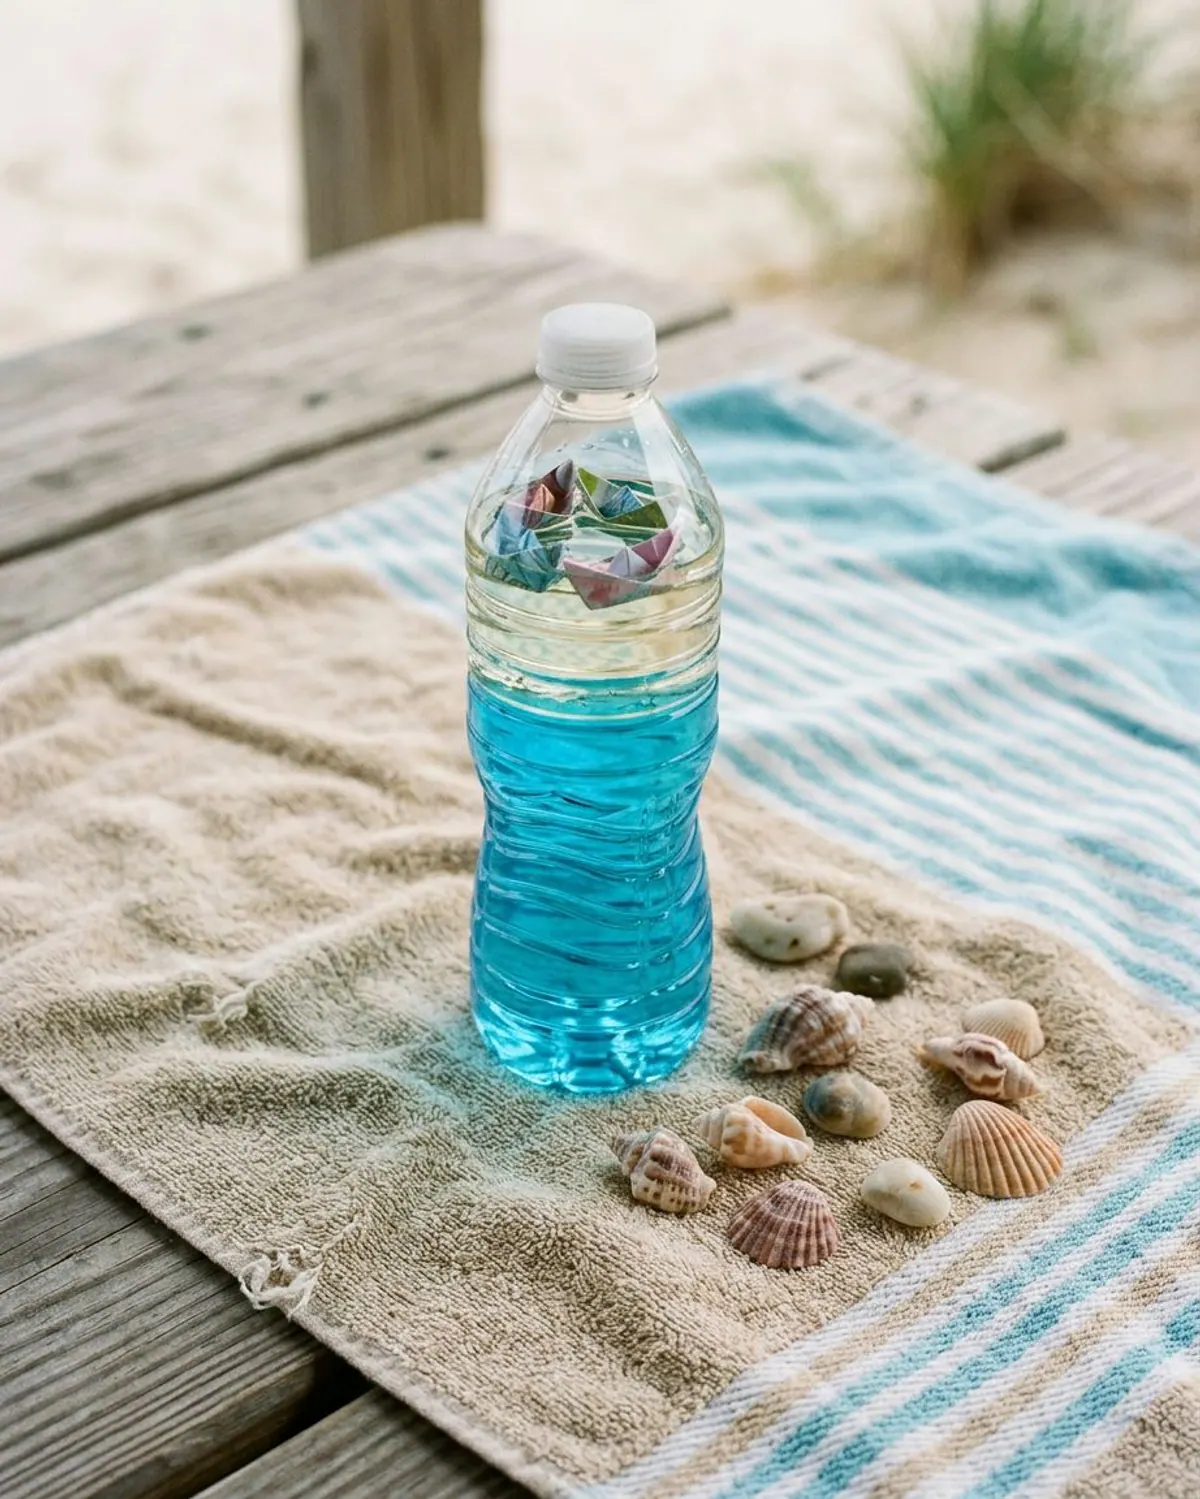
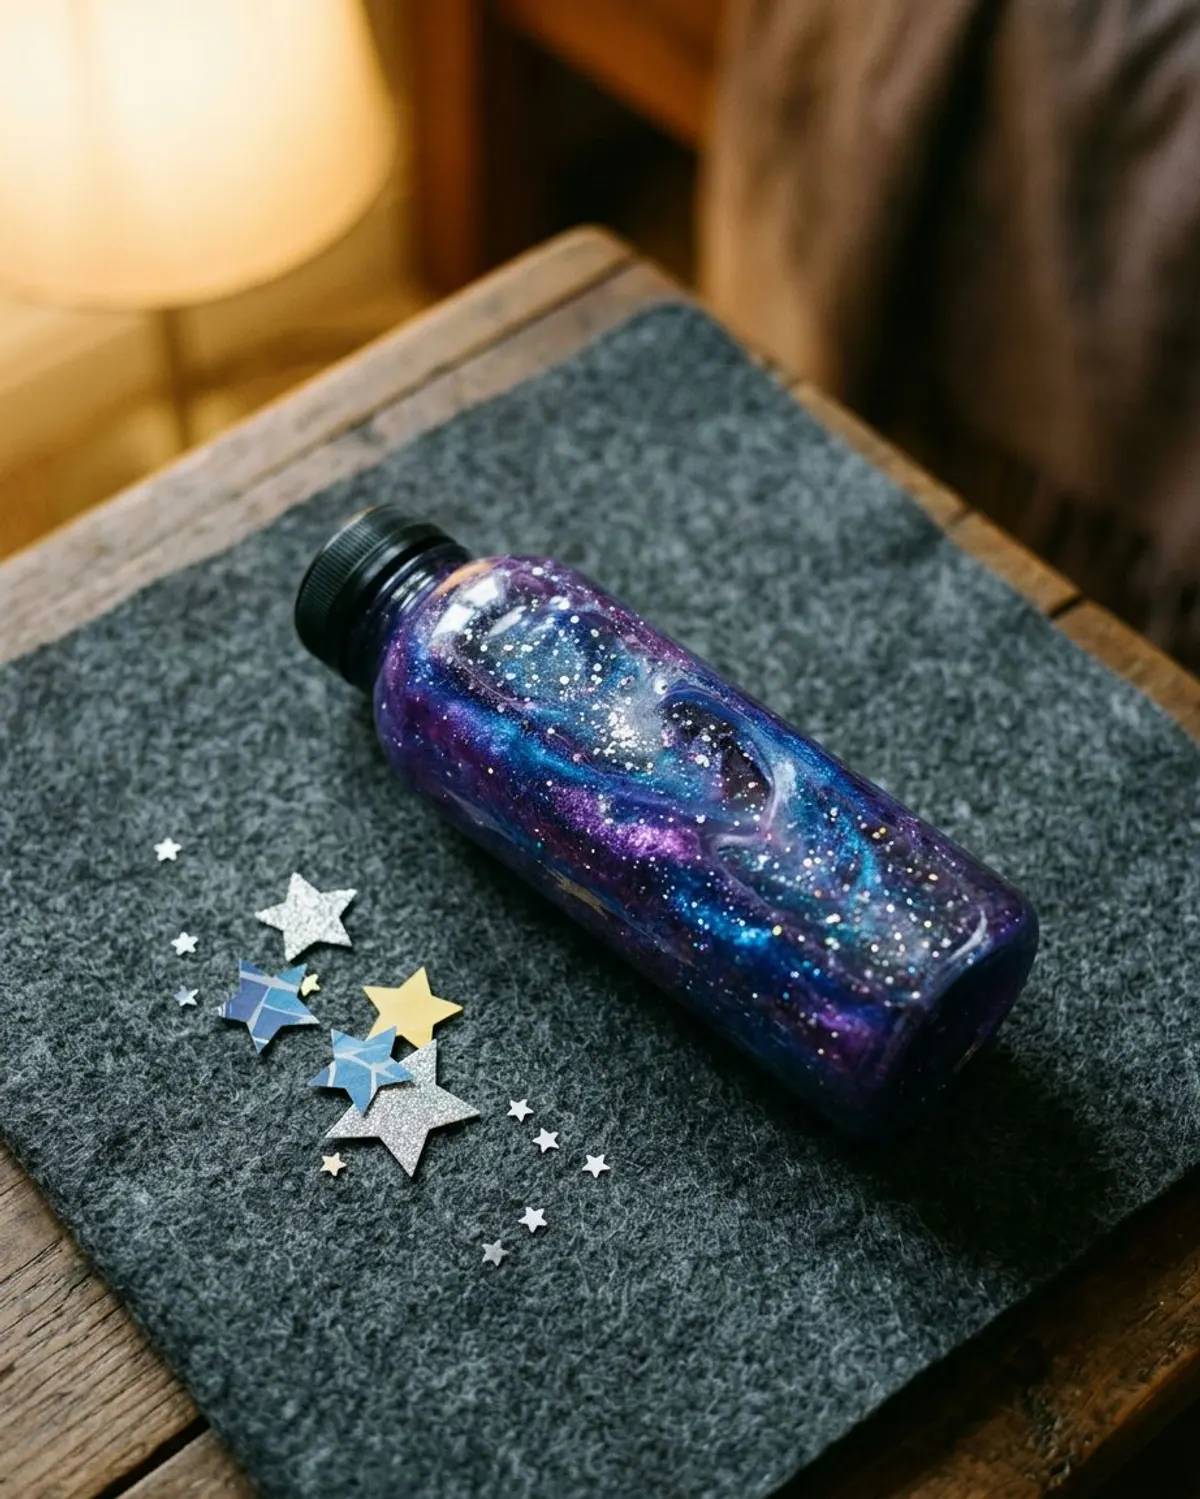
Once you have one bottle working, change the filler. Every idea below uses the baby oil, glitter glue or dry method above.
Easy variations to try
Common mistakes with DIY sensory bottles
Mistakes to avoid
Sensory bottle troubleshooting
| Problem | Why it happens | Fix |
|---|---|---|
| Glitter clumps at the bottom | Not enough glue or water too cold | Use warm water and a bit more glue next time |
| Oil and water look cloudy | Too much shaking right after filling, or soap in the bottle | Rest it for an hour, and wash the bottle without soap next time |
| Bottle leaks a drop | The lid is not sealed | Dry the threads, redo the glue and tape |
| Color stains the lid | Too much coloring | Use 3 or 4 drops only |
| Dry bottle sounds dull | Filler too fine | Add a few large sequins |
Play ideas and when to put it away
Roll the bottle across the floor, tip it slowly and watch, hunt for the one red sequin, or sit with it on a rainy day. For more ideas that need nothing sealed, see indoor activities for toddlers on cold or rainy days and the sensory bin guide. Store the bottles on a high shelf and bring them out when you can sit close. Check the lid and tape every time before play, and throw the bottle out if it is cracked, dented or sticky.
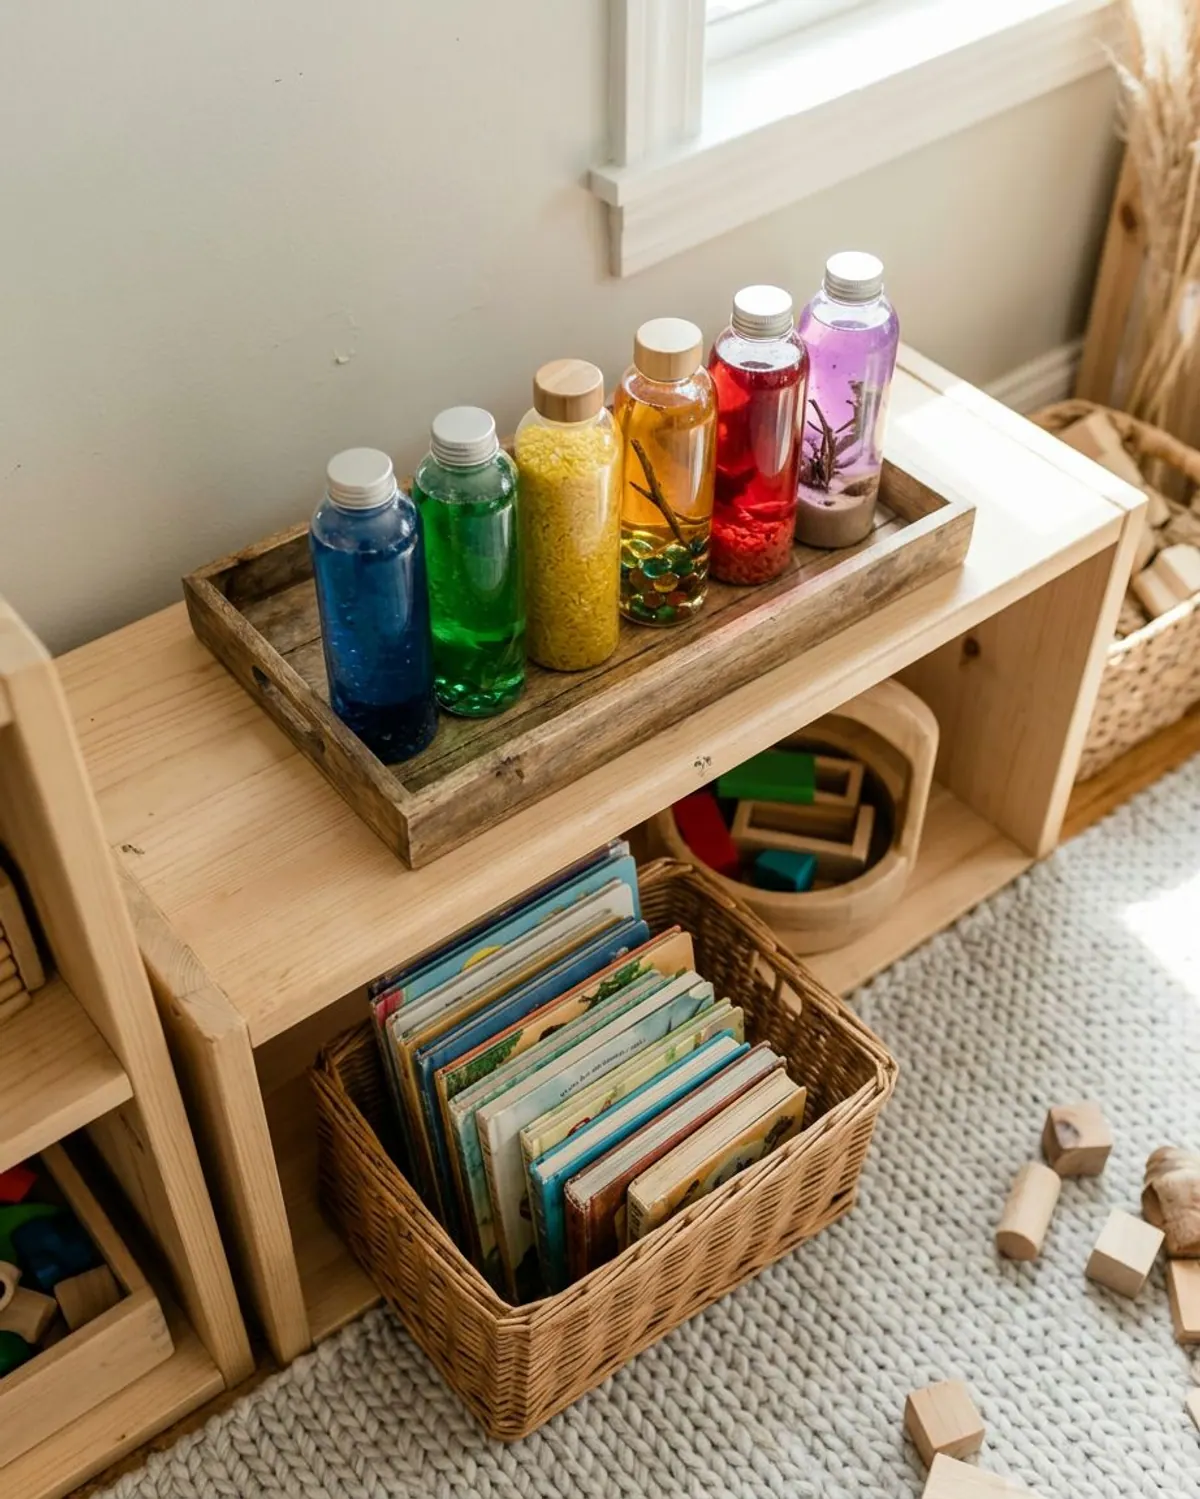
Sensory bottle supplies
Sensory bottle supplies
-
Clear plastic bottles with lids, 12 pack
Typically $10 to $16
Small, clear and easy to hold; clean, dry and label-free.
Check price on Amazon for Clear plastic bottles with lids, 12 pack -
Clear school glue
Typically $3 to $6
The slow-fall glitter version needs it.
Check price on Amazon for Clear school glue -
Large sequins and foam stars
Typically $5 to $10
Big enough not to be a small part.
Check price on Amazon for Large sequins and foam stars -
Gel super glue
Typically $3 to $7
For sealing the lid, adults only.
Check price on Amazon for Gel super glue -
Small silicone funnels
Typically $5 to $9
Keeps pouring neat.
Check price on Amazon for Small silicone funnels
Frequently asked questions
How do you make a sensory bottle with baby oil?
Fill a clear bottle halfway with colored water, add baby oil to about an inch below the top, add a few large sequins, then glue the lid shut and tape the neck. Leak test it upside down on a paper towel for 24 hours.
What can I put in a sensory bottle?
Colored water, clear glue, baby oil, rice, large sequins and foam stars. Avoid tiny beads and never use water beads.
Are sensory bottles safe for toddlers?
They can be when an adult makes them, the lid is glued and taped, and an adult stays close during play. Skip them for any child who still mouths everything without close supervision.
How do you keep a sensory bottle from leaking?
Dry the threads, run super glue inside the lid, tape the neck and let it stand upside down on a paper towel for 24 hours.
How long does a sensory bottle last?
Dry bottles last for months. Liquid bottles can last a few months; throw one out if it cracks, leaks, grows cloudy or smells.
Save it for later
Pin this to your Sensory Play board so it's there when you need it.
Save to Pinterest