This post contains affiliate links. As an Amazon Associate we earn from qualifying purchases, at no extra cost to you. Read our disclosure.
Safety first: Always supervise little ones, and skip small parts for kids who still put things in their mouths. Please read our play safety notes before you start.
Key takeaways
- Start with a wide, shallow bin and a splat mat under it.
- Under 18 months, use water or taste-safe fillers like dry oats, and stay within reach.
- Anything that fits inside a toilet paper tube is a choking risk for kids under 3.
- Skip flour, raw kidney beans, water beads, magnets and button batteries.
- Two rules, taught on day one, save most of the mess: filler stays in the bin, and we play sitting down.
In this post16 sections
- Are sensory bins for toddlers safe at every age?
- What you need to make a sensory bin
- How to make sensory bins for toddlers, step by step
- What not to put in a toddler sensory bin
- Two rules that save most of the mess
- Cleanup and storage
- 5 starter sensory bins for toddlers
- 1. Water and cups bin
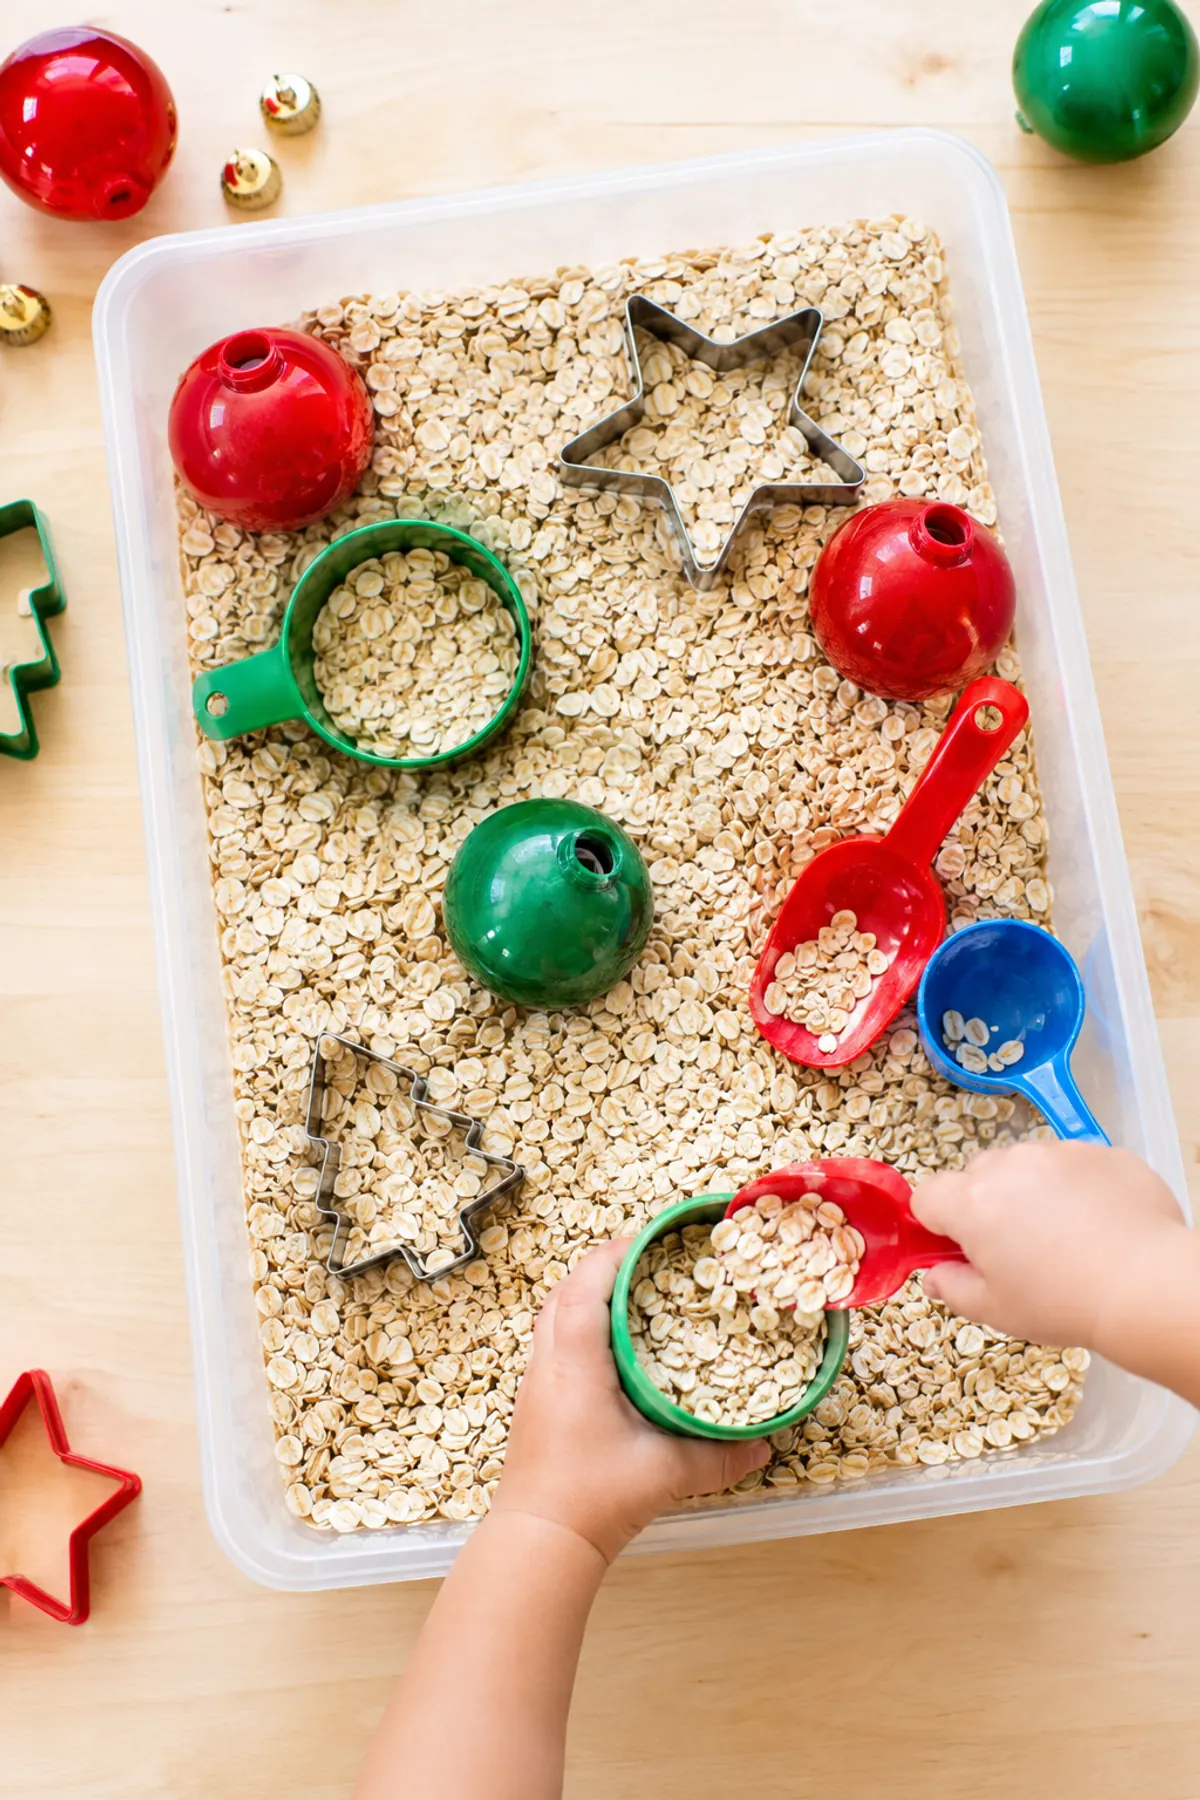
- 2. Oats and muffin tin bin
- 3. Rice and trucks bin
- 4. Jumbo pom pom tong transfer
- 5. Cereal construction bin
- Common sensory bin mistakes
- Bonus: a 4 week bin rotation
- Sensory bin shopping list
- FAQ
Are sensory bins for toddlers safe at every age?
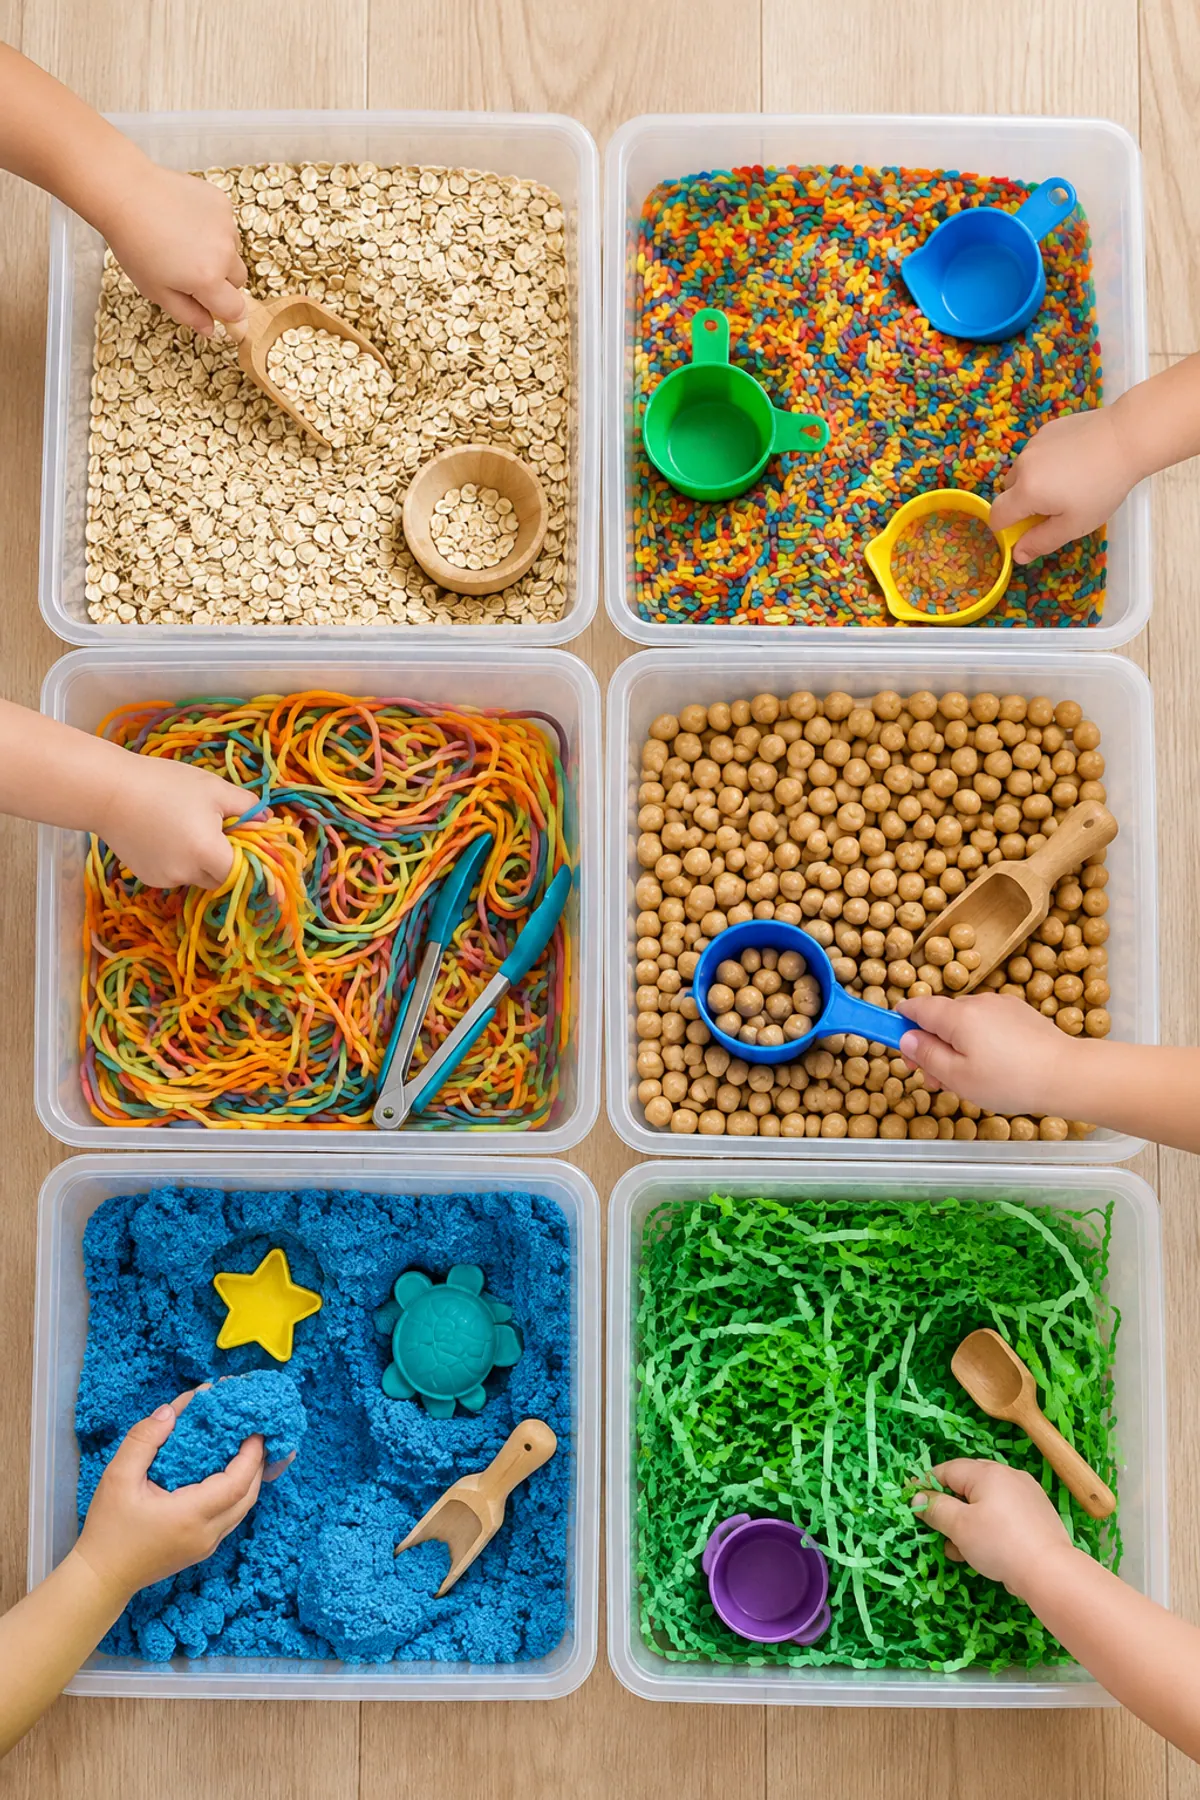
A sensory bin is a container of loose material your child can scoop, pour and dig through. It is safe when the filler and tools match your child's age, and when an adult stays close.
WebMD's guide to sensory bins suggests waiting until about 18 months for loose fillers like rice, and starting younger toddlers with water or taste-safe options. Use this table as a starting point.
| Age | Good fillers | Tools | Supervision |
|---|---|---|---|
| 12 to 18 months | Water (an inch or two), dry rolled oats, O-shaped cereal | Big cups, a sponge, a wide scoop | Hands-on, sitting with them |
| 18 months to 2 | Oats, dry pasta shapes, uncooked rice if they no longer mouth | Scoops, funnels, a toy truck | Within arm's reach |
| 2 to 3 | Rice, dry pasta, jumbo pom poms, play sand | Tongs, muffin tin, measuring cups | In the same room, watching |
| 3 and up (preschool) | Dried beans that are not kidney beans, kinetic sand, themed mixes | Tweezers, small figures, letter cards | Nearby, checking in |
What you need to make a sensory bin
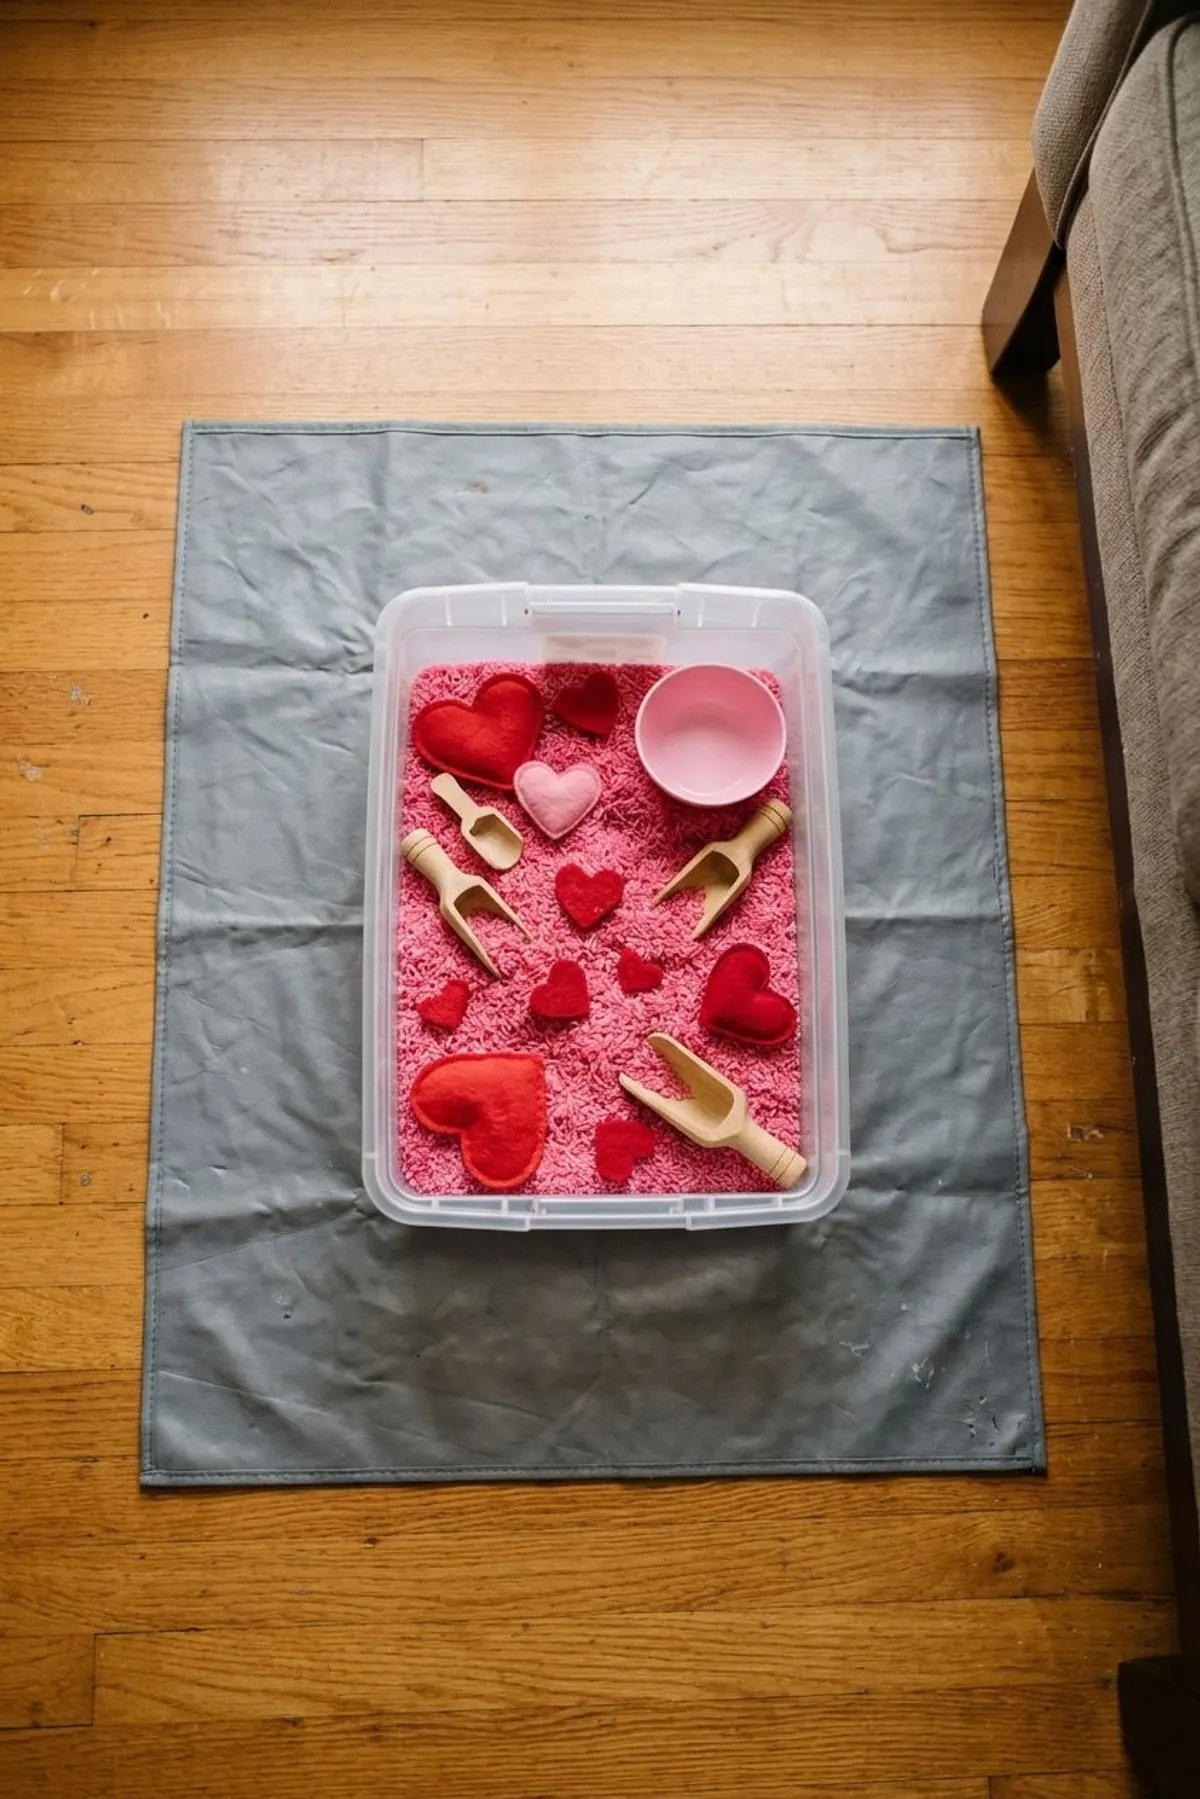
You do not need a sensory table to start. A long, shallow storage bin on the floor works well, and it fits under a bed when you are done.
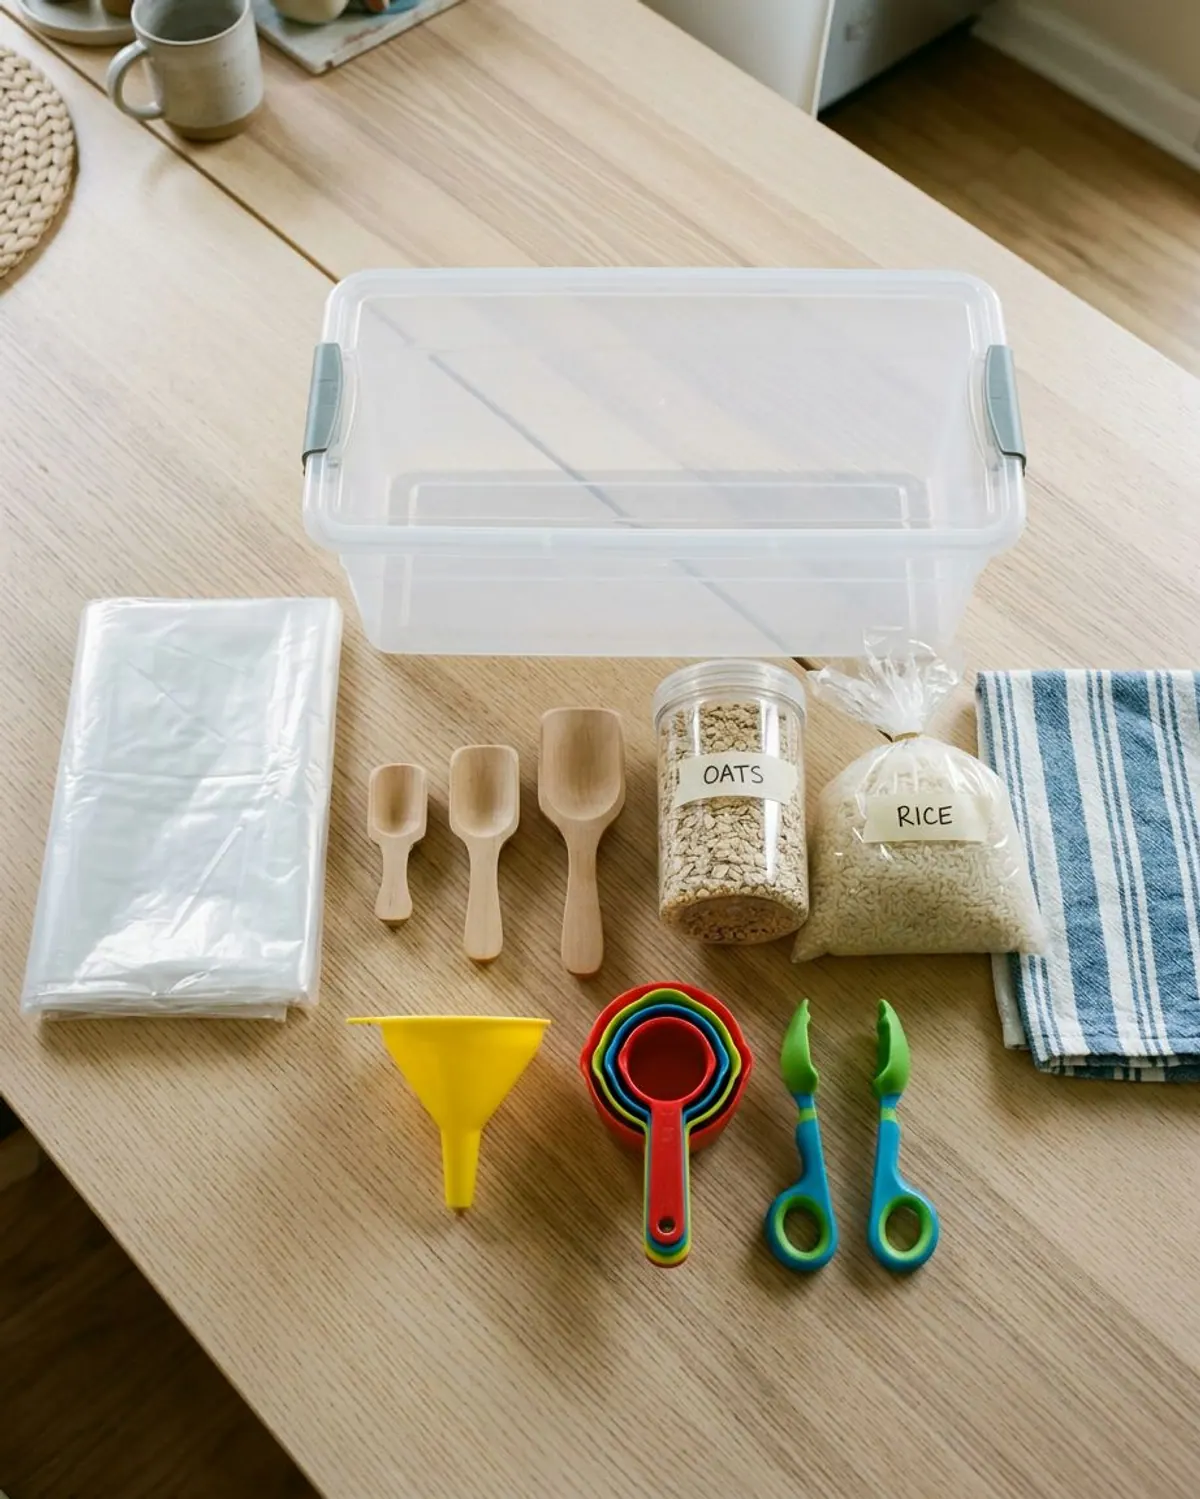
Sensory bin supply list
How to make sensory bins for toddlers, step by step
Follow these steps in order the first time. After a few bins, setup takes about five minutes.
-
Step 1: Pick the spot first
Choose a floor spot you can sweep, like a kitchen or a hard floor, and spread the mat. Carpet is hard to clean with rice or sand.
-
Step 2: Choose a wide, shallow bin
A bin about 6 inches deep lets your child reach the bottom and keeps filler from flying. A deep tote makes kids climb in.
-
Step 3: Add one filler, about 2 inches deep
Less filler means less spilling. Two inches is enough to bury a toy and scoop it back out.
-
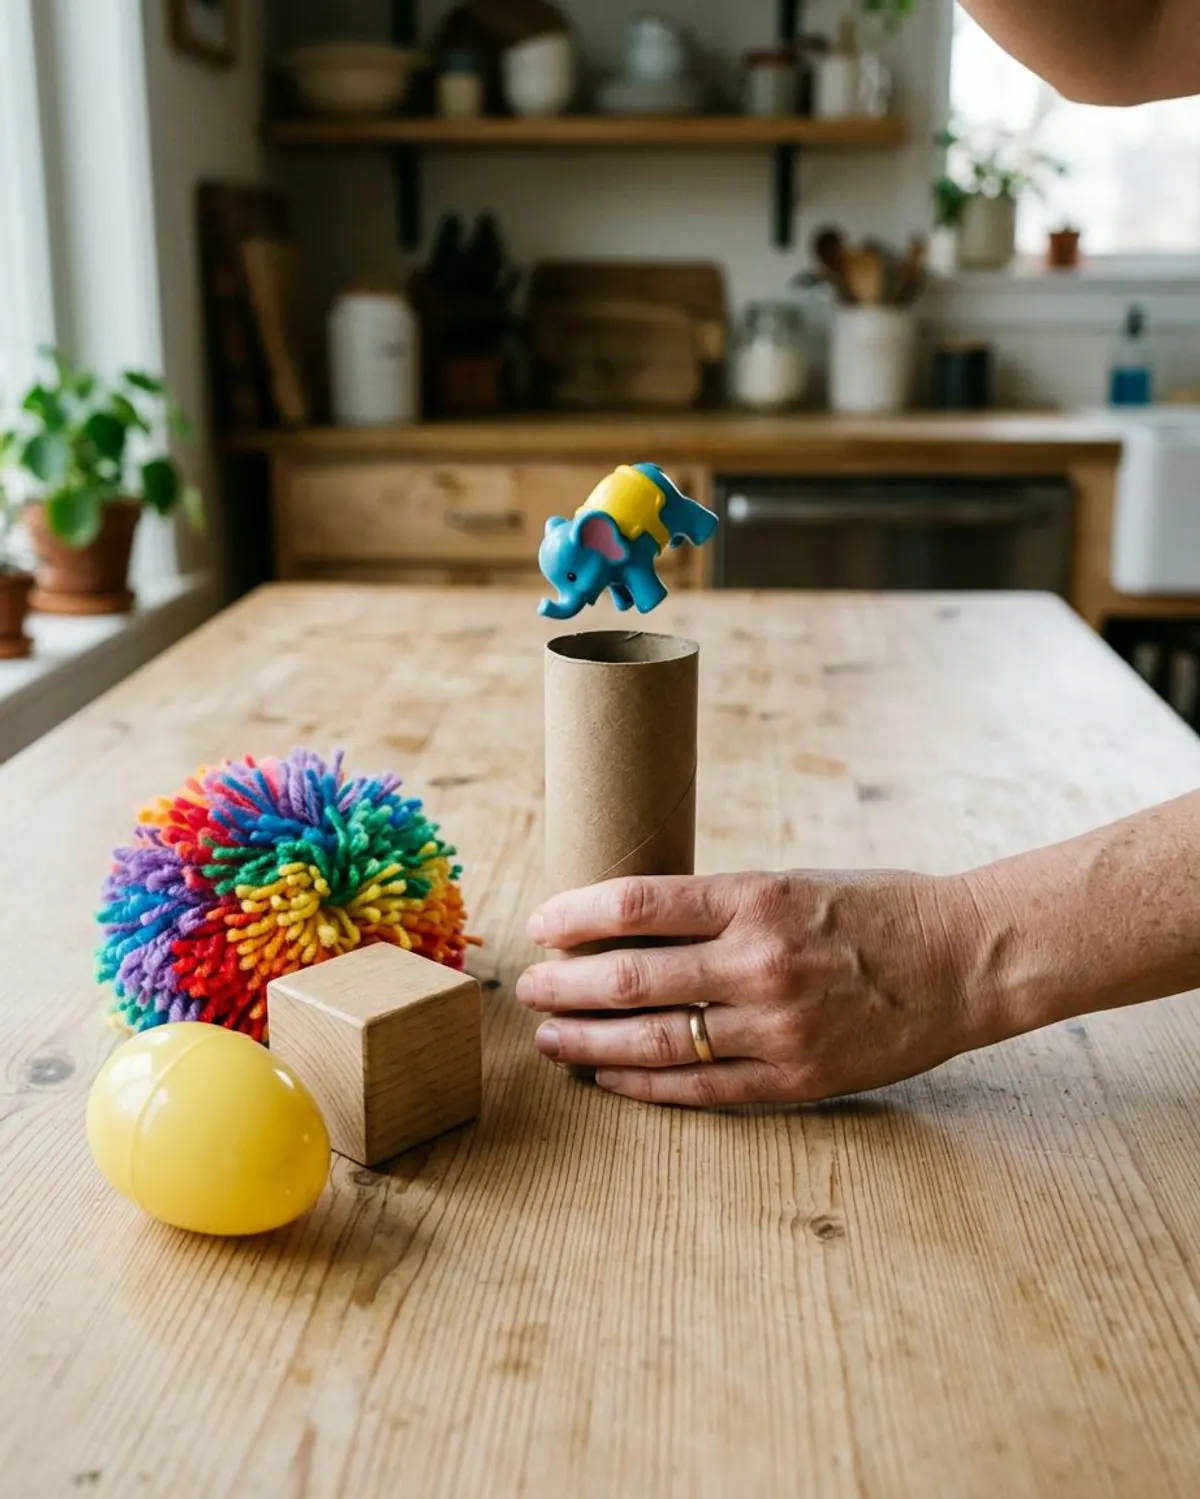
Step 4: Check every small piece with the tube test
For kids under 3, drop each toy, cap and piece through an empty toilet paper tube. If it fits, it stays out. This is the same idea the CPSC uses for its small parts rule.
-
Step 5: Add 2 or 3 tools
Start with a scoop, a cup and one toy. Too many tools makes kids dump the bin instead of play in it.
-
Step 6: Show, then step back
Scoop and pour once while your toddler watches. Then let them lead, even if they only fill and dump the same cup.
-
Step 7: Stay close and watch for mouthing
Sit nearby for the whole play time with young toddlers. If filler goes in the mouth twice, swap to a taste-safe bin or end the session.
-
Step 8: End before the dumping starts
Most toddlers play 10 to 20 minutes. When the filler starts going over the side on purpose, that is your cue to put the lid on.
What not to put in a toddler sensory bin
Some popular fillers are not safe for young children. This list is short on purpose: skip these and you avoid the biggest risks.
| Skip | Why |
|---|---|
| Water beads | The CPSC has warned that they can be swallowed, then grow inside the body and cause blockages |
| Button batteries and magnets | Both can cause serious internal injuries if swallowed |
| Flour or cornstarch dust | Fine powder can be breathed in |
| Raw kidney beans | WebMD notes that eating only a few raw kidney beans can cause bad stomach upset |
| Styrofoam pieces and packing peanuts | They break into small bits that are easy to choke on |
| Sand from outside | Use bagged play sand made for kids instead |
For a full filler list by age, from oats to kinetic sand, see what are the best sensory bin fillers.
Two rules that save most of the mess
Teach these on the first day and say them every time you open the bin: the filler stays in the bin, and we play sitting down.
If filler goes on the floor on purpose, give one reminder. The second time, the lid goes on, calmly, and the bin comes back tomorrow. Toddlers learn the rule fast when it is the same every time.
Cleanup and storage
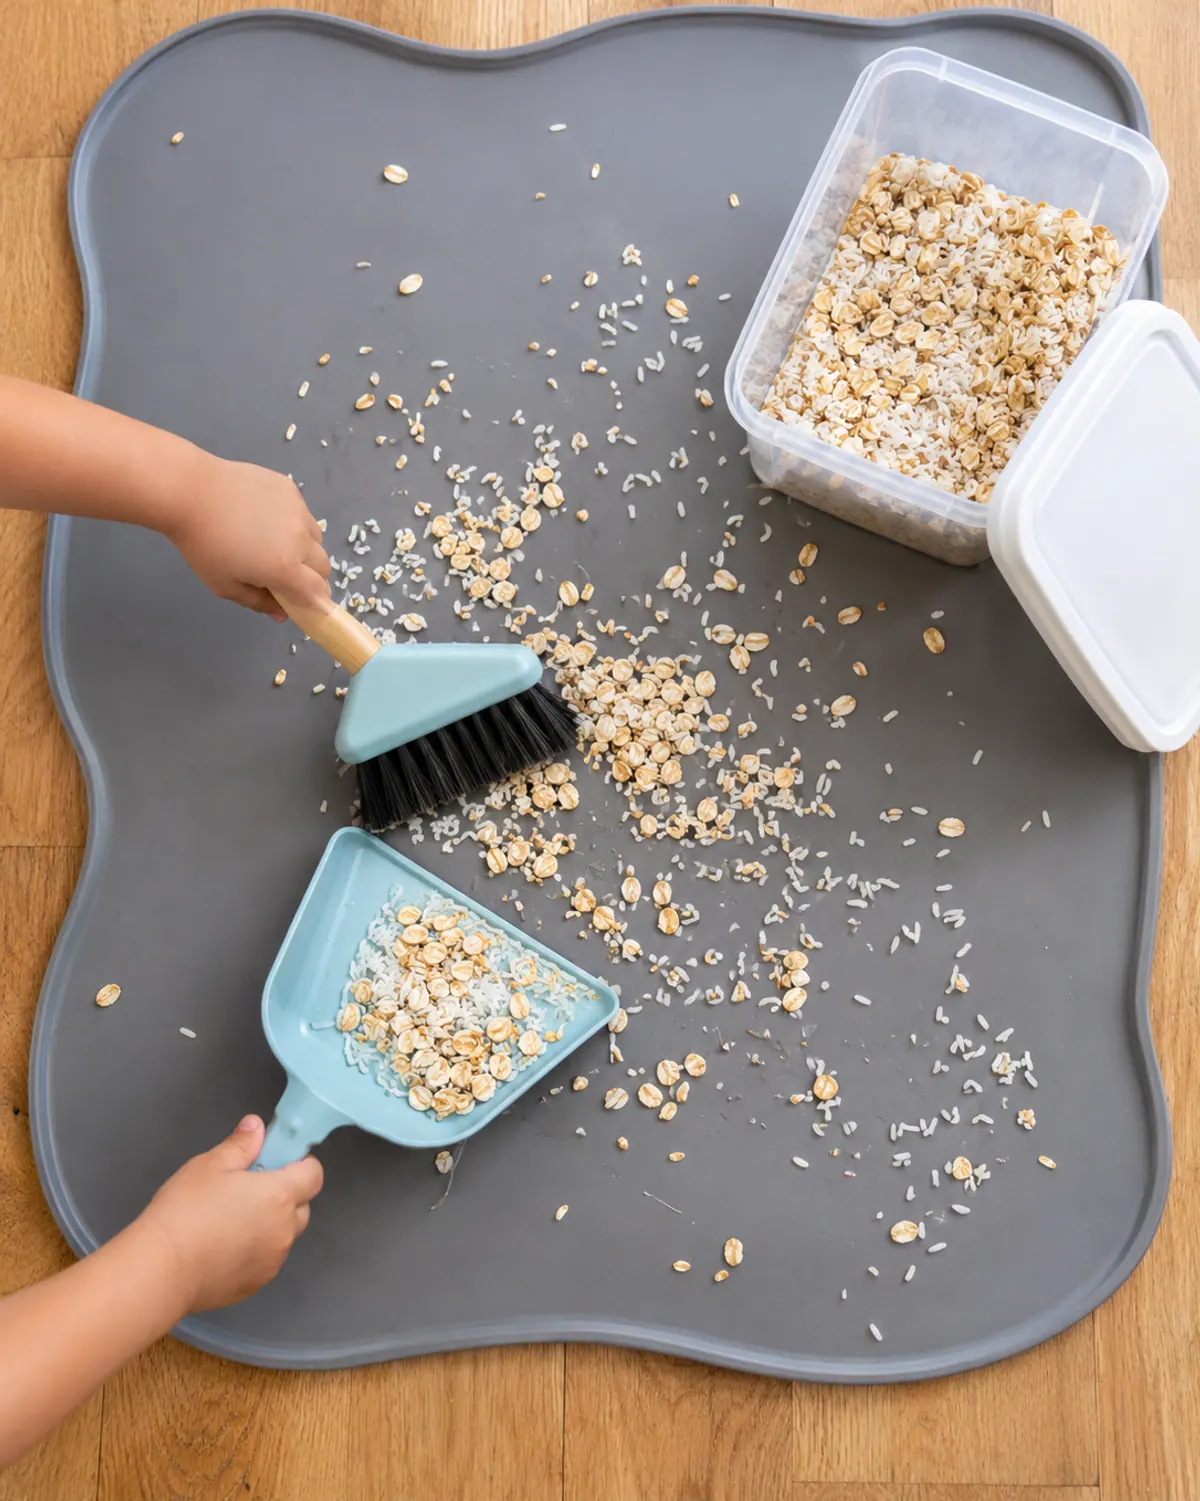
Sweep spills back into the bin with a small broom and dustpan before your child gets up. A splat mat makes this a one minute job.
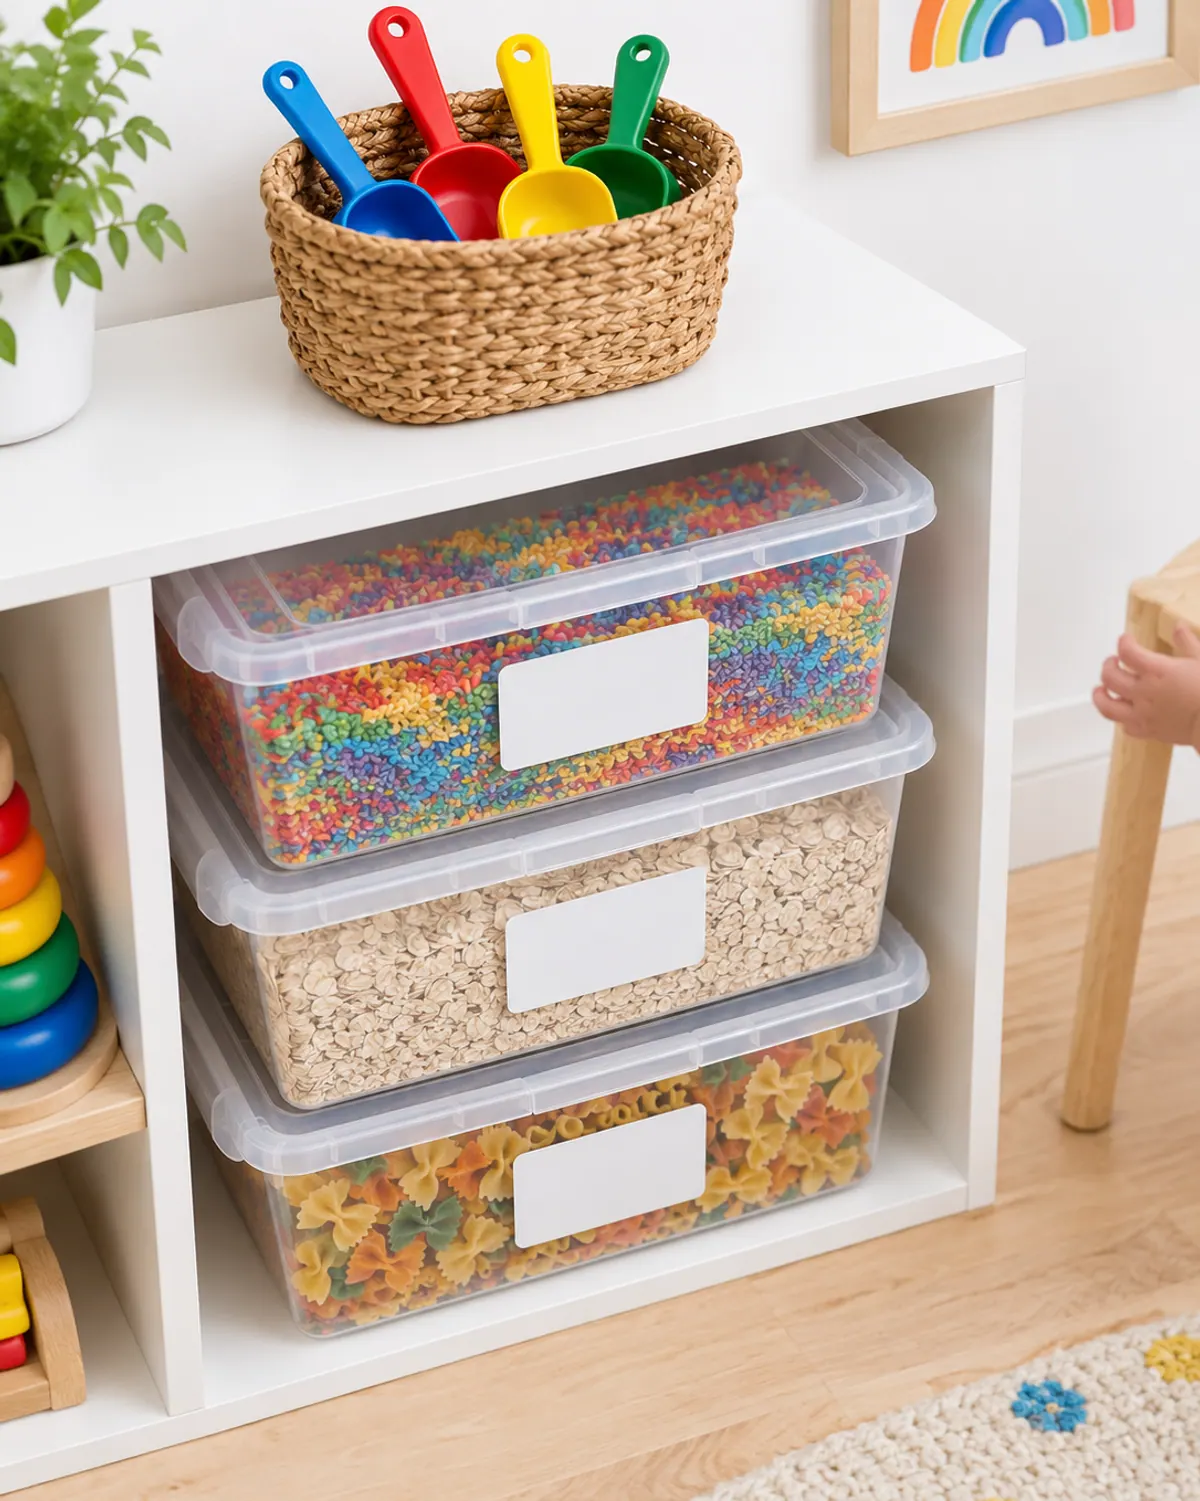
Store dry fillers in lidded bins and reuse them for weeks. Throw out any filler that gets wet, smells or has been mouthed. Water bins get emptied as soon as play ends.
5 starter sensory bins for toddlers
Each of these uses one filler and a few kitchen tools. Start with the first one that fits your child's age.
1Water and cups bin
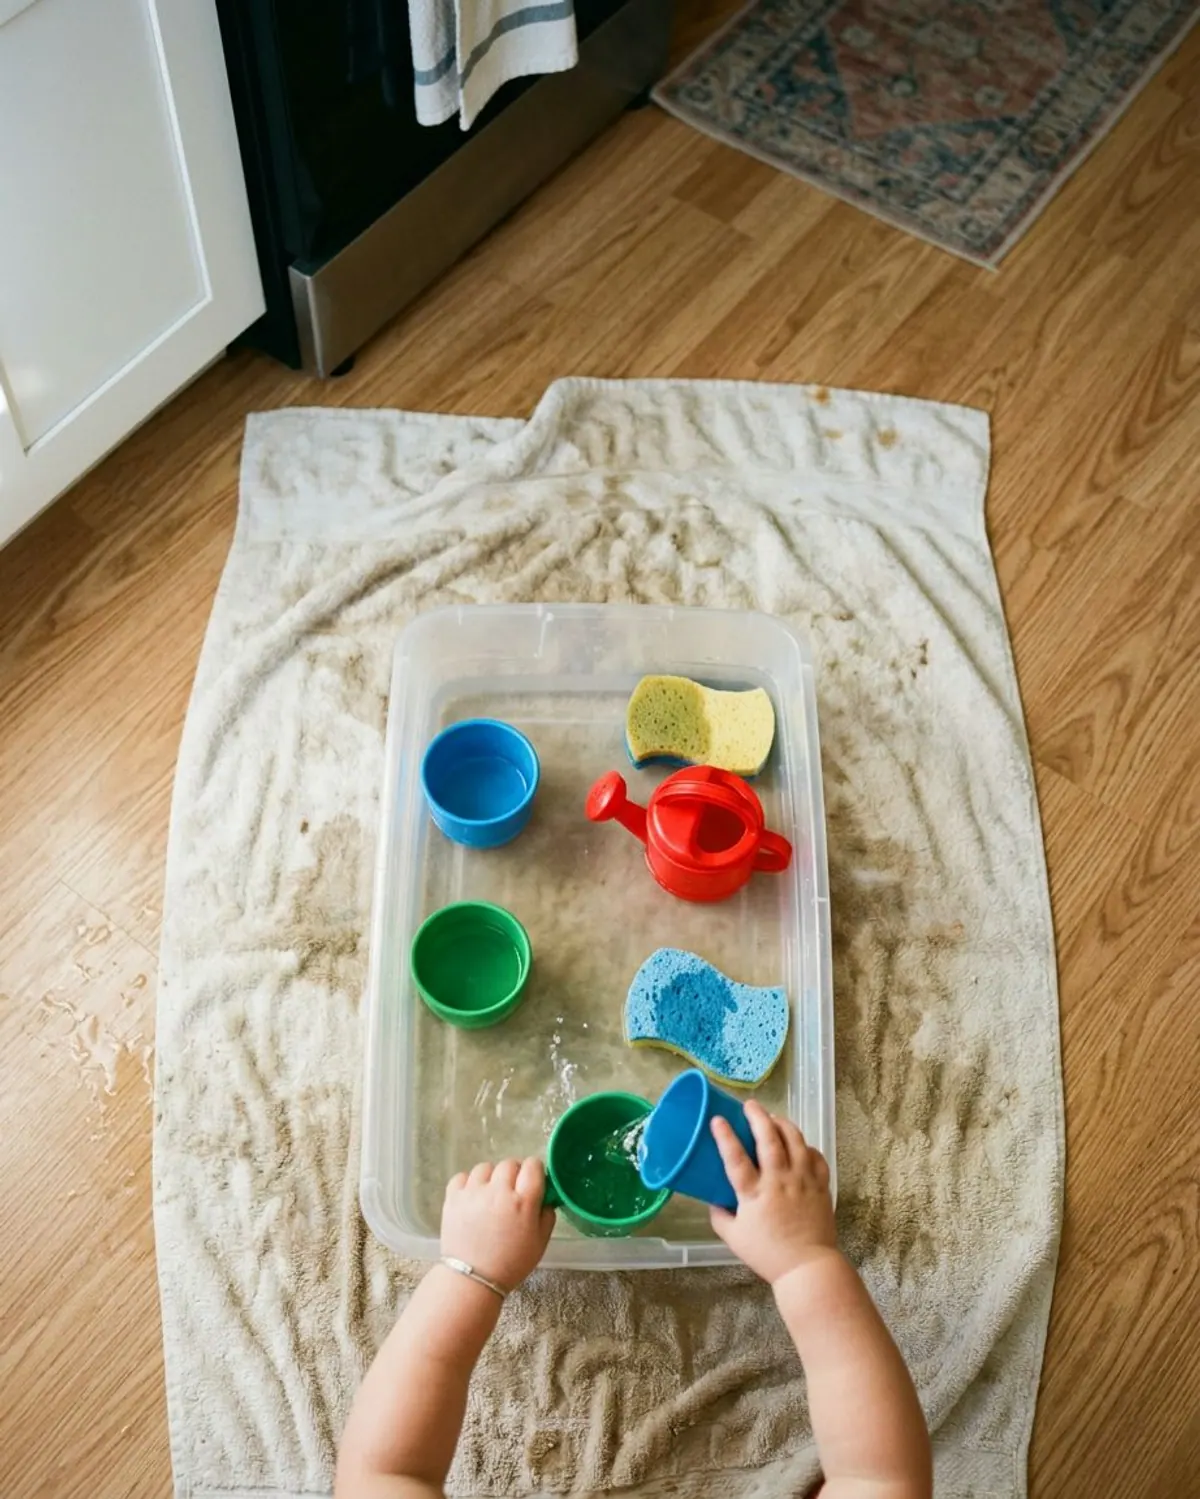
Put an inch or two of water in the bin with plastic cups, a small watering can and a sponge. Pouring from cup to cup is the whole activity, and it is one of the first bins toddlers love.
Ages: 12 months to 4.
Prep: 2 minutes.
Mess: high (wet).
Supplies: shallow bin, water, plastic cups, sponge, a towel underneath.
- Safety: stay right beside your child and empty the bin when play ends.
Cups with holes in the bottom turn pouring into a rain shower.
2Oats and muffin tin bin
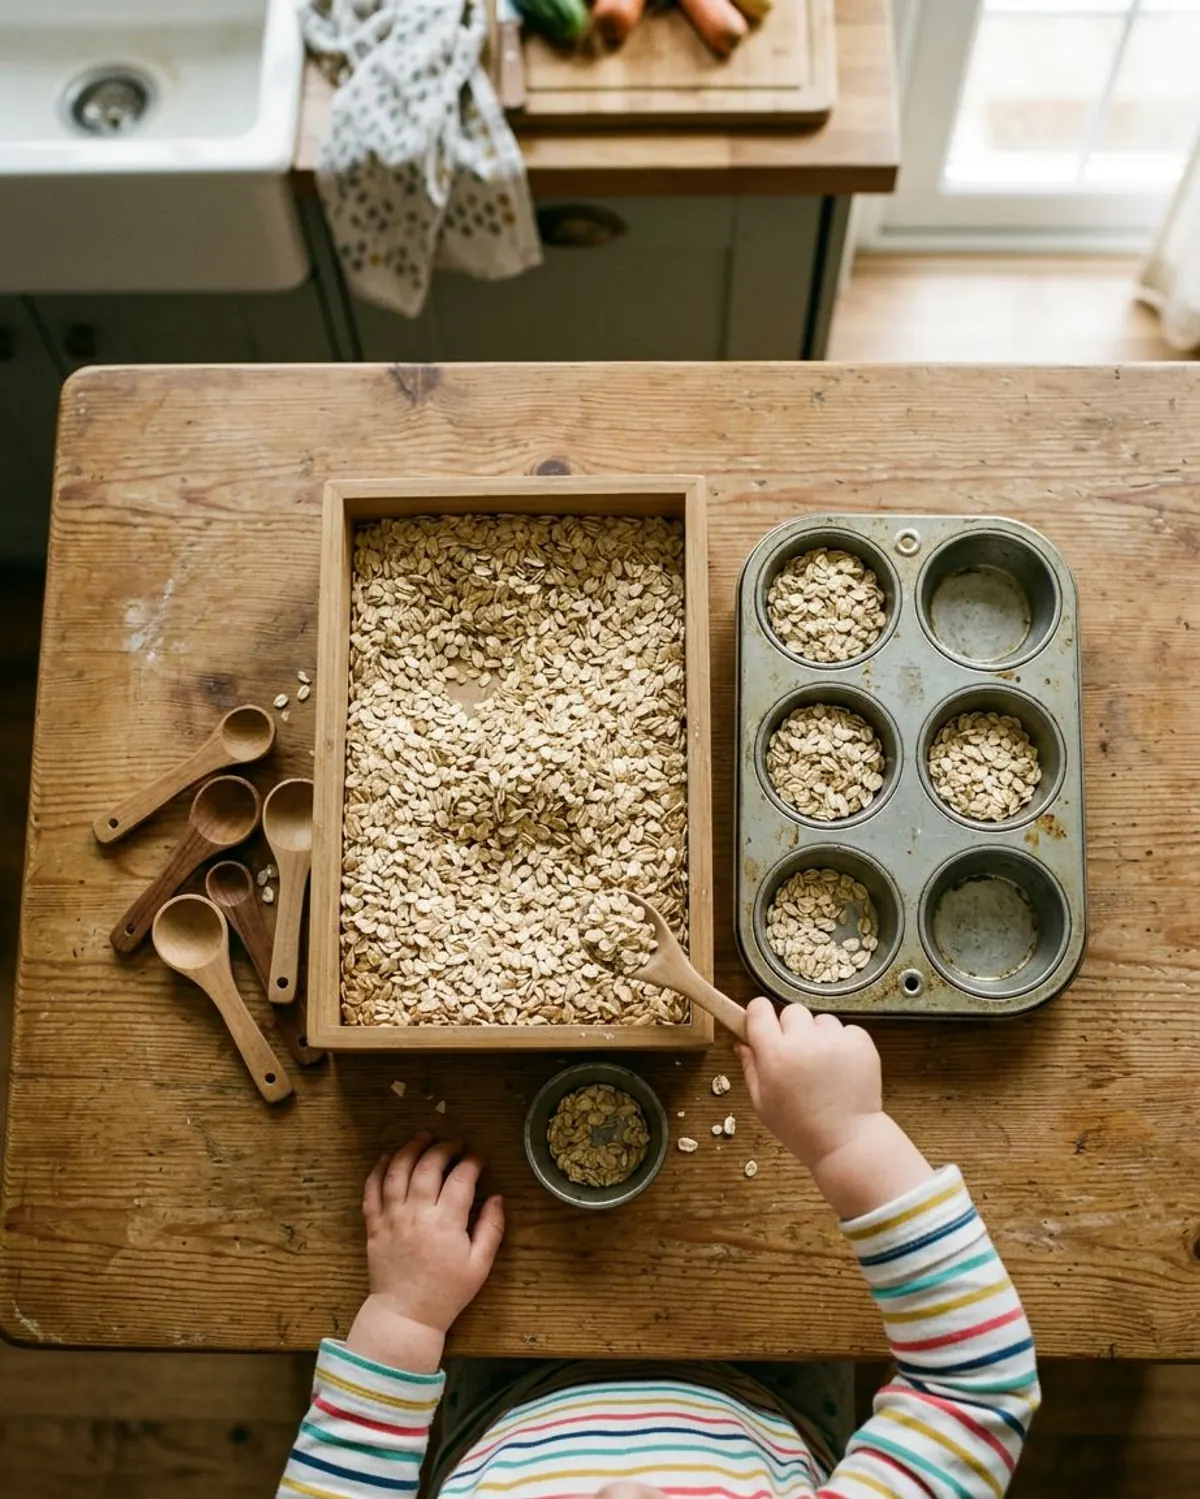
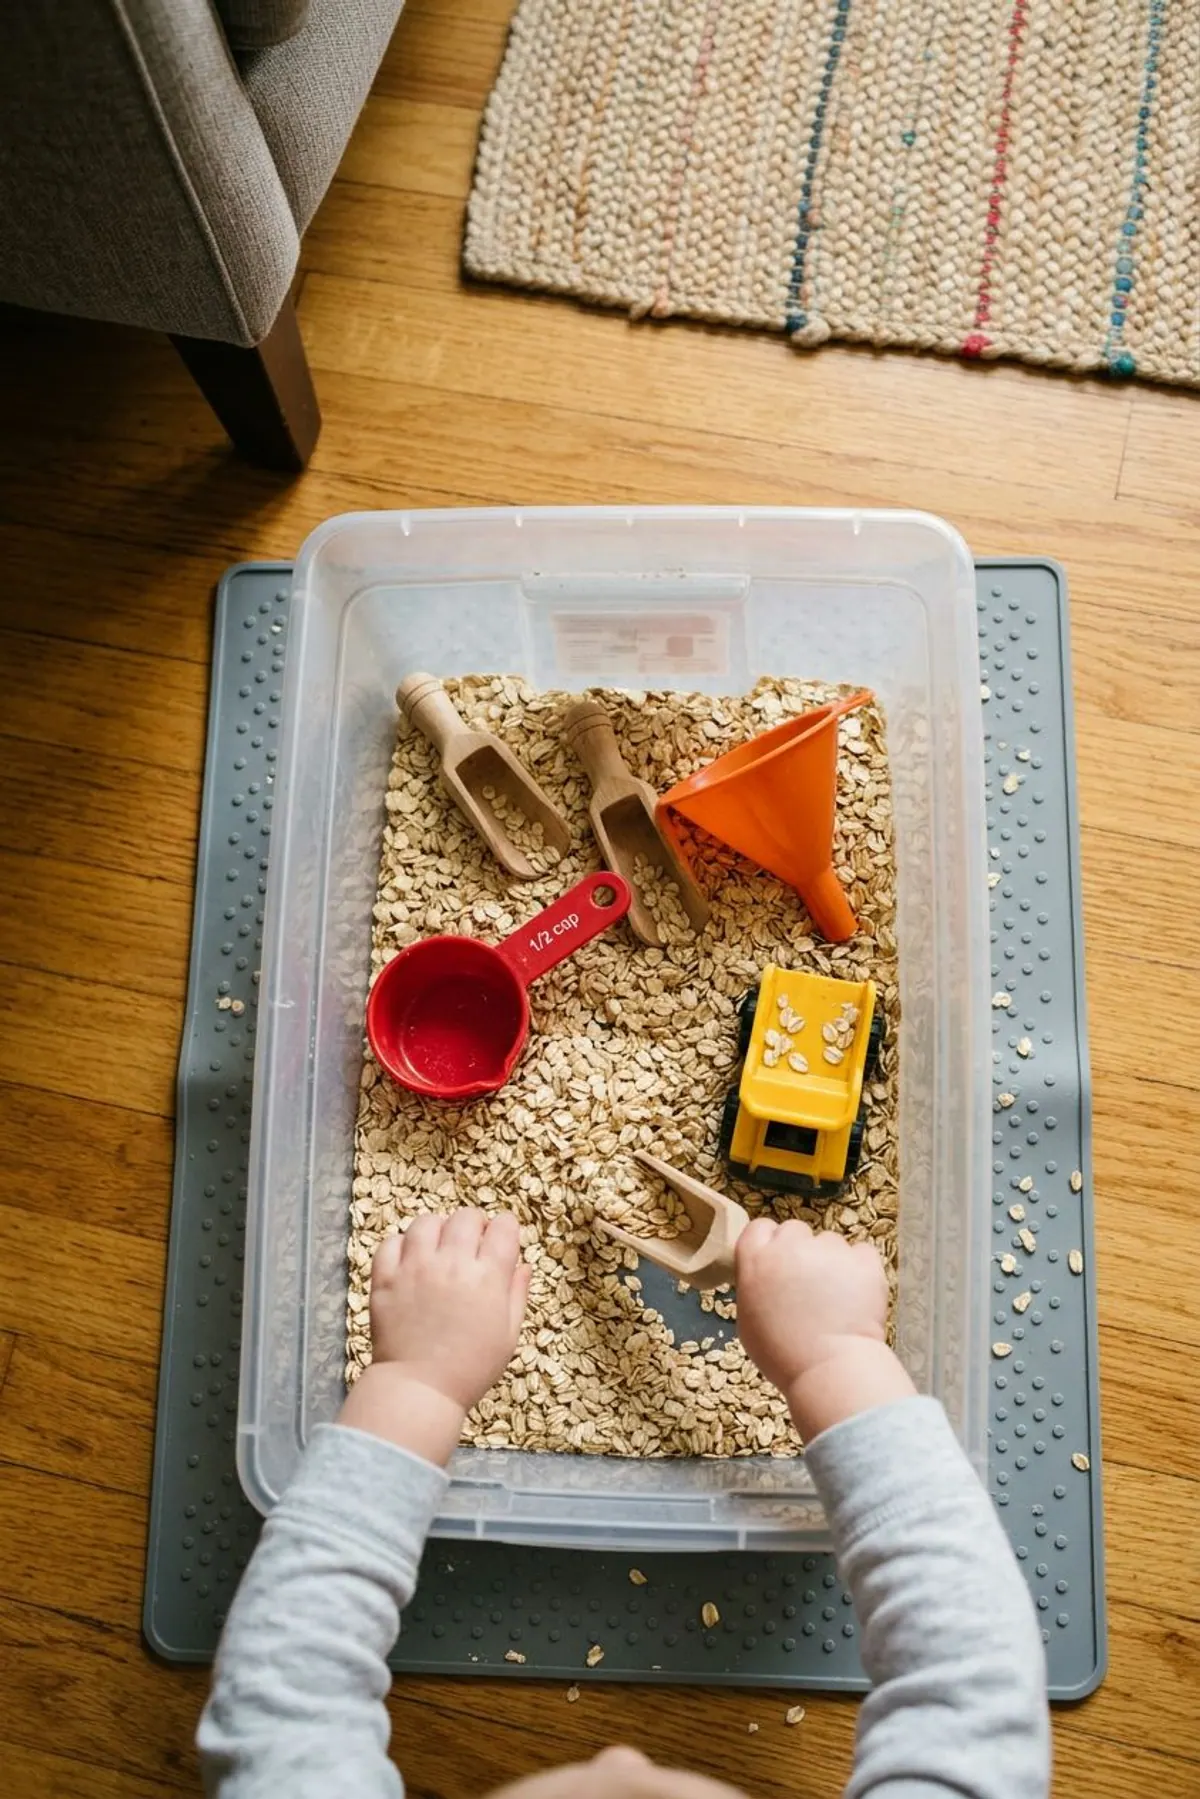
Fill the bin with dry rolled oats and set a muffin tin beside it. Your toddler spoons oats into each cup, which is good early practice for scooping with a spoon at meals.
Ages: 12 months to 3.
Prep: 2 minutes.
Mess: medium (dusty crumbs).
Supplies: dry rolled oats, wooden spoons, a muffin tin.
- Safety: oats are taste-safe for most kids, but check for allergies and stay close.
Small wooden scoops fit toddler hands and feel nice to hold.
3Rice and trucks bin
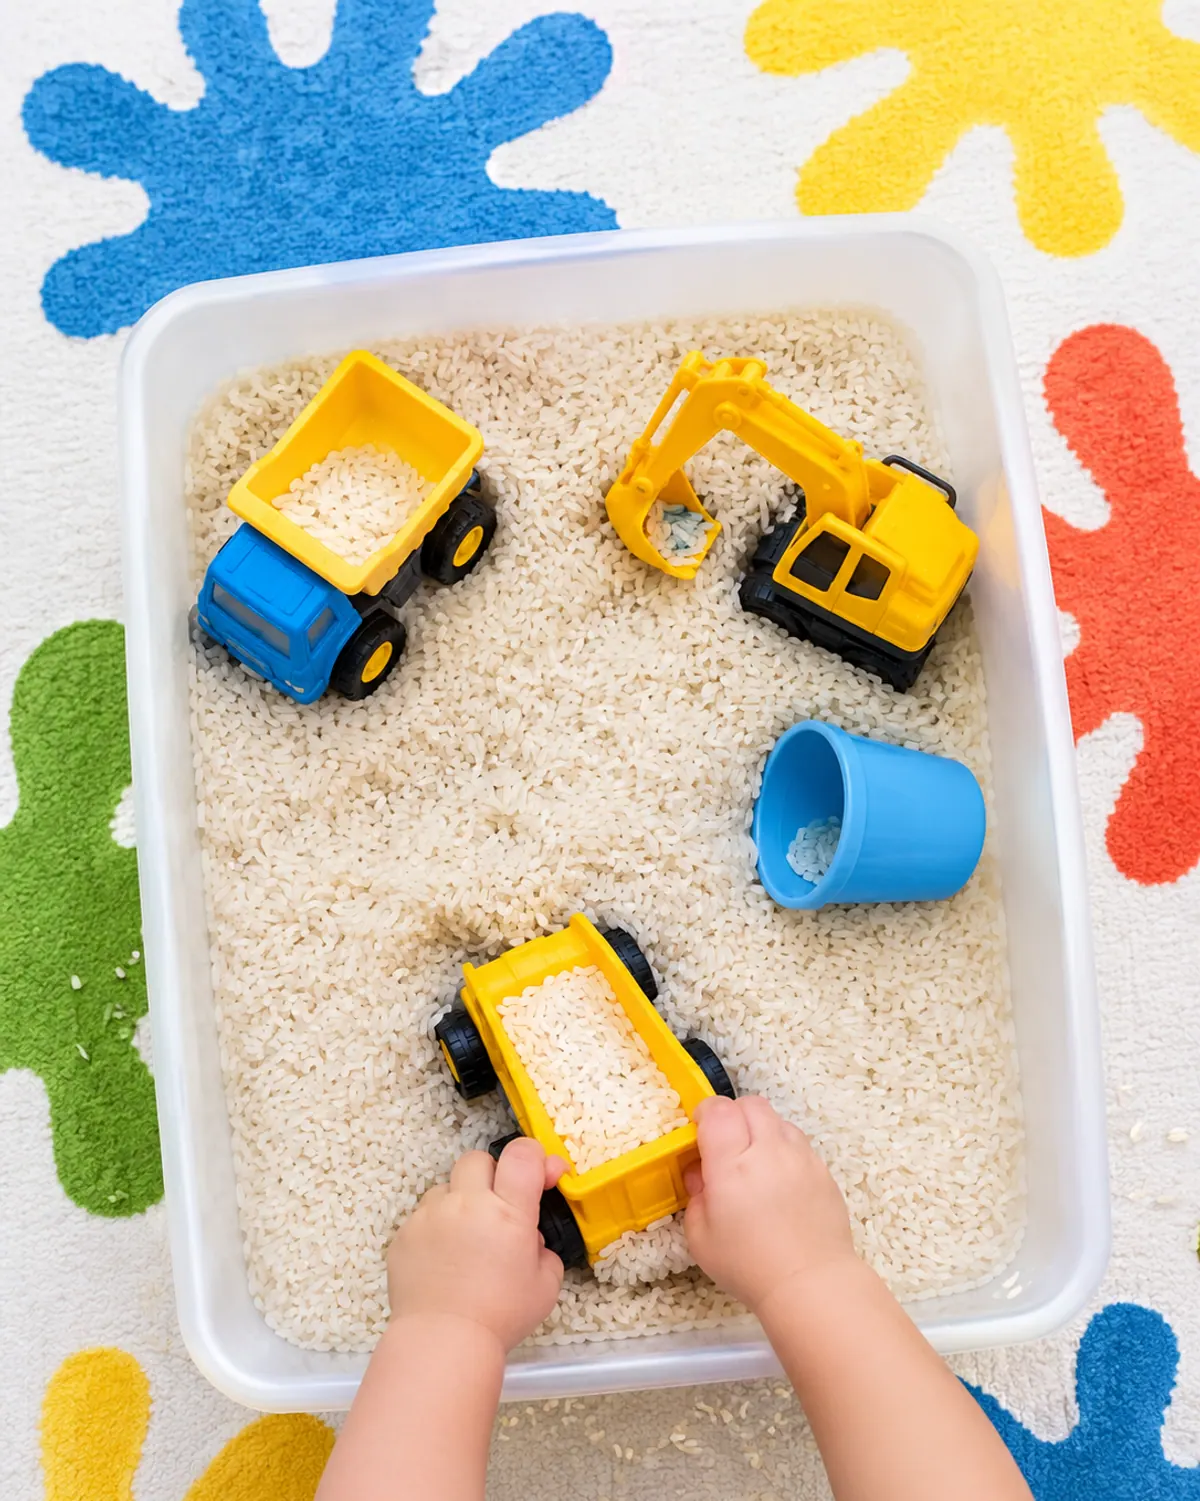
Pour in plain uncooked rice and add two or three toy trucks and a cup. Toddlers fill the dump trucks, drive them through and dump them out again.
Ages: 18 months to 5, once your child no longer mouths.
Prep: 3 minutes.
Mess: medium (rice scatters).
Supplies: uncooked rice, toy dump trucks, a toy digger, a cup.
- Safety: rice is a choking risk for kids who mouth things. Wait until your child is past that stage.
Chunky trucks with big buckets are easy to fill and pass the tube test.
4Jumbo pom pom tong transfer
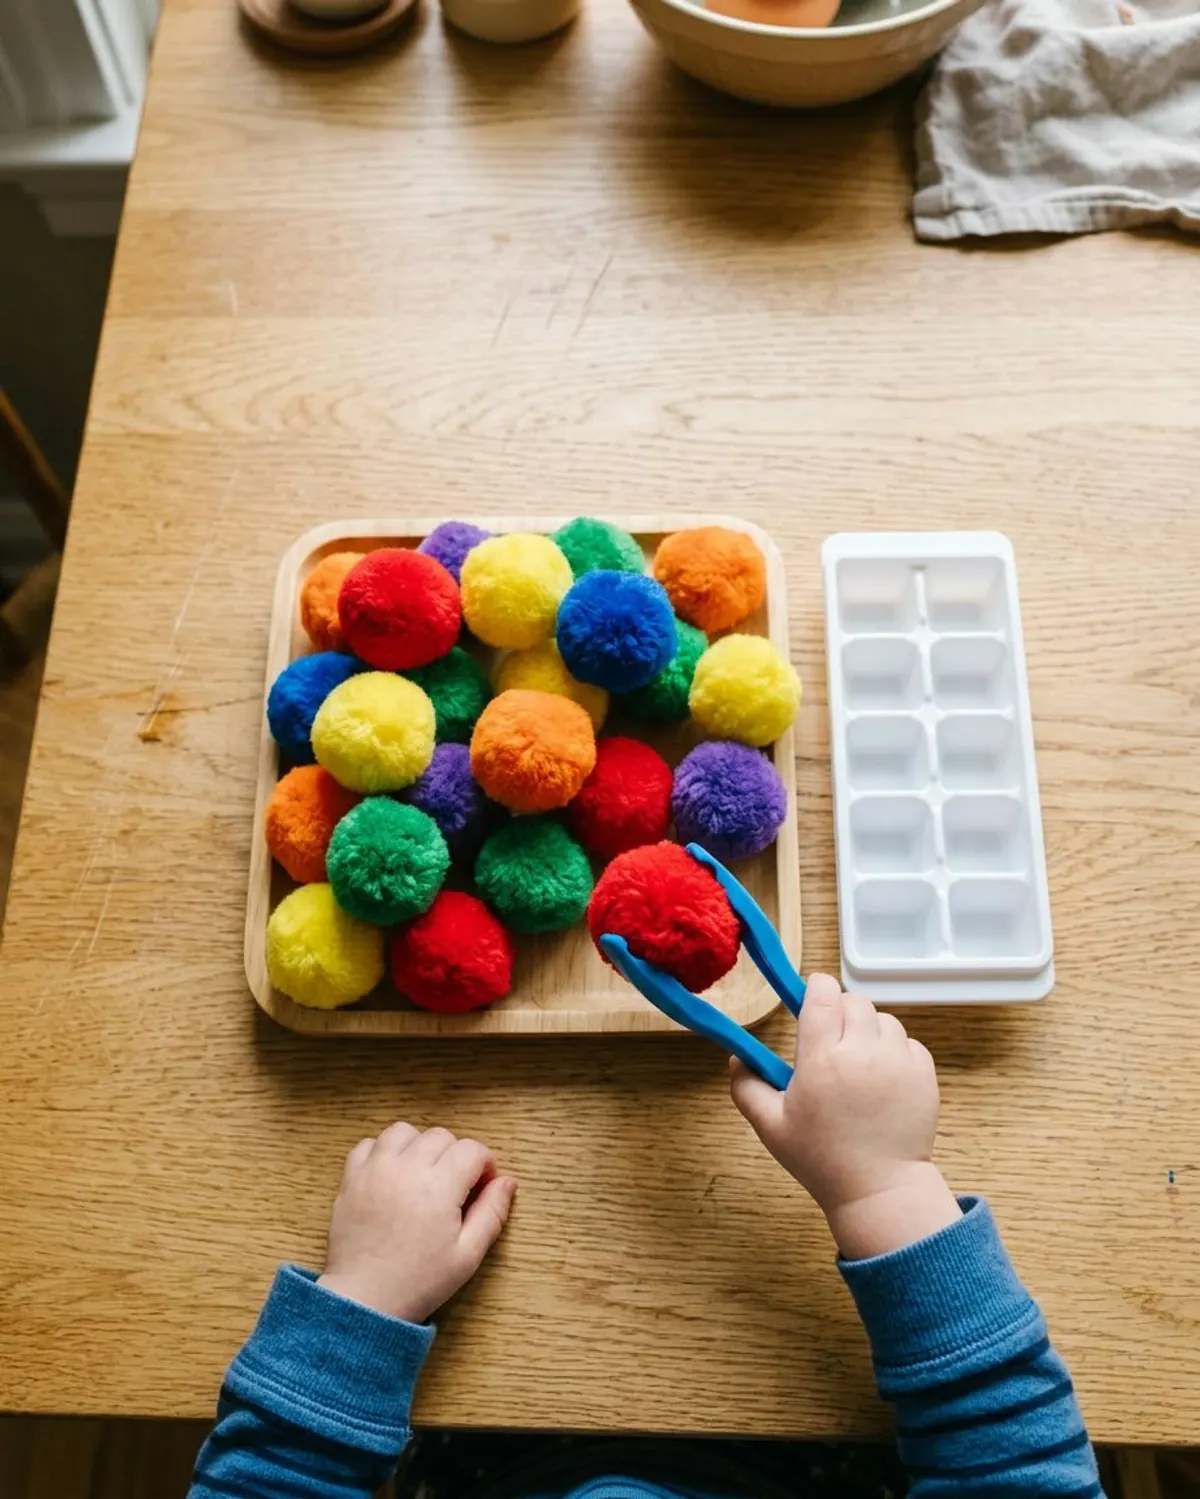
Put large pom poms in a tray and an empty ice cube tray beside it. Your child uses chunky tongs to move one pom pom into each cup, which builds hand strength for holding a crayon later.
Ages: 2 to 4.
Prep: 2 minutes.
Mess: low.
Supplies: jumbo pom poms (2 inch or larger), toddler tongs, ice cube tray.
- Safety: pom poms squish, so test them squeezed in the tube. Stay close, since loose fibers can come off when chewed.
Easy-grip tongs open on their own, so small hands only have to squeeze.
5Cereal construction bin
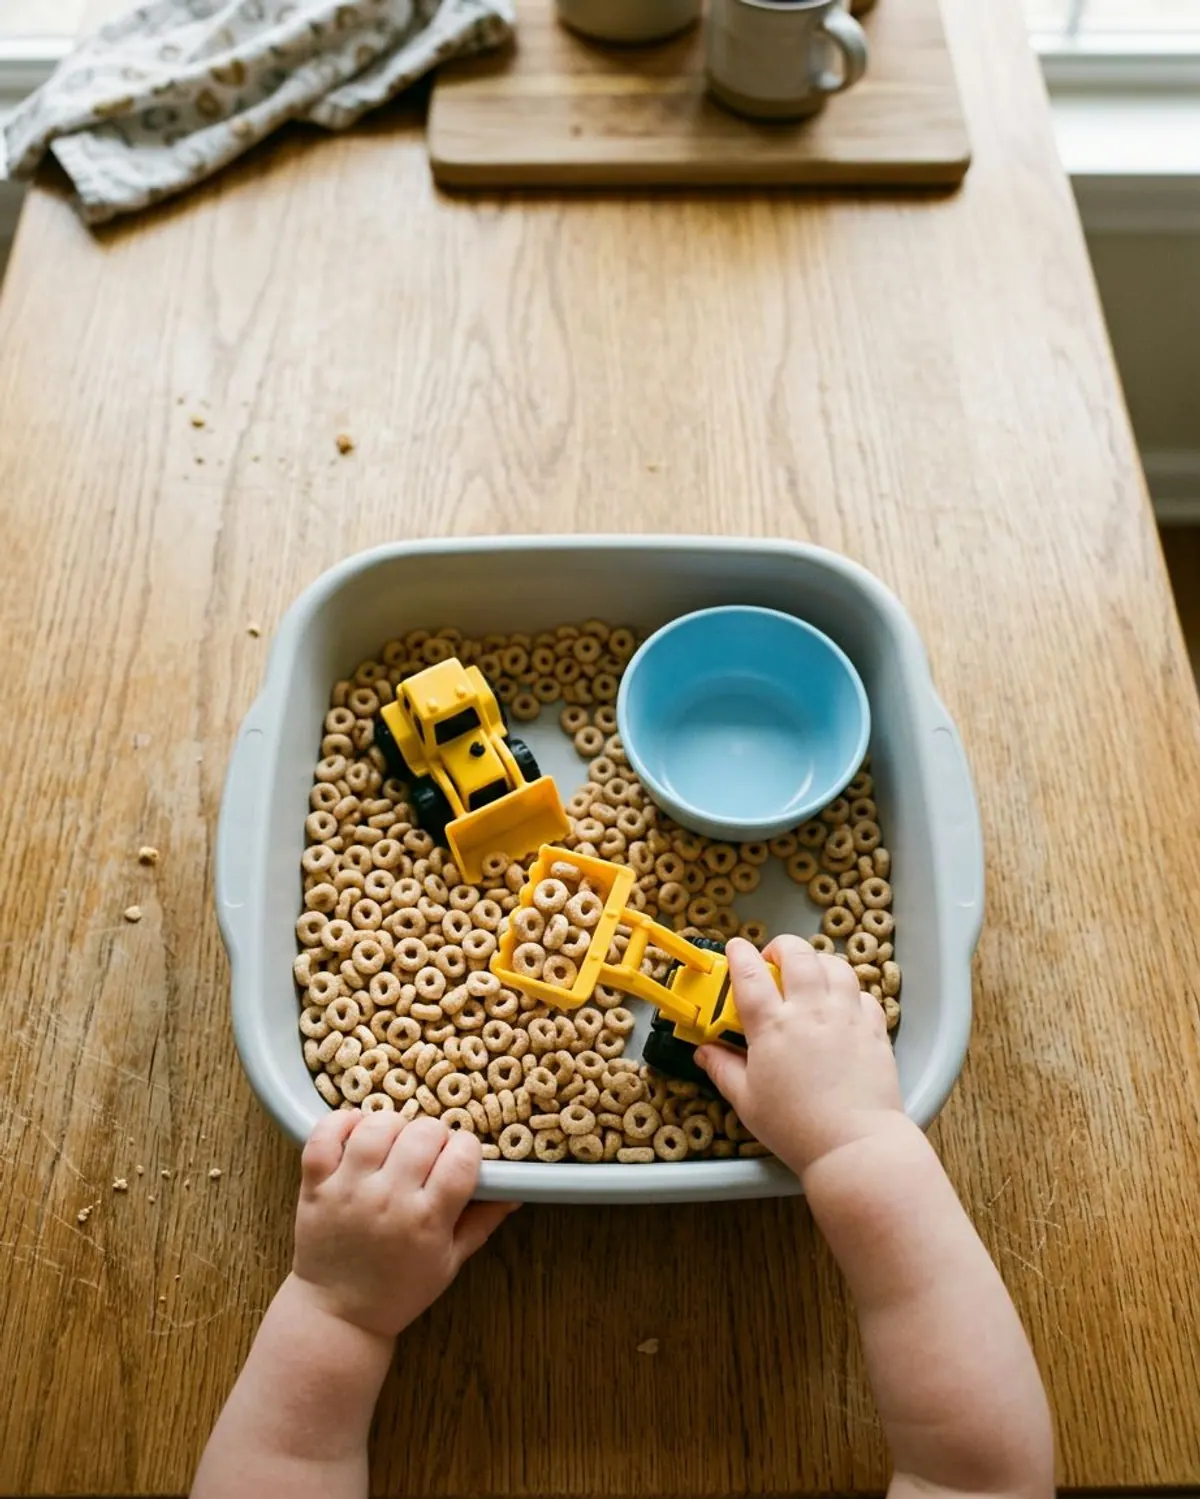
Fill the bin with plain O-shaped cereal and add a toy digger and a bowl. It feels like a big-kid construction bin, but it is safe for younger toddlers who still taste things.
Ages: 12 months to 3.
Prep: 2 minutes.
Mess: medium (crumbs).
Supplies: plain O-shaped cereal, toy digger, bulldozer, bowl.
- Safety: sit with your child, and toss the cereal after play since it has been handled.
Shallow, see-through and lidded, so it doubles as storage.
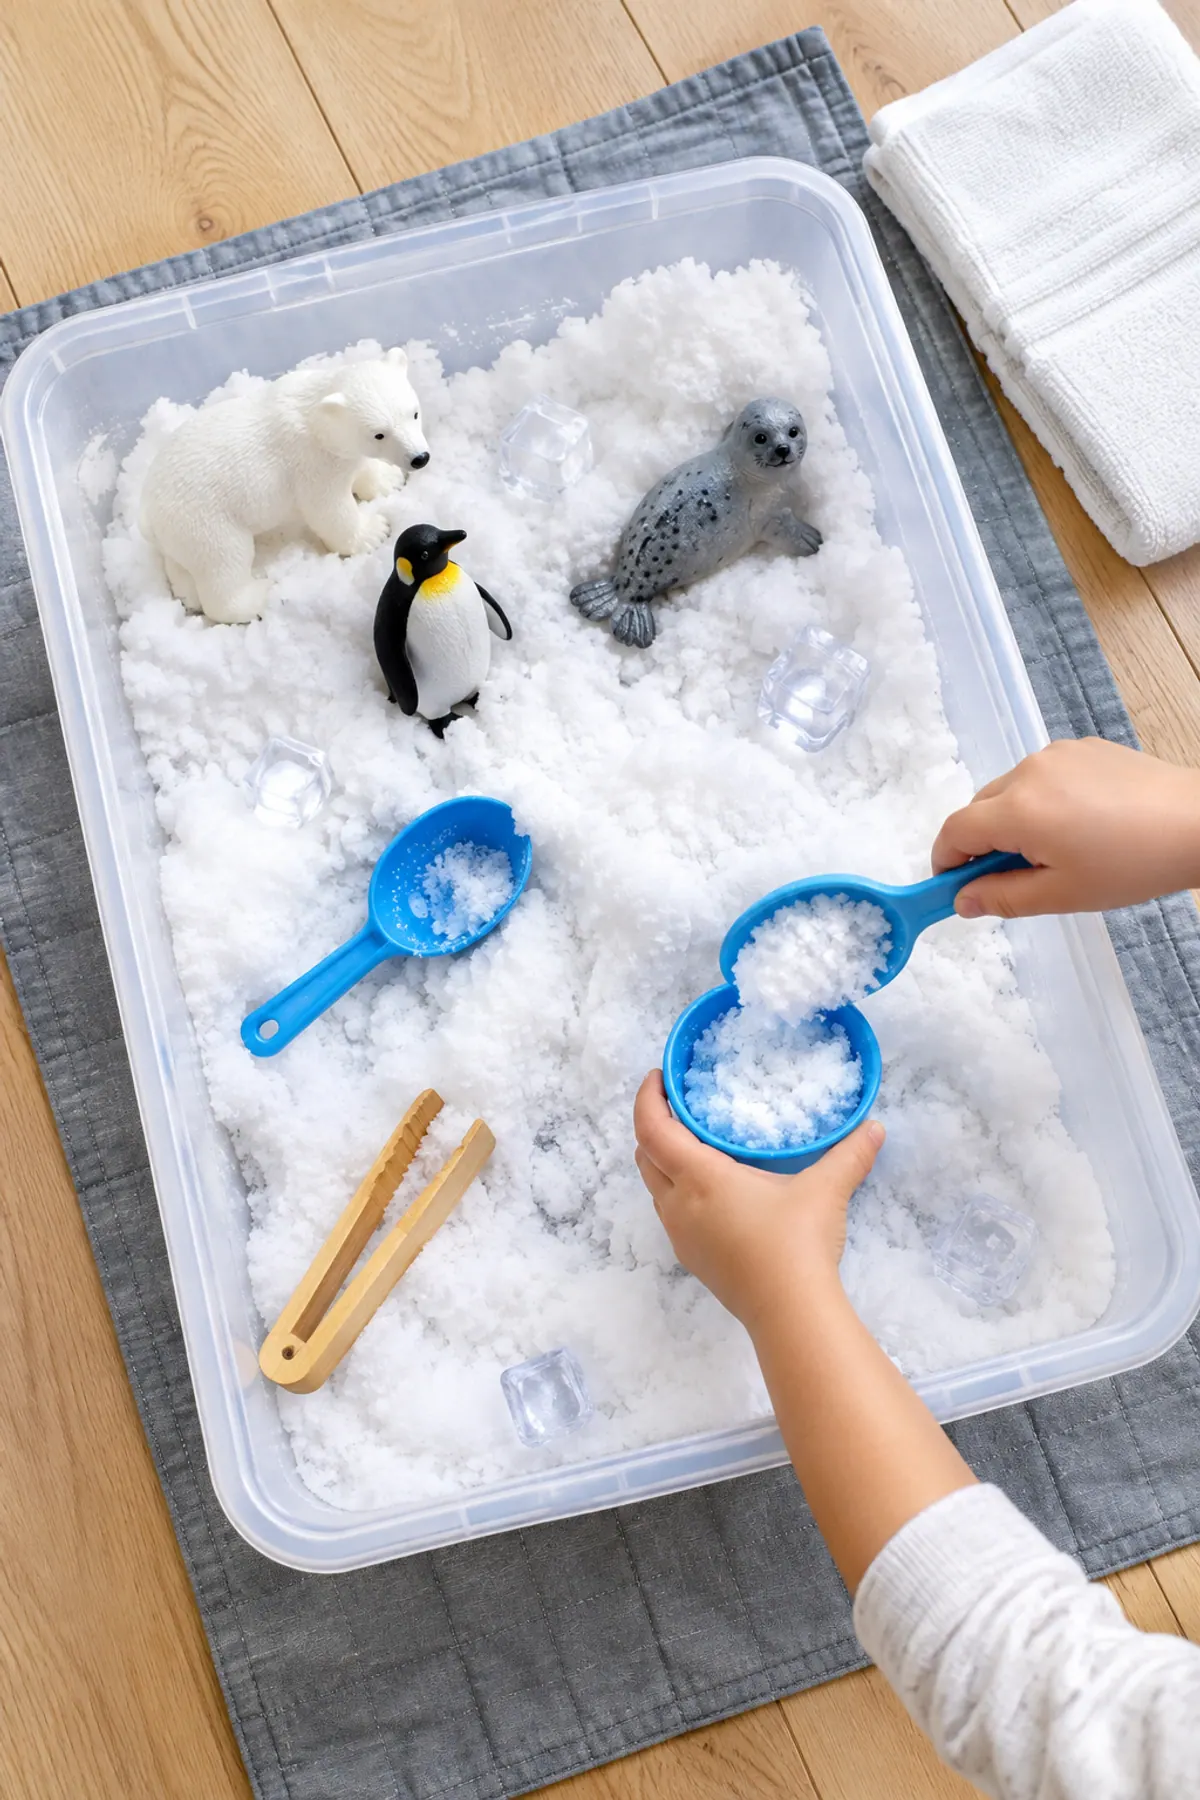
For holiday versions of these bins, see our Christmas sensory bin ideas and winter sensory bins with fake snow.
Common sensory bin mistakes
Mistakes to avoid
Bonus: a 4 week bin rotation
You do not need a new bin every day. Keep one filler for a week and change the tools, then switch filler the next week.
| Week | Filler | Swap in these tools |
|---|---|---|
| 1 | Water | Cups, then sponges, then a funnel |
| 2 | Dry oats | Spoons and a muffin tin, then trucks |
| 3 | Rice or pasta | Funnels, then tongs and a bowl |
| 4 | Pom poms or cereal | Tongs and an ice cube tray, then a digger |
On the days you skip the bin, our low prep toddler activities by age and fine motor activities fill the gap.
Sensory bin shopping list
Sensory bin starter kit
-
Clear shallow storage bin
Typically $10 to $20
Wide and shallow is the shape that keeps filler in.
Check price on Amazon for Clear shallow storage bin -
Splat mat
Typically $12 to $25
Catches spills and folds away. An old shower curtain also works.
Check price on Amazon for Splat mat -
Wooden scoops set
Typically $8 to $15
Good starter tools for any filler.
Check price on Amazon for Wooden scoops set -
Toddler training tongs
Typically $8 to $14
Builds hand strength for crayons and scissors later.
Check price on Amazon for Toddler training tongs -
Mini hand broom and dustpan
Typically $8 to $15
Makes cleanup a job your toddler can help with.
Check price on Amazon for Mini hand broom and dustpan
Want more ideas like these, sorted by setup time? Our free 50 Screen-Free Activities pack has activity cards for ages 2 to 6 with the age, prep time and mess level on every card, plus a safety page.
Frequently asked questions
At what age can toddlers use sensory bins?
Water and taste-safe bins like dry oats work from about 12 months with an adult sitting beside them. WebMD suggests waiting until about 18 months for loose fillers like rice, and longer if your child still mouths things.
What do you put in a sensory bin for a 1 year old?
A little water with cups, dry rolled oats, or plain O-shaped cereal, with big scoops and cups. Skip anything that fits through a toilet paper tube.
How do I keep a sensory bin from making a mess?
Use a shallow bin, only 2 inches of filler and a splat mat. Teach two rules on day one: filler stays in the bin and we play sitting down.
How long can you keep a sensory bin filler?
Dry fillers like rice and pasta can be reused for weeks if stored with a lid. Throw out any filler that gets wet, smells or has been mouthed, and empty water bins after each use.
Are sensory bins good for preschoolers too?
Yes. Preschoolers can use smaller tools like tweezers, sort items by color and add letter or number cards, which turns the same bin into early learning.
Save it for later
Pin this to your Sensory Play board so it's there when you need it.
Save to Pinterest