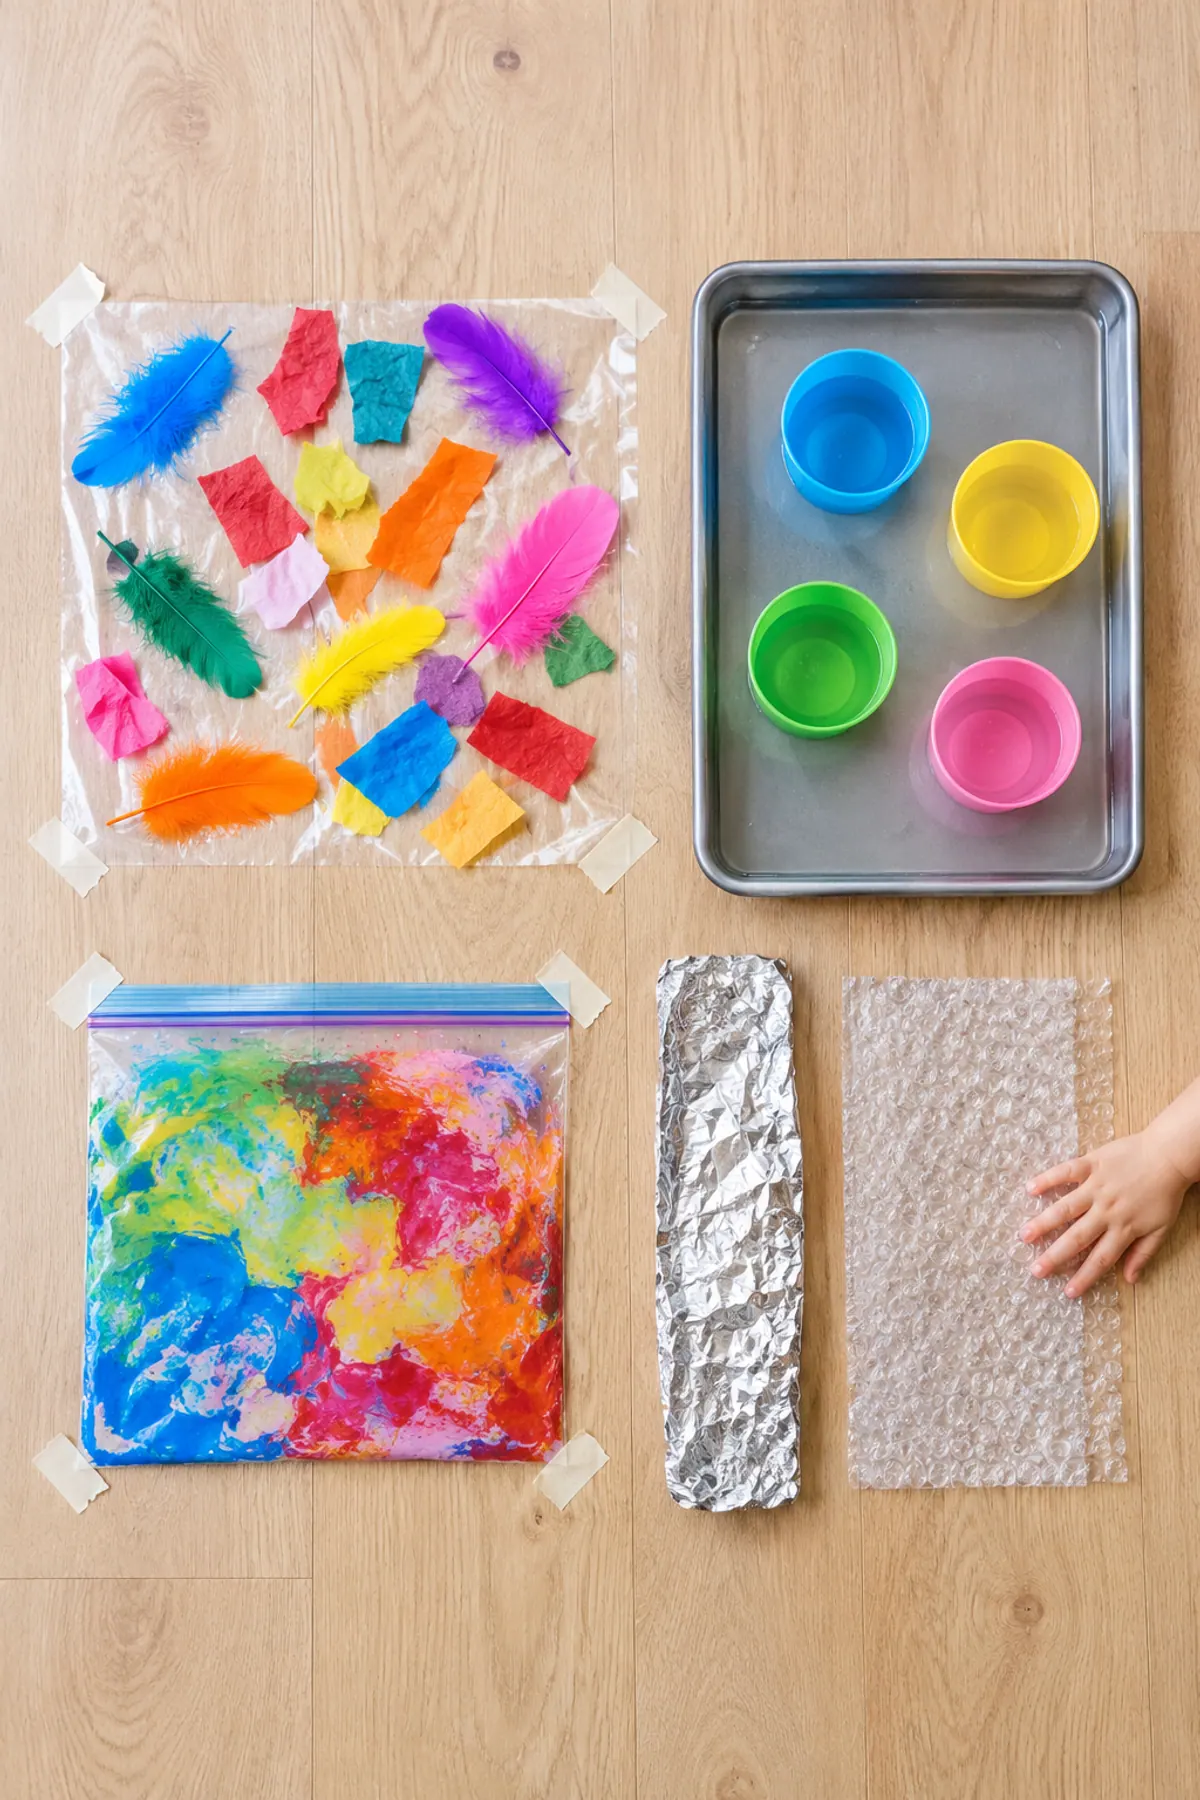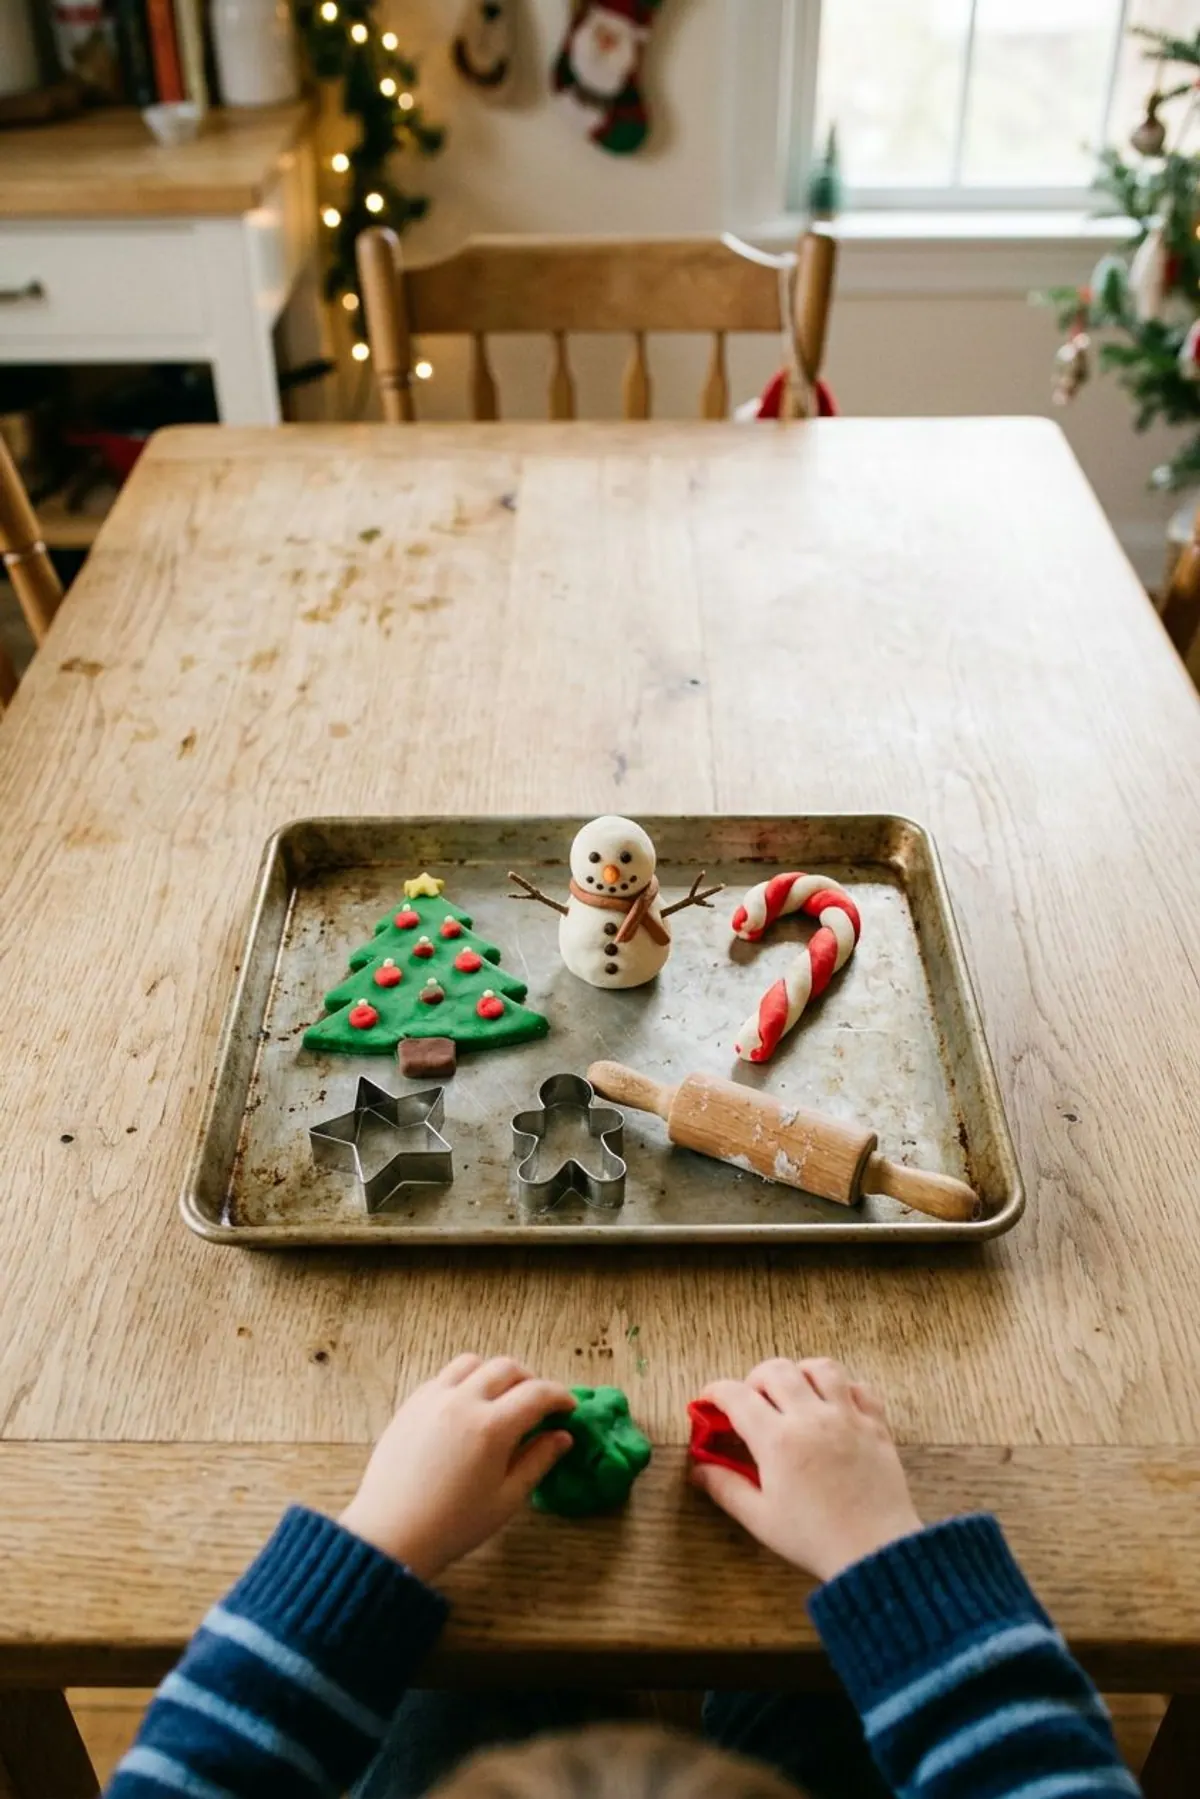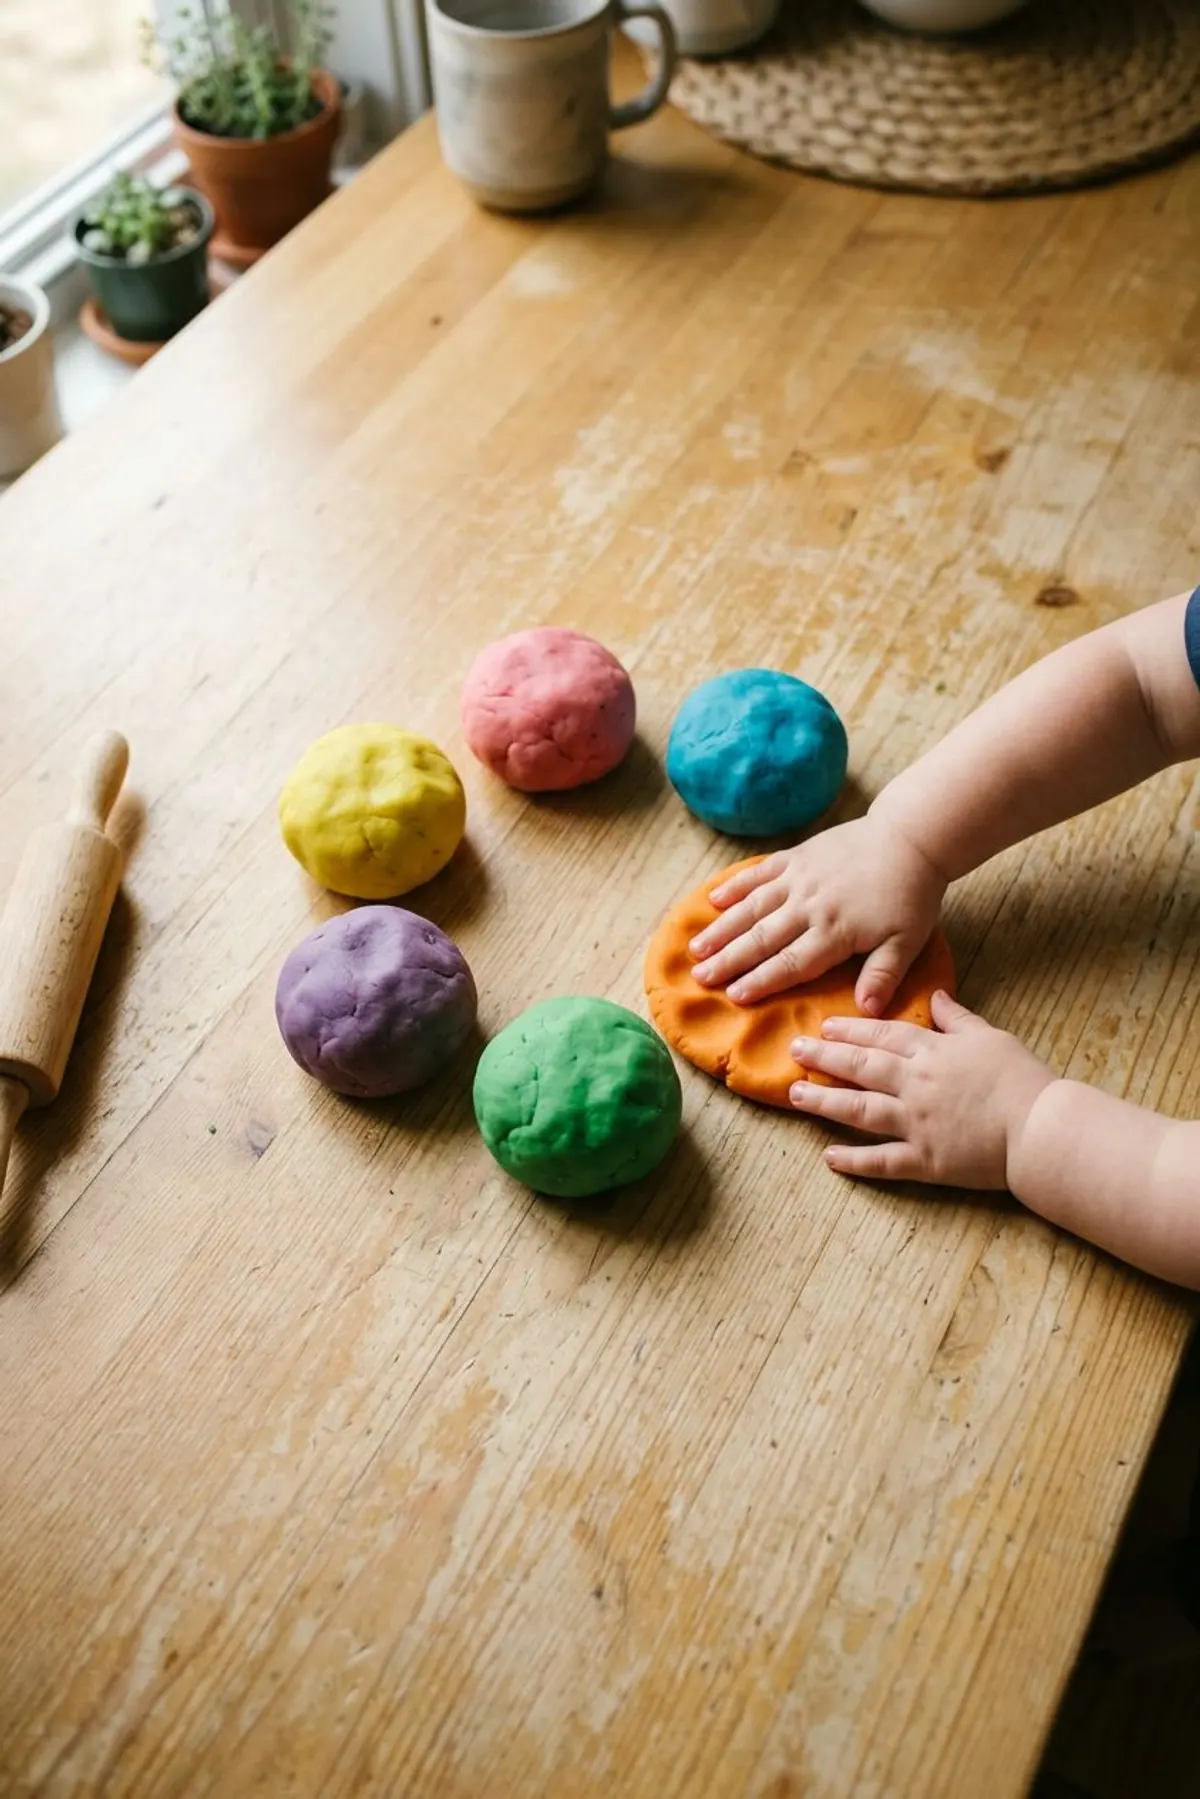
This post contains affiliate links. As an Amazon Associate we earn from qualifying purchases, at no extra cost to you. Read our disclosure.
Safety first: Always supervise little ones, and skip small parts for kids who still put things in their mouths. Please read our play safety notes before you start.
Key takeaways
- Raw flour can carry germs. Use heat-treated flour for no-cook playdough, or cook the dough on the stove for 3 to 5 minutes.
- The base batch is 2 cups flour, 1/2 cup salt, 2 tablespoons cream of tartar, 2 tablespoons oil and 1 1/2 cups water.
- Boiling water is what makes no-cook dough smooth. Cold water gives a crumbly batch.
- Store it airtight at room temperature; a batch usually lasts 3 to 8 weeks.
- Playdough is salty. Keep it away from dogs, and keep small add-ins away from kids under 3.
In this post29 sections
- What you need for this no-cook playdough recipe
- Version 1: no-cook playdough with heat-treated flour (10 minutes)
- Version 2: 5-minute stovetop playdough (softest, lasts longest)
- No cream of tartar? Here is the swap
- How to fix sticky, crumbly or dry playdough
- How to store homemade playdough and how long it lasts
- 15 play dough activities by age
- Play dough activities for ages 2 to 3
- 1. Squish and poke tray
- 2. Cookie cutter stamps
- 3. Snakes and balls
- 4. Color smash
- 5. Craft stick fences
- Play dough activities for ages 3 to 5
- 6. Playdough faces
- 7. Letter stamping
- 8. Muffin tin bakery
- 9. Nature press
- 10. Counting dots
- Play dough activities for ages 5 to 8
- 11. Fossil dig
- 12. Marble maze
- 13. Longest snake challenge
- 14. Playdough town
- 15. Pizza shop with a menu
- Mistakes that ruin a playdough batch
- Variations: scented, seasonal and sparkly
- Playdough supplies
- FAQ
Most playdough recipes online say the dough is safe to eat because it is just flour and salt. That is the part they get wrong. Raw flour is a raw food, and the CDC's raw flour and dough page says not to let children play with or eat dough made with raw flour, and it names homemade play dough as an example. You have two easy ways around that, and both are below.
What you need for this no-cook playdough recipe
One batch makes about 3 cups of dough, enough for two kids or three colors. Everything is a pantry item except the heat-treated flour, which is sold in regular grocery stores for edible cookie dough. If you cannot find it, skip to the stovetop version instead; the FDA and extension services say heating flour at home in an oven or microwave is not a reliable way to kill germs, so do not try to treat it yourself.
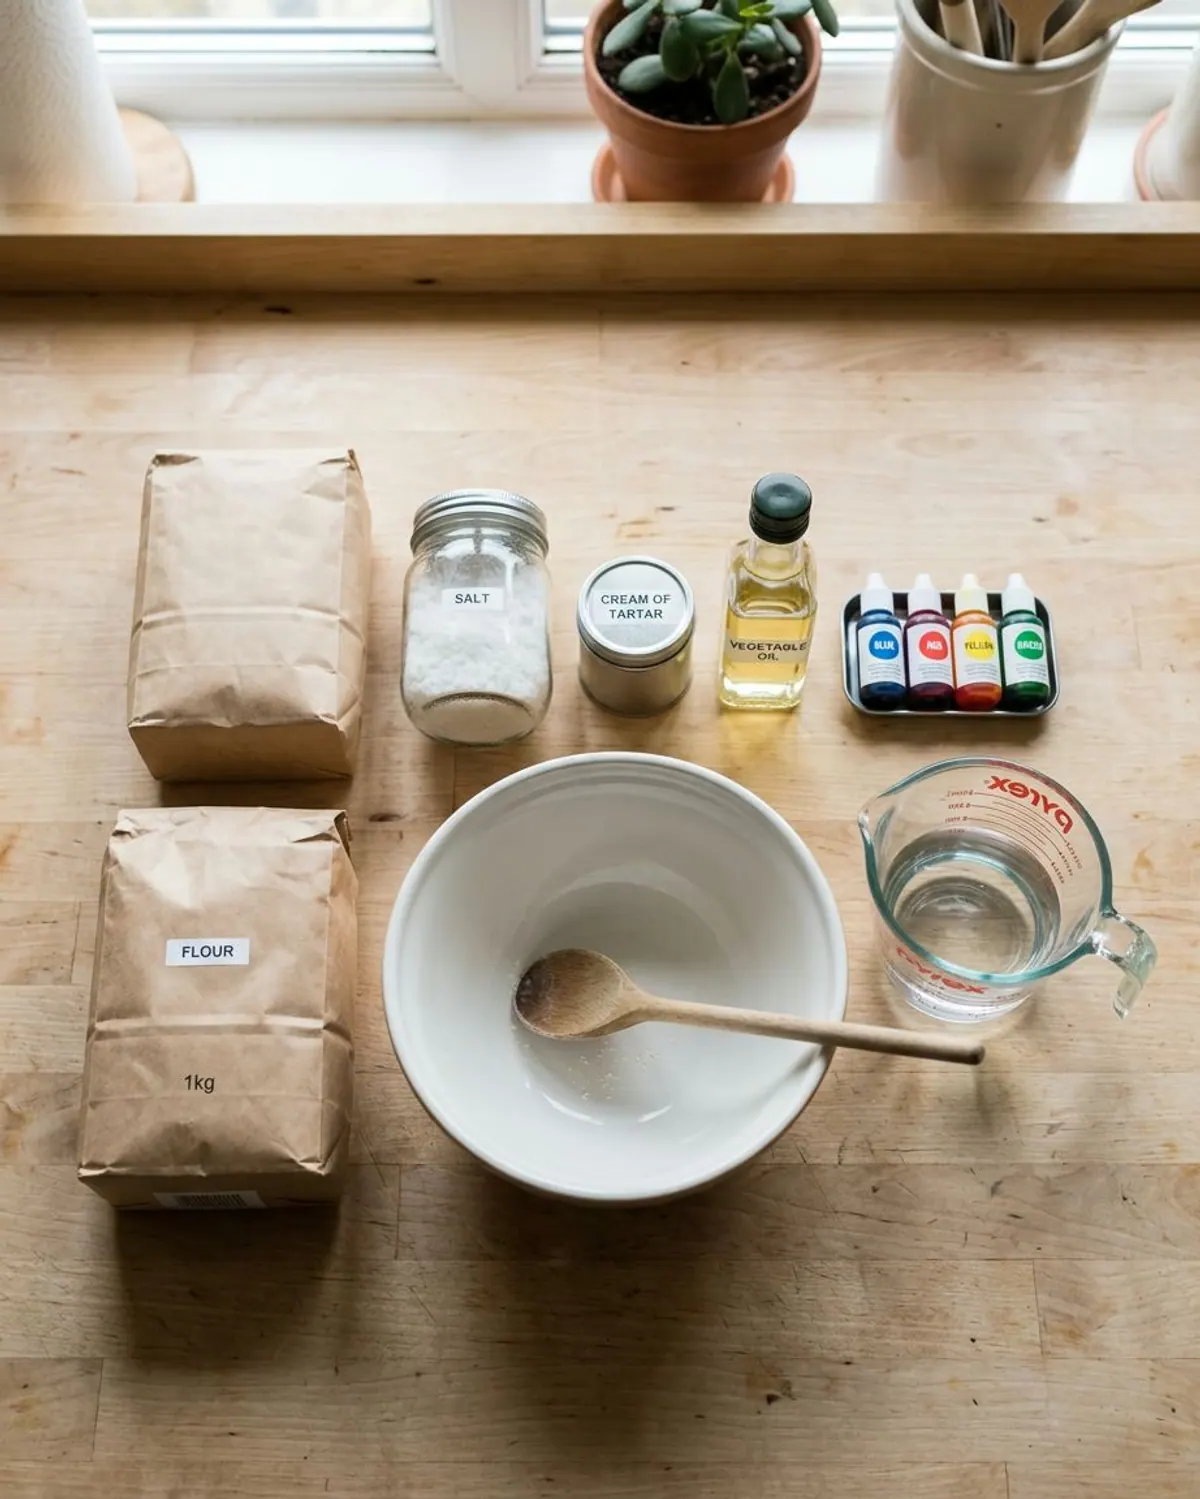
Playdough supply list (one batch)
Version 1: no-cook playdough with heat-treated flour (10 minutes)
This is the fastest method and the one most people mean by playdough recipe no cook. The only part an adult does is pour the boiling water. Kids take over at the kneading step once the dough is cool enough to touch, usually after 3 to 4 minutes.
-
Step 1: Mix the dry ingredients
In a large heatproof bowl, stir together 2 cups heat-treated flour, 1/2 cup salt and 2 tablespoons cream of tartar until no salt clumps remain.
-
Step 2: Add oil and color to the water
Boil 1 1/2 cups water. Stir 2 tablespoons oil and 5 to 10 drops of gel color into the hot water before it meets the flour. Coloring the water gives an even color with no streaks and keeps hands clean.
-
Step 3: Pour and stir fast
Pour the hot liquid into the dry mix and stir hard with a sturdy spoon for about a minute. It will look like a shaggy, sticky mess. Keep going until it pulls away from the bowl.
-
Step 4: Cool, then knead
Let the dough sit for 3 to 4 minutes. Once it is warm, not hot, knead it on the counter for 2 to 3 minutes until smooth. It gets less sticky as it cools, so do not add flour yet.
-
Step 5: Adjust once it is cool
Heat-treated flour can soak up a little less water than regular flour. If the cooled dough is still tacky, knead in flour one tablespoon at a time. If it cracks, add water a teaspoon at a time.
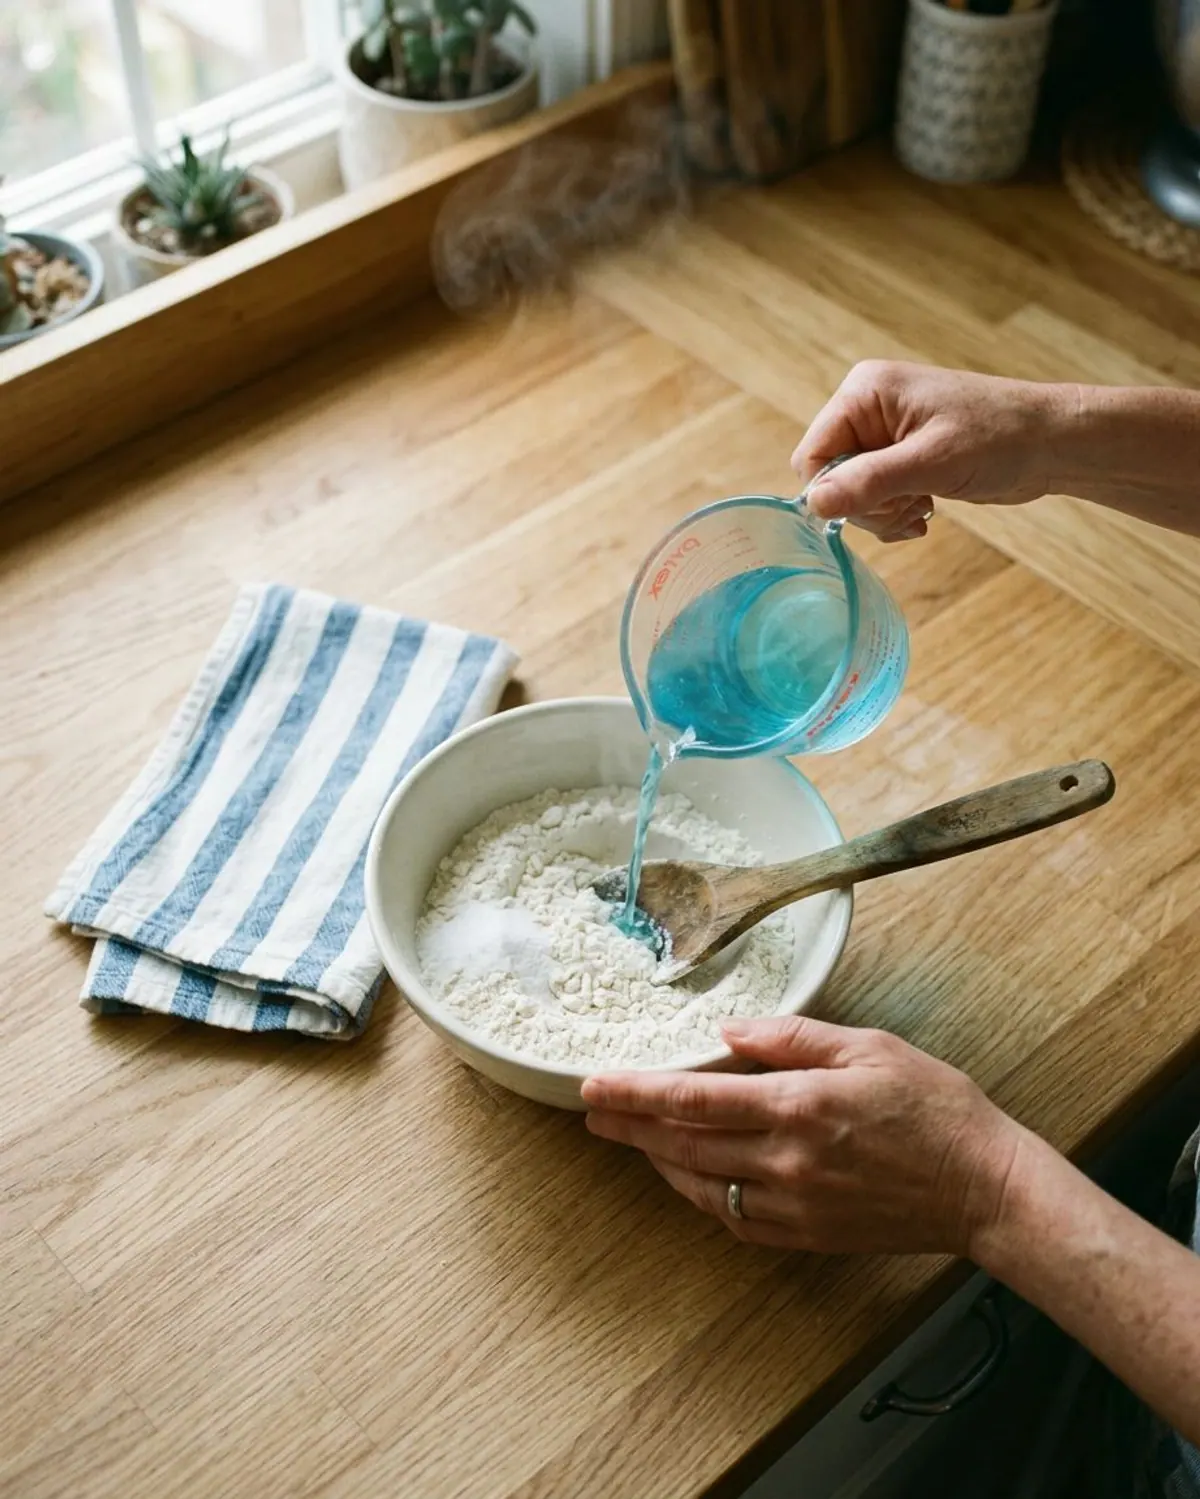
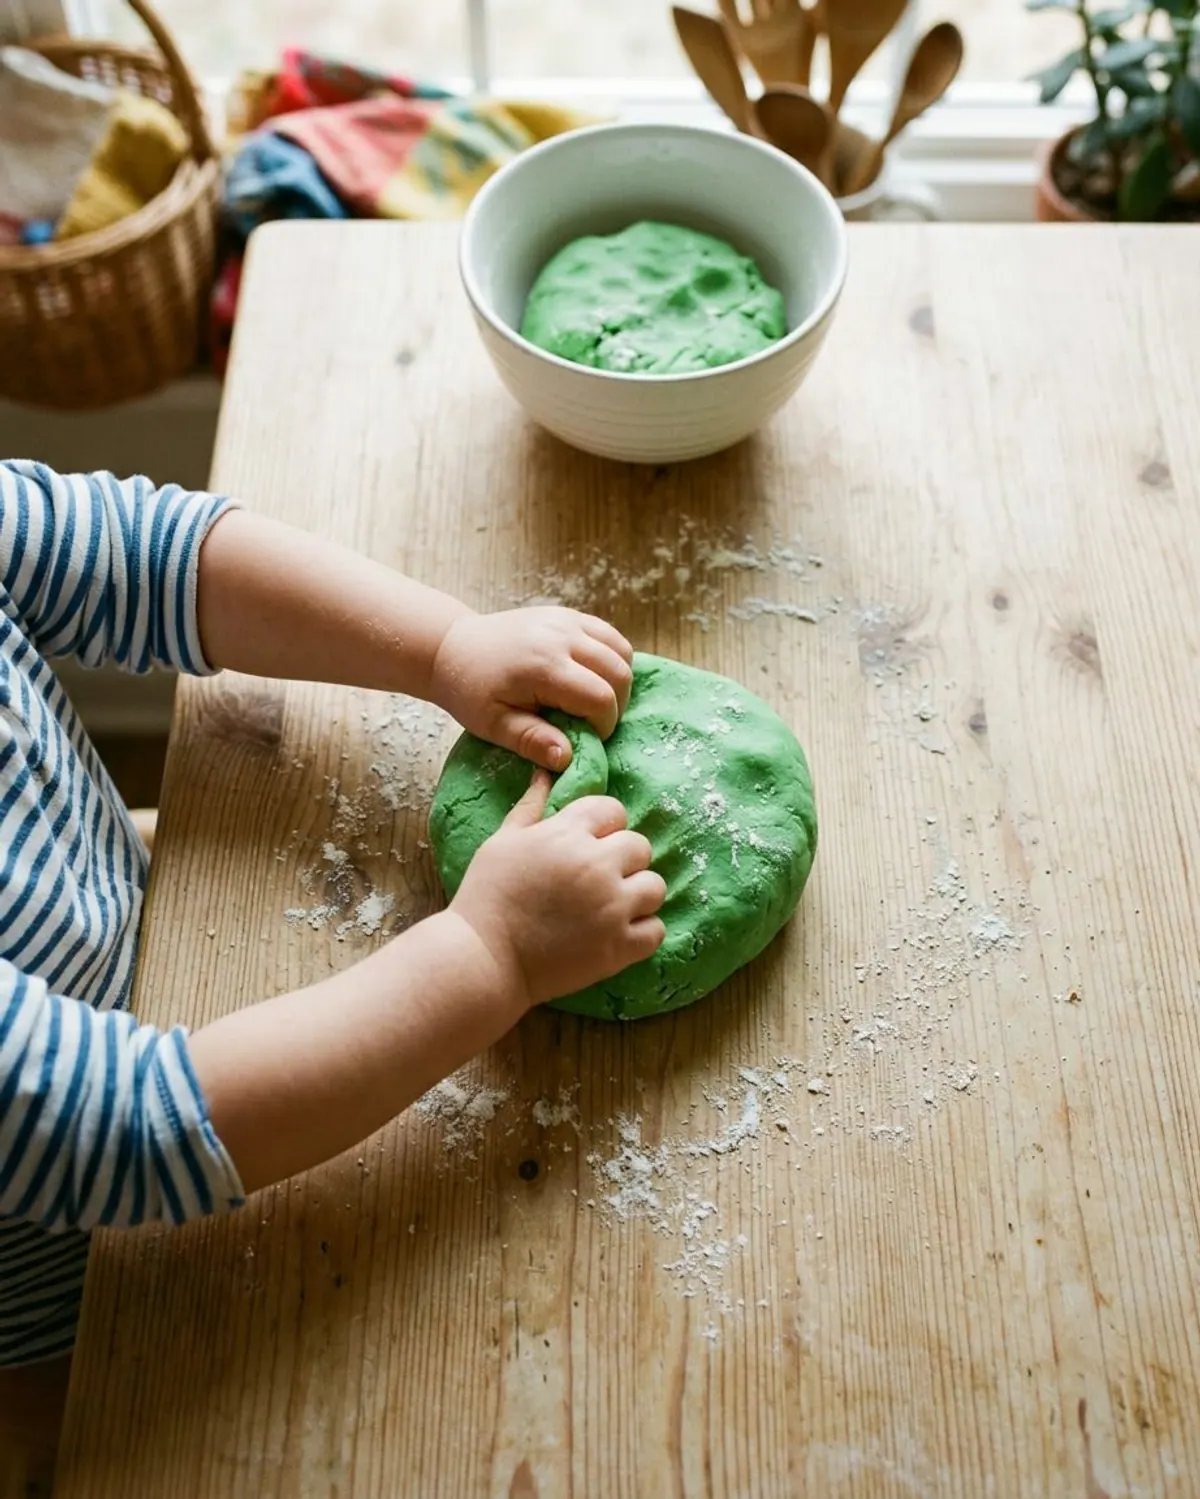
The whole batch is ready in about 10 minutes, and the dough is at its softest for the first two weeks. It is a craft material, not a snack: wash hands before and after, and keep it off the kitchen table during meals so nobody mixes up the two.
Version 2: 5-minute stovetop playdough (softest, lasts longest)
Cooking the dough does two things. It heats the flour all the way through, so regular flour is fine, and it gives the smoothest, stretchiest dough of any method. This is the version most preschool teachers use because a batch lasts up to 2 months.
-
Step 1: Combine everything in a pot
Put 2 cups regular flour, 1/2 cup salt, 2 tablespoons cream of tartar, 2 tablespoons oil and 1 1/2 cups room-temperature water in a medium nonstick pot. Add color now. Whisk until smooth with no lumps.
-
Step 2: Cook over medium heat, stirring
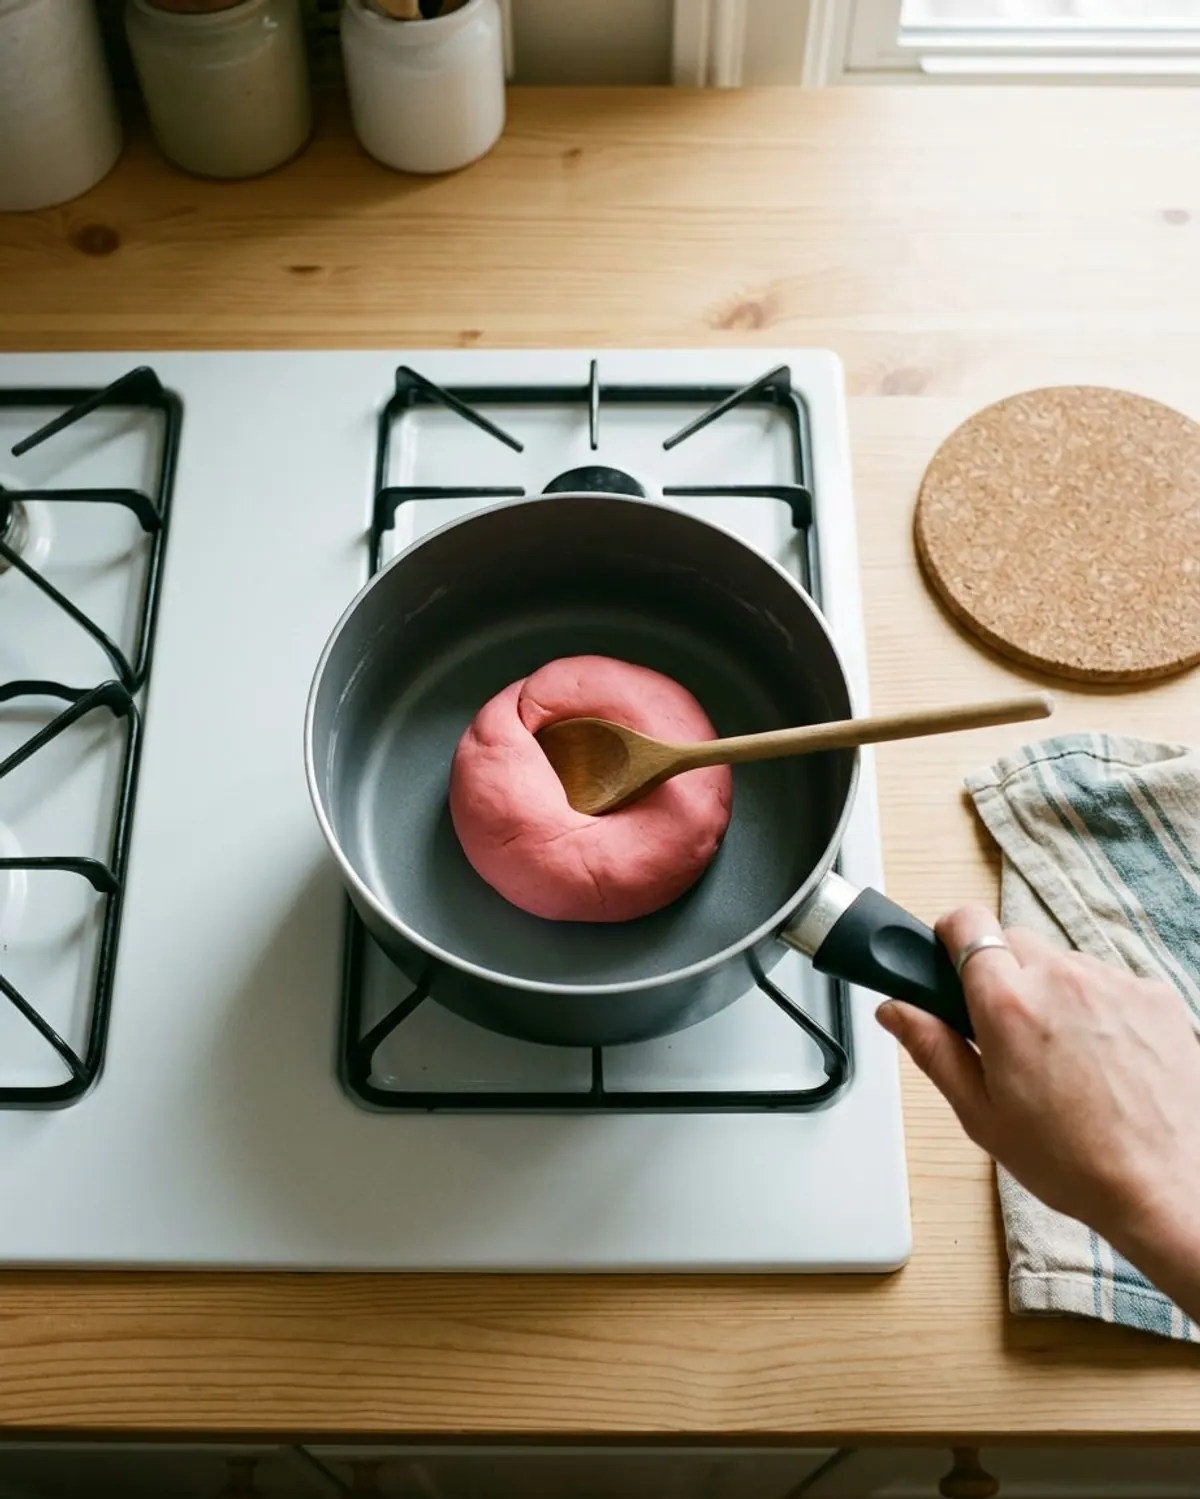
Stir the whole time with a wooden spoon. For the first 2 minutes nothing seems to happen, then it thickens fast. Scrape the bottom so it does not scorch.
-
Step 3: Stop when it forms one ball
After 3 to 5 minutes the dough gathers into a single ball that leaves the sides of the pot clean. Turn off the heat. If it is still pasty in the middle, give it 30 seconds more.
-
Step 4: Cool and knead
Tip it onto the counter and wait 5 minutes. Knead for 1 to 2 minutes. Stovetop dough rarely needs any fixing.
No cream of tartar? Here is the swap
Cream of tartar is an acid, and the acid is what makes the dough elastic. Lemon juice or white vinegar does a similar job: use 2 tablespoons of either in place of the 2 tablespoons of cream of tartar in both versions. The dough comes out slightly less stretchy and usually lasts 2 to 3 weeks instead of 6 to 8, so make it when you plan to play that week.
If you have neither, leave it out. The dough still works for a few days of play, it just dries faster and tears instead of stretching. For a full side-by-side, our sensory bin fillers by age article covers which textures suit which age, and playdough sits in the 2-and-up group.
How to fix sticky, crumbly or dry playdough
| Problem | Likely cause | Fix |
|---|---|---|
| Sticky after cooling | Too much water, or heat-treated flour absorbing less | Knead in flour 1 tablespoon at a time |
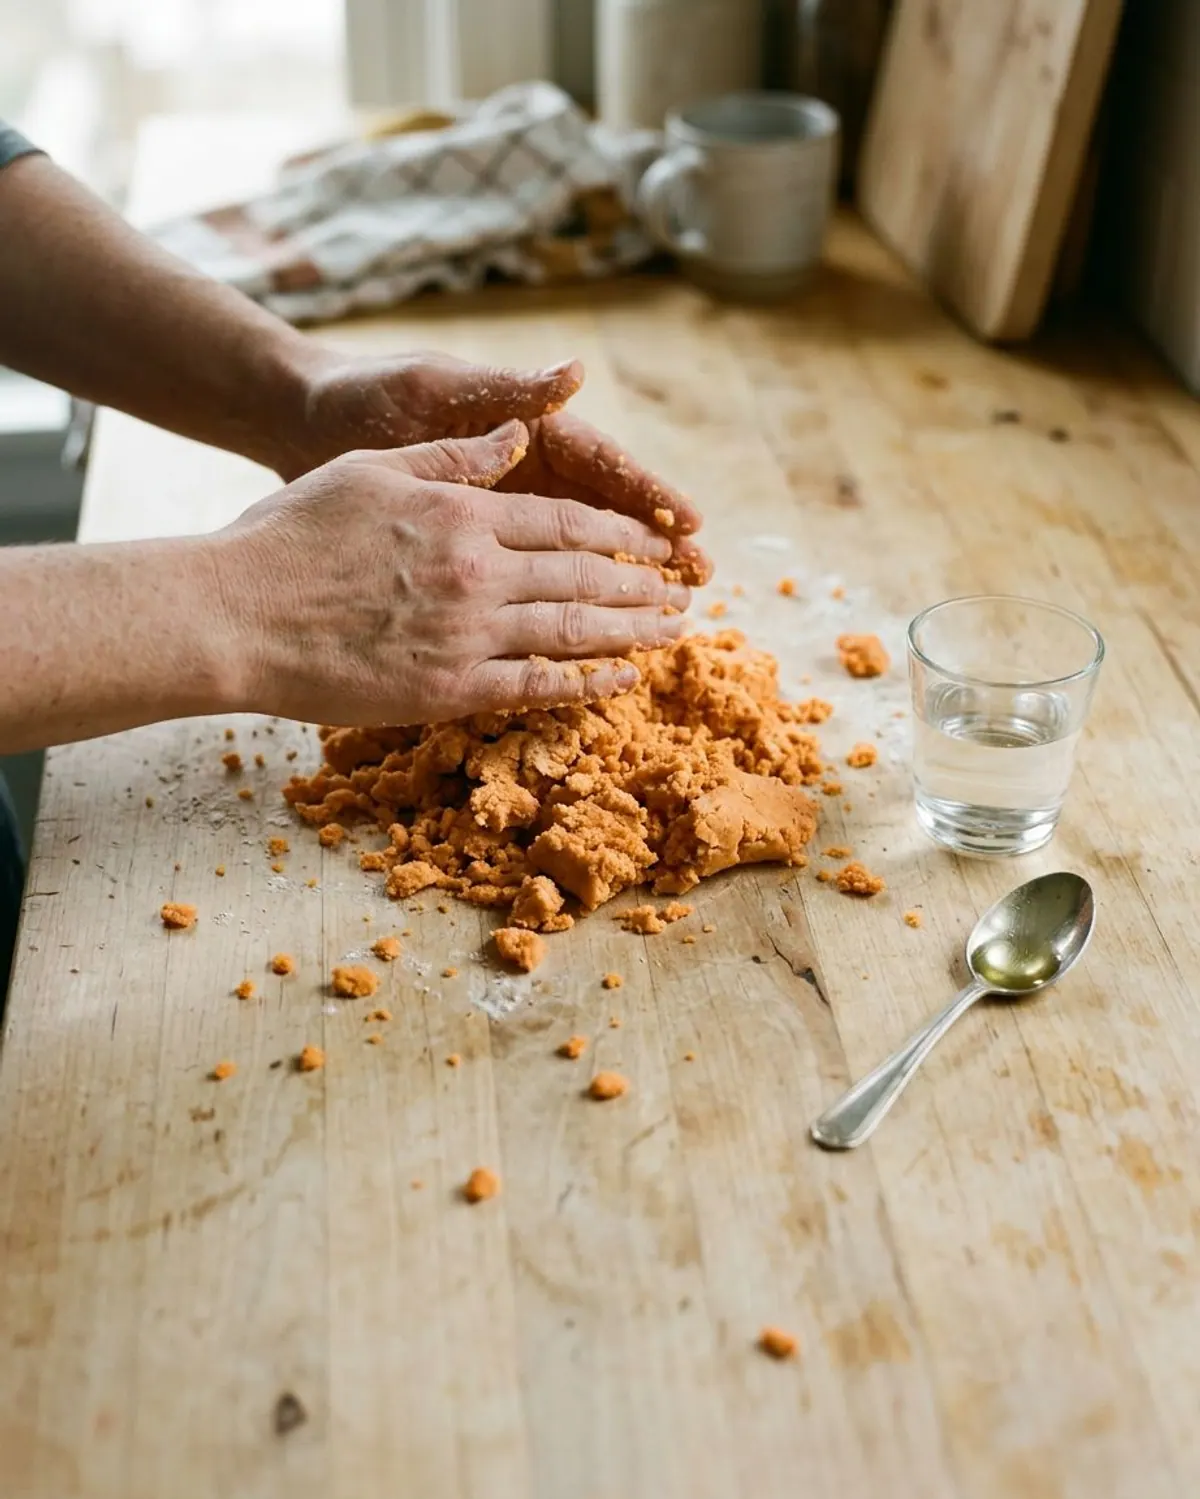
| Crumbly or cracking | Water was not hot enough, or too much flour | Knead in warm water 1 teaspoon at a time, or rub in 1/2 teaspoon oil |
| Grainy | Salt did not dissolve | Use boiling water next time; knead in a teaspoon of hot water now |
| Streaky color | Color added to the dough instead of the water | Knead longer, or add color to the water next batch |
| Dries out in a day | Container not sealed | Zip bag with the air pressed out, inside a lidded box |
| Smells sour or shows spots | Mold or old dough | Throw it out and make a fresh batch |
How to store homemade playdough and how long it lasts
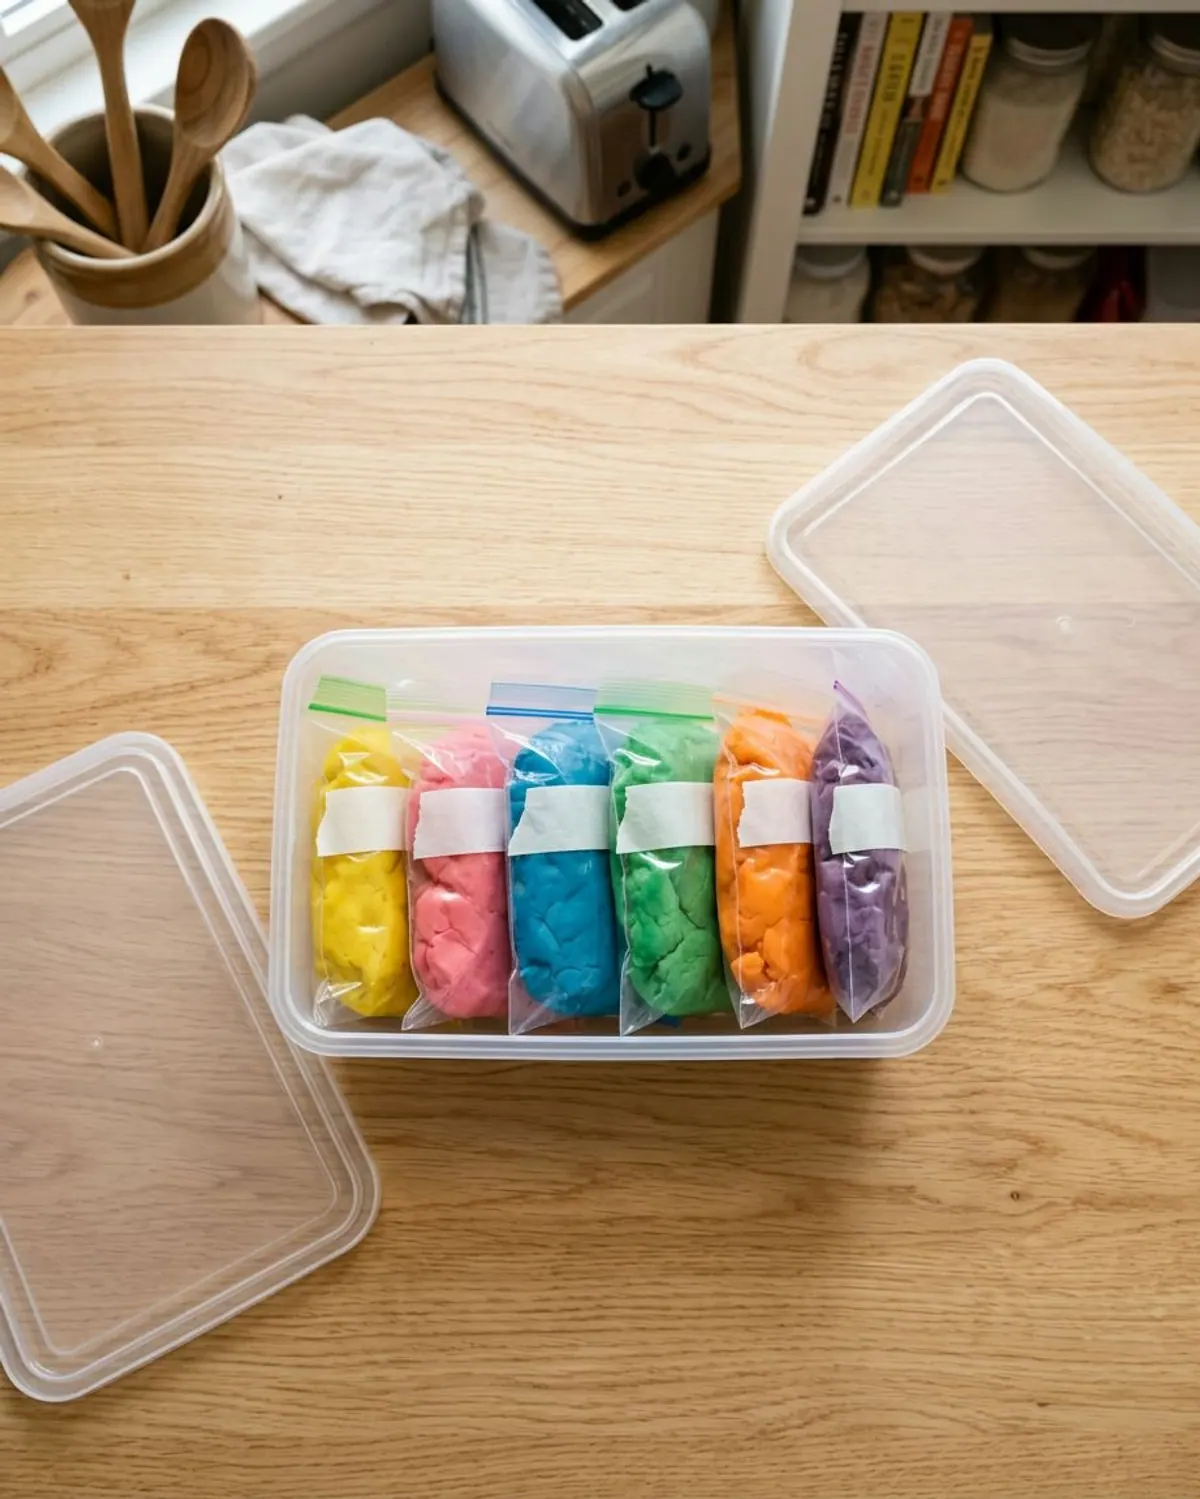
Store each color in its own zip bag with the air pressed out, then keep the bags in a lidded container at room temperature. Do not refrigerate it; cold dough sweats when it comes out and goes sticky. Stovetop dough and heat-treated no-cook dough both last about 6 to 8 weeks this way. Lemon juice dough lasts 2 to 3 weeks.
Throw a batch out when it smells sour, shows dark spots, or gets a hard skin that will not knead back in. Between those points, a few drops of water kneaded in brings a tired batch back. Store it out of reach of pets: the salt in homemade playdough is toxic to dogs, and the Pet Poison Helpline lists homemade play dough and salt dough among the common household risks. Their number is (855) 764-7661.
15 play dough activities by age
Playdough suits most kids from about 2 years, once they have stopped putting everything in their mouth. Each activity below lists ages, prep time, mess level and supplies. Add-ins like beads, googly eyes and buttons are choking hazards for kids under 3, so the toddler activities use only big tools. The AAP choking prevention page is a good read before you add loose parts at any age.
Play dough activities for ages 2 to 3
1Squish and poke tray
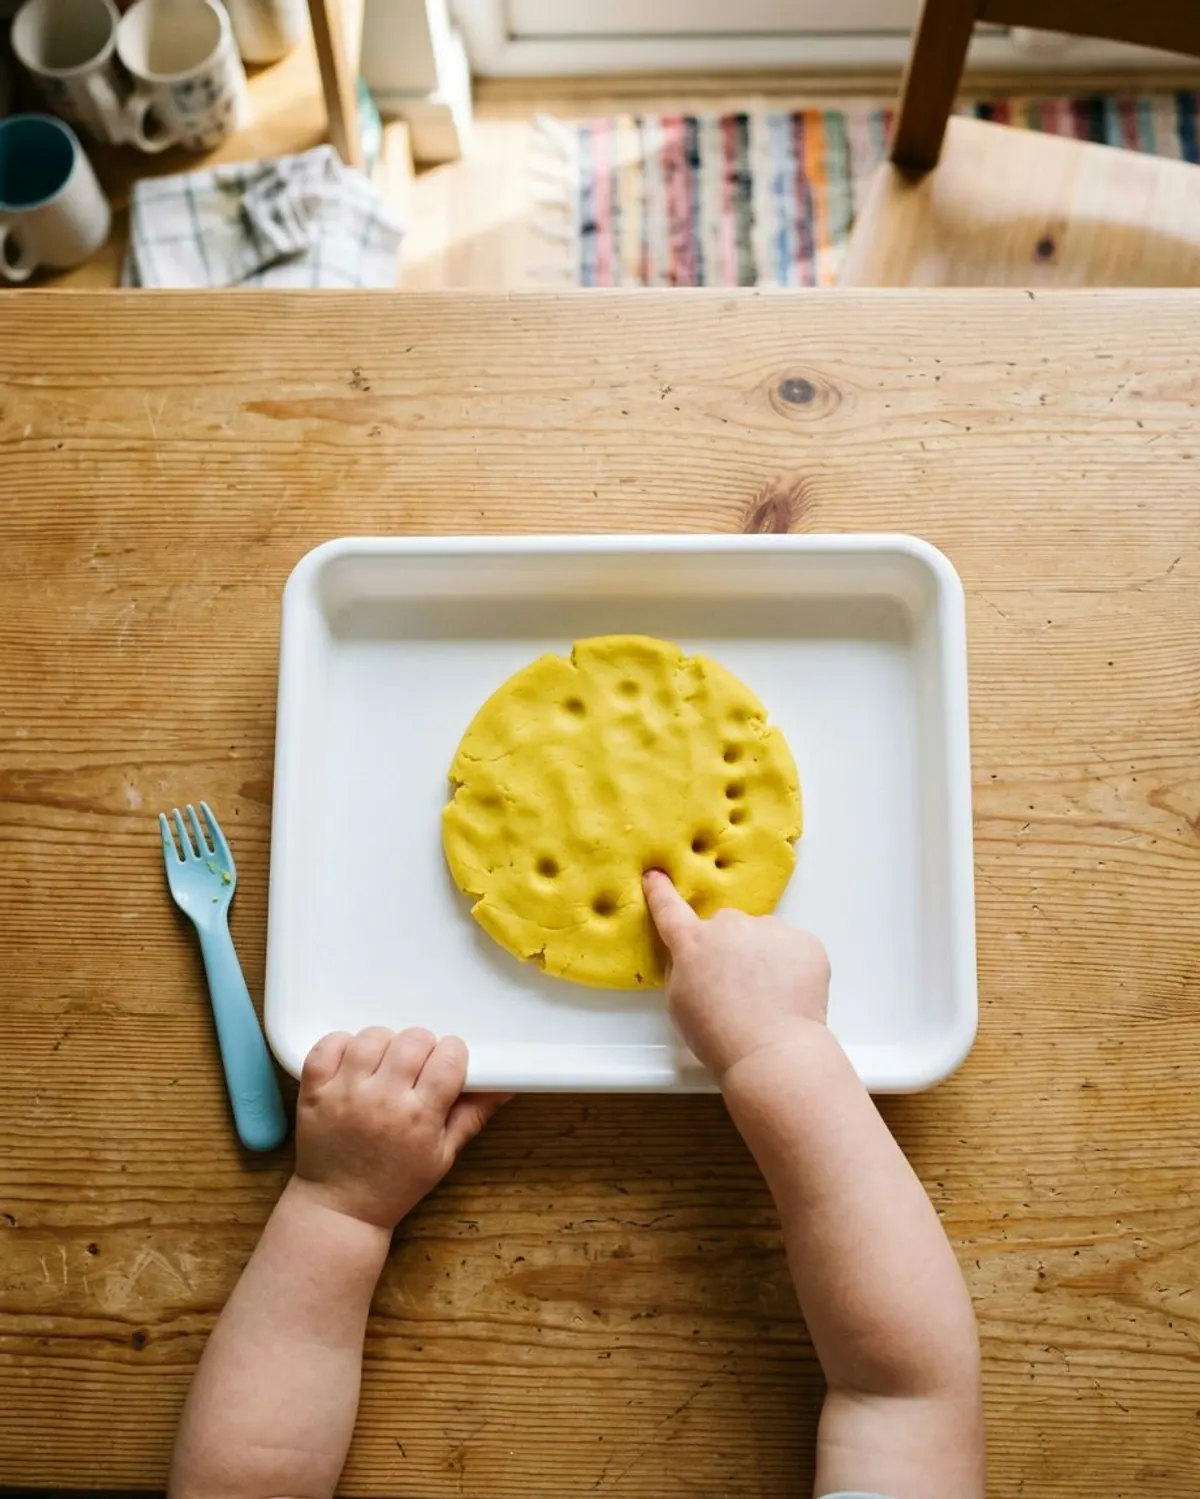
Put one ball of dough on a tray and show your child how to poke it with one finger, then a fist, then a palm. Toddlers mostly want to press and pull, and that is the whole activity. Add a plastic fork for scraping lines once they are ready.
Ages: 2 to 3.
Prep: 2 minutes.
Mess: low.
Supplies: one ball of playdough, a tray or cutting board, a plastic fork.
- Safety: sit beside your child. Dough is not for eating; swap it for a taste-safe option like cooked pasta if they still mouth things.
2Cookie cutter stamps
Roll the dough flat with a small rolling pin, then let your child press big cookie cutters into it and peel the shapes out. Simple shapes like circles and stars come out cleanest.
Ages: 2 to 4.
Prep: 3 minutes.
Mess: low.
Supplies: playdough, a child-size rolling pin, 3 or 4 large cookie cutters.
- Safety: use cutters with rounded edges and no small detachable parts.
Rolling pin, cutters and stamps in one box, sized for small hands.
3Snakes and balls
Show how to roll a ball between two palms and a snake on the table. Then make a snake family: long, short, fat, thin. Rolling builds the hand muscles kids later use for crayons.
Ages: 2 to 4.
Prep: 1 minute.
Mess: low.
Supplies: playdough, a flat table.
- Safety: stay close and keep the dough off the floor so nobody slips on it.
4Color smash
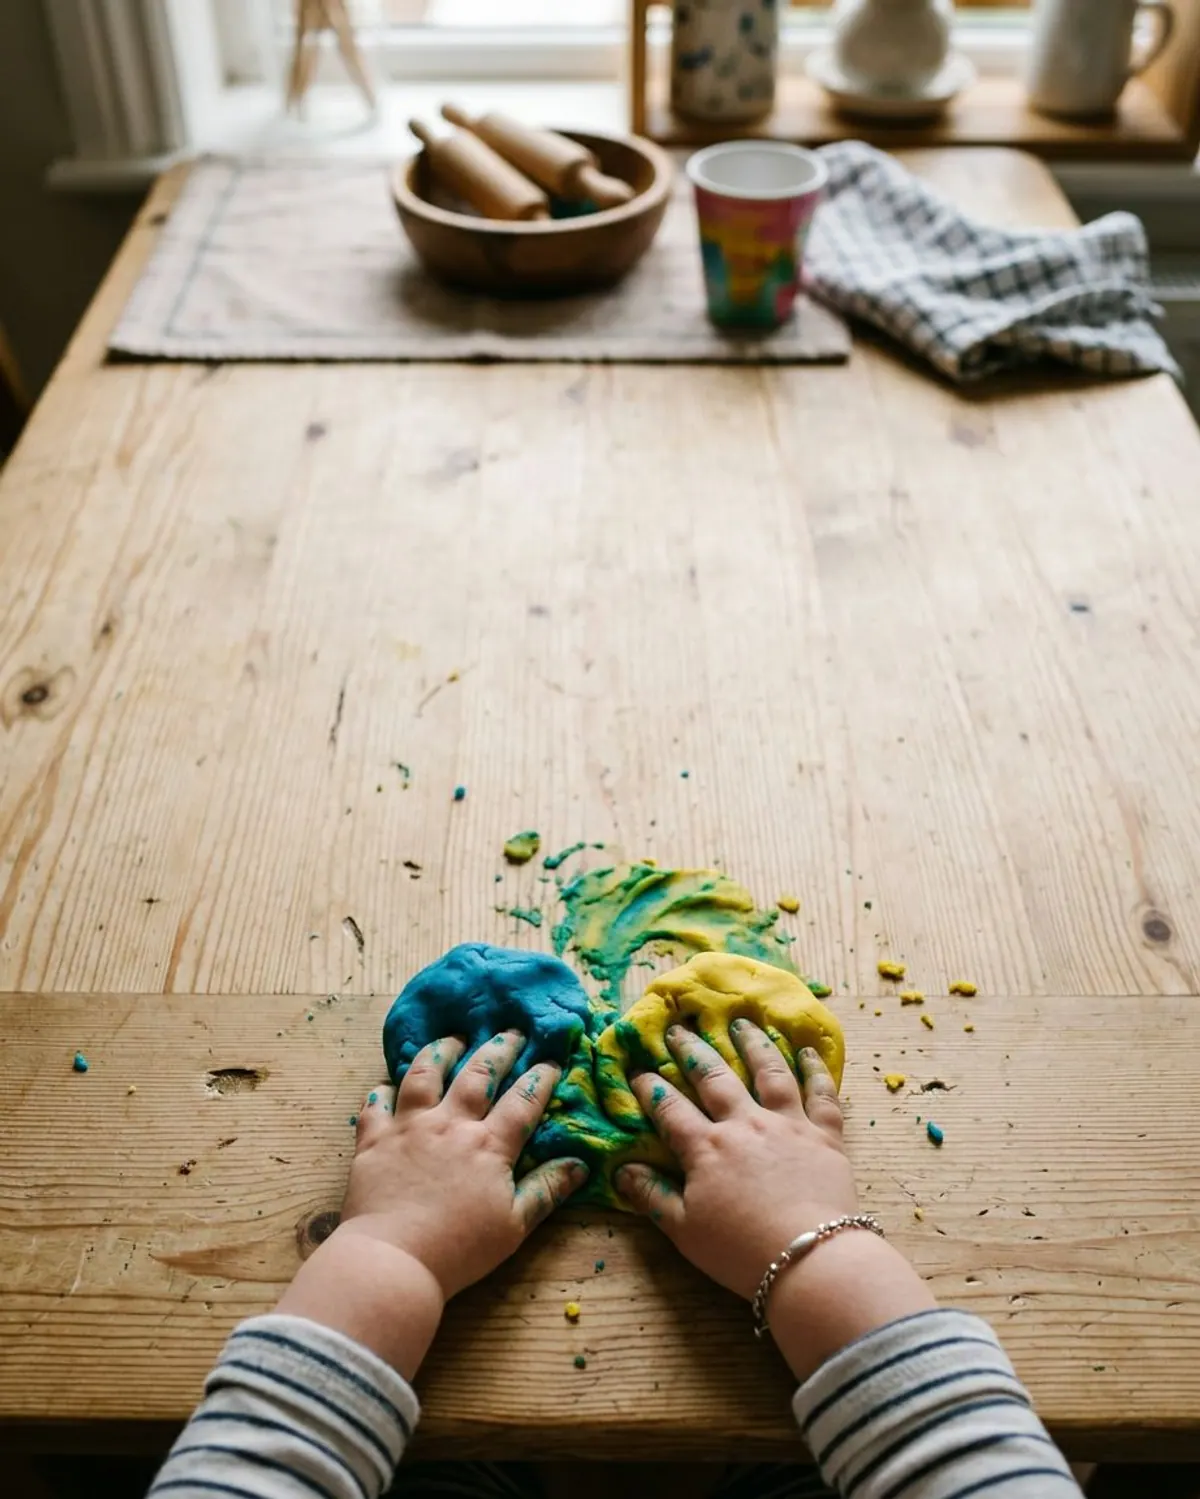
Give two small balls of different colors and let your child squish them together. Yellow and blue turn green in a minute or two. Keep the balls small so you do not turn the whole batch brown.
Ages: 2 to 5.
Prep: 1 minute.
Mess: low.
Supplies: two colors of playdough.
- Safety: not for eating; wash hands after.
5Craft stick fences
Press jumbo craft sticks into a slab of dough to make a fence, a bed or a boat. Big sticks are a safe first building piece for toddlers who are not ready for small loose parts.
Ages: 2 to 4.
Prep: 2 minutes.
Mess: low.
Supplies: a slab of playdough, 10 jumbo craft sticks.
- Safety: use jumbo sticks only (about 6 inches); check them for splinters.
Play dough activities for ages 3 to 5
6Playdough faces
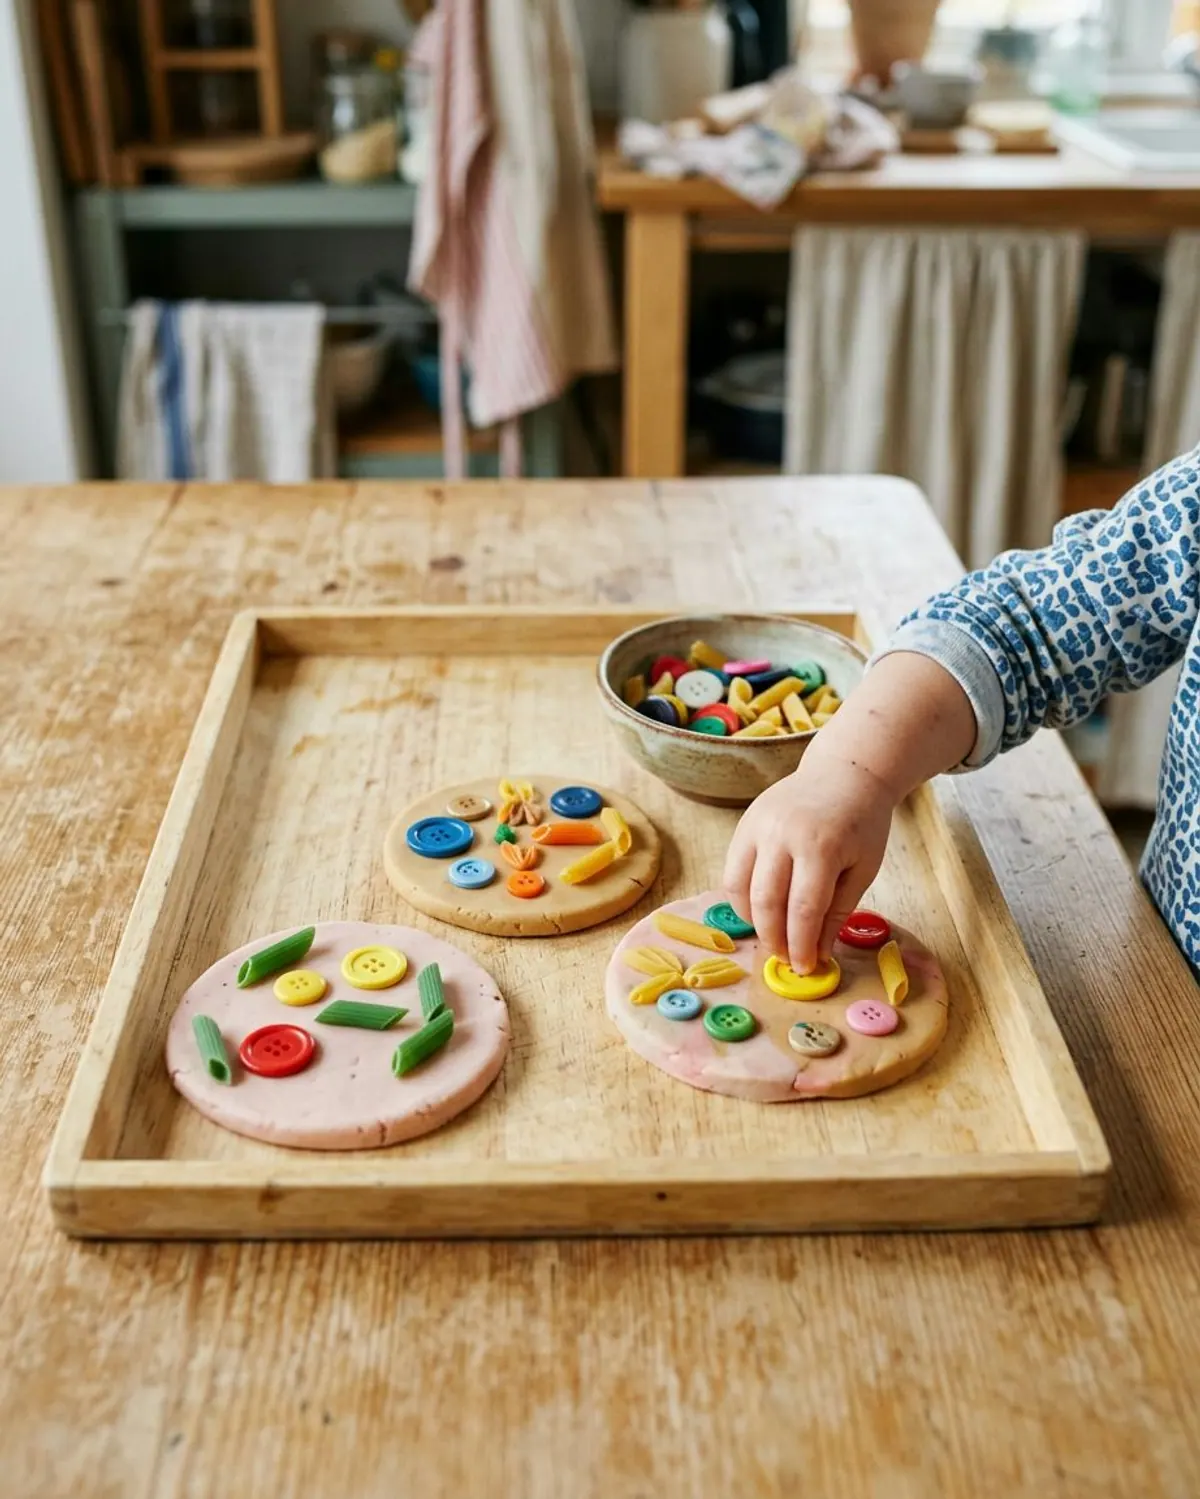
Flatten a disc, then add eyes, a nose, hair and a mouth with loose parts. Pipe cleaner pieces make hair, dry pasta makes teeth, big buttons make eyes. Ask for a happy face, then a surprised face.
Ages: 3 to 6.
Prep: 5 minutes.
Mess: medium (loose parts).
Supplies: playdough, big buttons, pipe cleaners cut in half, dry pasta shapes.
- Safety: loose parts are a choking hazard for kids under 3 and for any child who still mouths; keep them off the floor and count them back in.
Hair, legs, whiskers and antennae for every playdough creature.
7Letter stamping
Press letter stamps or alphabet magnets into a flat slab to spell a name, then roll it smooth and spell it again. Most 4 year olds can find the letters in their own name this way.
Ages: 3 to 6.
Prep: 3 minutes.
Mess: low.
Supplies: playdough, letter stamps or magnet letters, a rolling pin.
- Safety: magnet letters are a choking hazard under 3; check the magnets are not loose.
Uppercase and lowercase stamps that press clean letters into dough.
8Muffin tin bakery
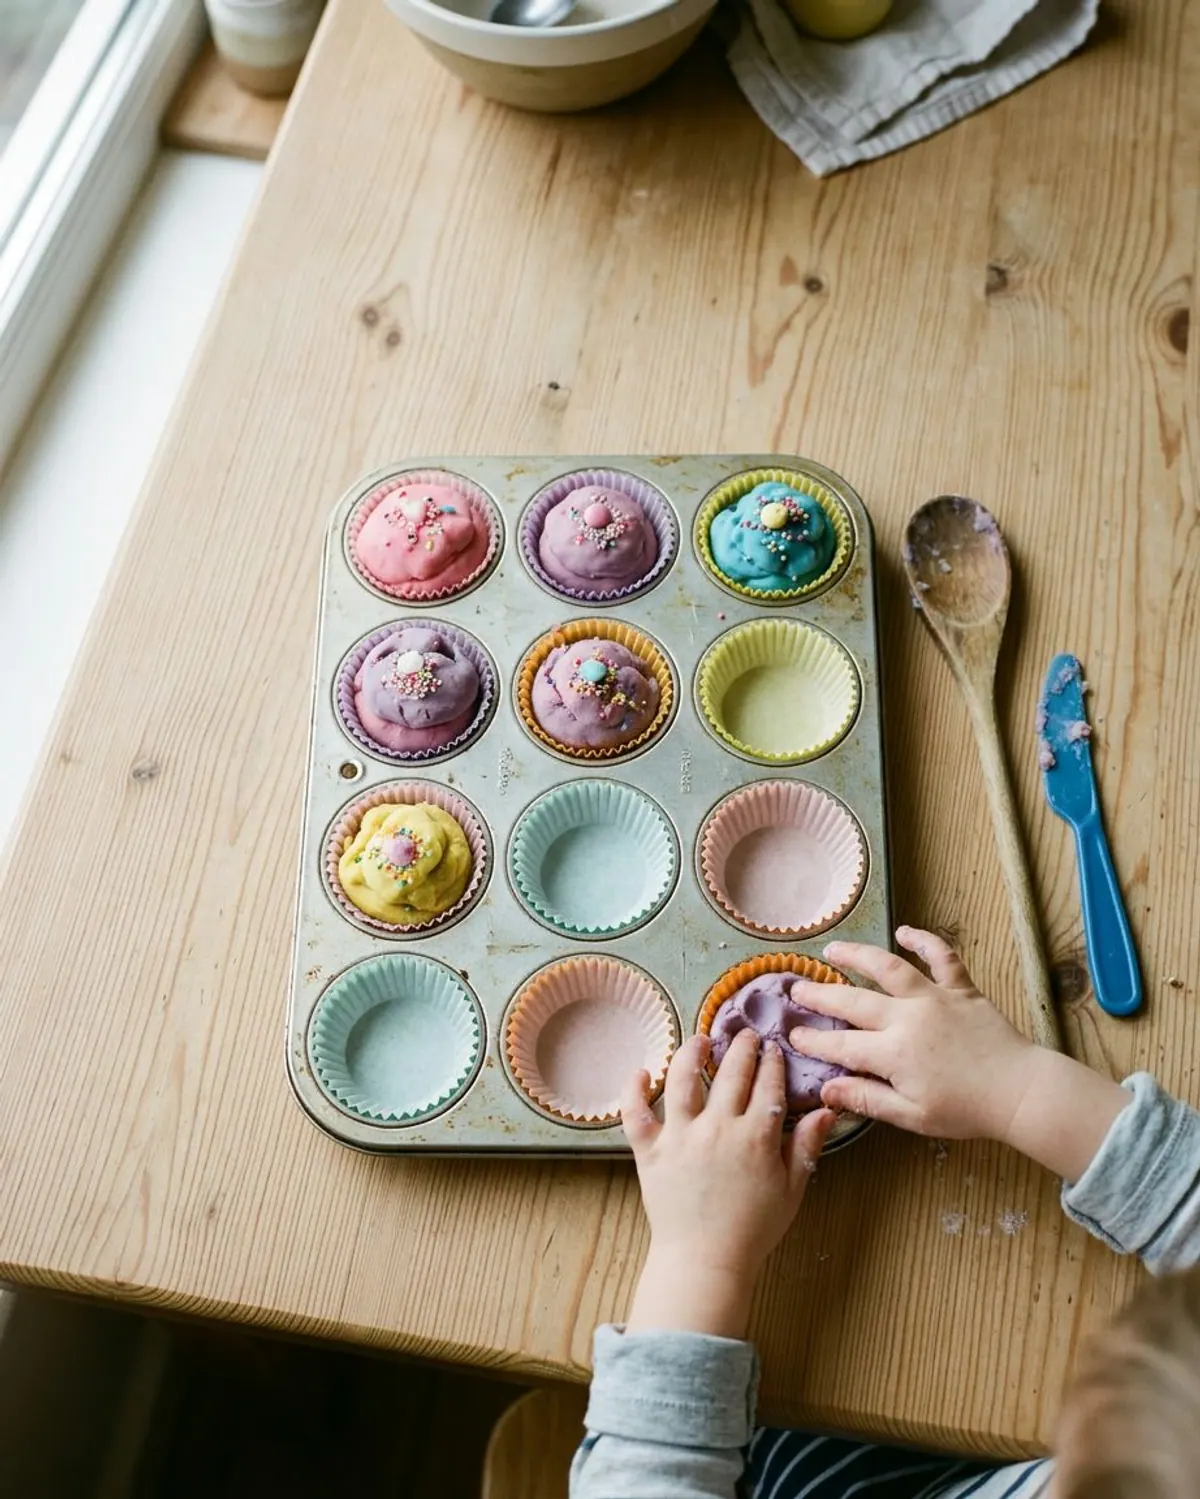
Set out a muffin tin, a few cupcake liners and the dough, and let your child run a bakery. Pretend cupcakes, cookies and a cake for a stuffed animal's birthday. Add a wooden spoon and a pretend price list for 5 year olds.
Ages: 3 to 6.
Prep: 3 minutes.
Mess: low.
Supplies: playdough, a muffin tin, paper liners, a plastic knife, a wooden spoon.
- Safety: pretend food only; say it out loud so the rules stay clear.
9Nature press
Collect leaves, pinecones, acorn caps and bark on a walk, then press each into a flat slab to see its print. Compare the leaf vein patterns. This one is best in fall and spring.
Ages: 3 to 7.
Prep: 10 minutes including the walk.
Mess: medium (bits of leaf).
Supplies: playdough, a slab tray, 6 to 8 natural items.
- Safety: acorns and small seeds are choking hazards under 3; wash hands after handling outdoor items.
10Counting dots
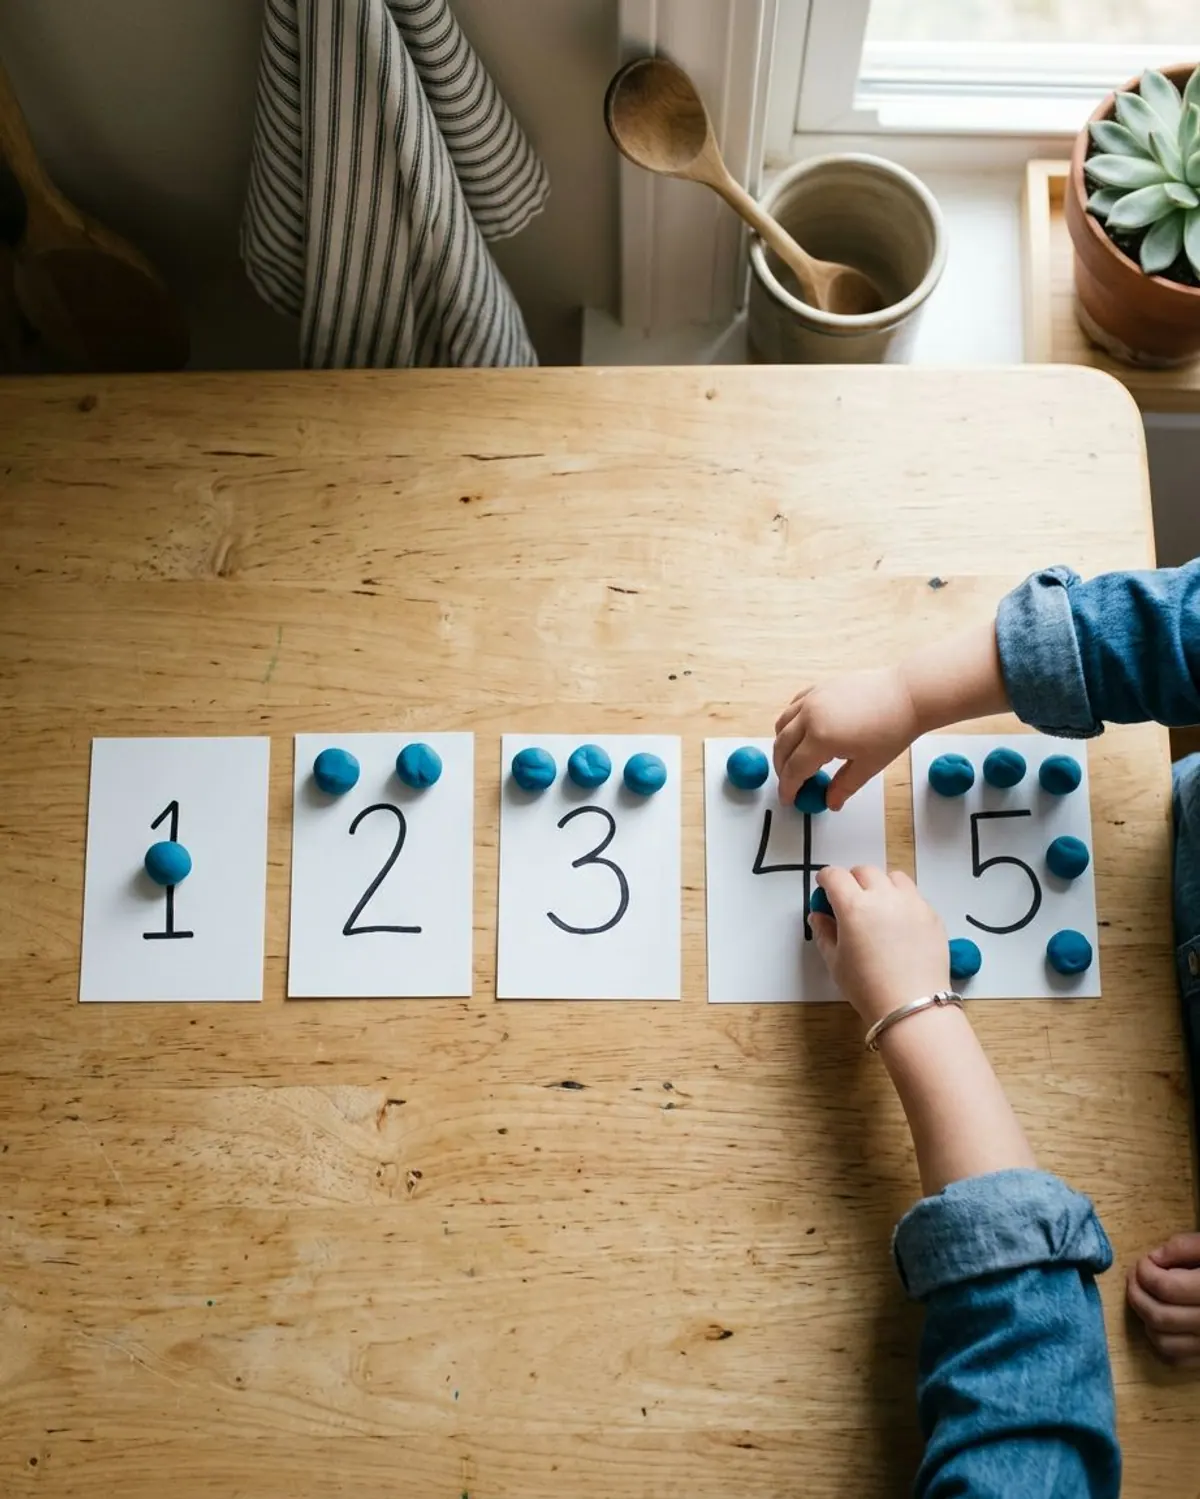
Write the numbers 1 to 10 on index cards. Your child rolls pea-size balls and presses the right number onto each card. It covers counting, one-to-one matching and pincer grip in one go.
Ages: 4 to 6.
Prep: 5 minutes.
Mess: low.
Supplies: playdough, 10 index cards, a marker.
- Safety: pea-size balls are a choking risk for younger siblings; keep toddlers out of this one.
Play dough activities for ages 5 to 8
11Fossil dig
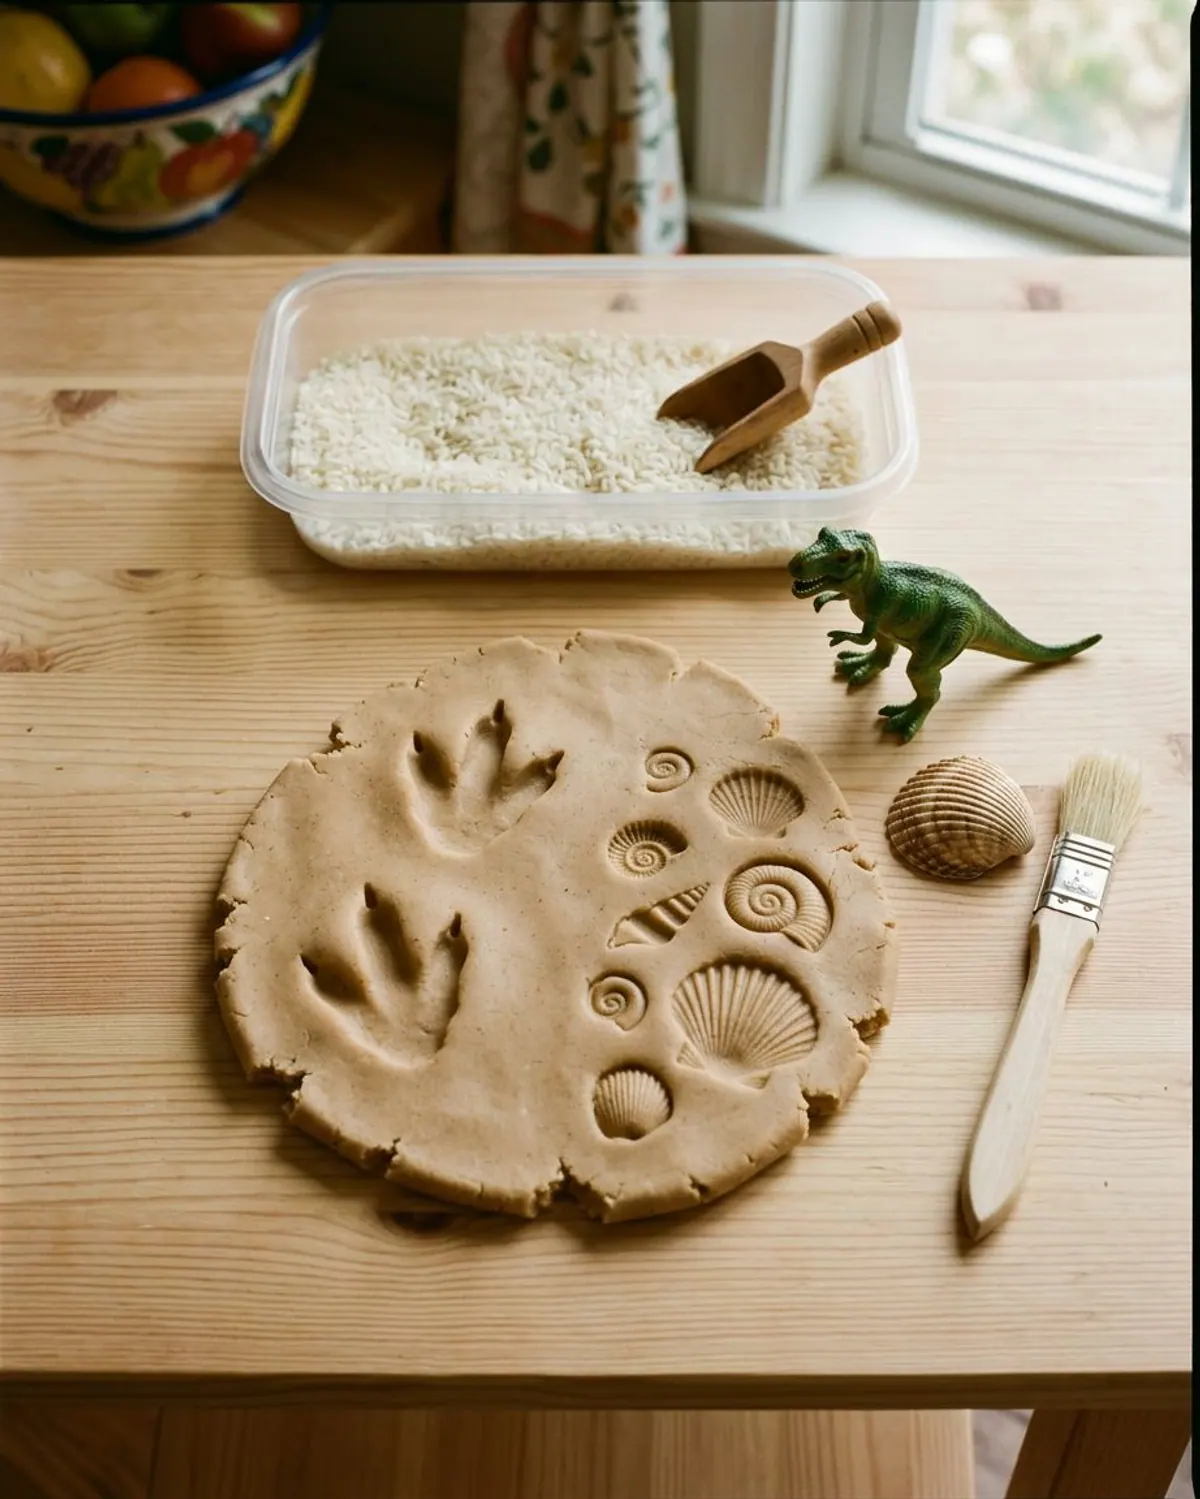
Press plastic dinosaurs, shells and bones into a slab, lift them out, and leave the prints to dry for a day. Then bury the dried fossils in a bin of dry rice and dig them up with a brush.
Ages: 5 to 8.
Prep: 5 minutes, plus a day to dry.
Mess: medium (rice).
Supplies: playdough, small plastic dinosaurs or shells, a paintbrush, a bin of dry rice.
- Safety: dry rice is for kids past mouthing; see our how to make a sensory bin guide for the bin setup.
12Marble maze
Build walls from dough snakes on a baking sheet to make a maze, then tilt the sheet to roll a marble through. Older kids add dead ends and a finish box.
Ages: 5 to 8.
Prep: 5 minutes.
Mess: low.
Supplies: playdough, a rimmed baking sheet, one marble.
- Safety: marbles are a choking hazard for kids under 5; put it away when play ends.
13Longest snake challenge
Set a timer for 2 minutes and see who can roll the longest unbroken snake. Measure with a tape measure and write the results. Then try the thinnest snake that does not break.
Ages: 5 to 8.
Prep: 2 minutes.
Mess: low.
Supplies: playdough, a tape measure, a timer, paper and pencil.
- Safety: keep dough off hard floors.
14Playdough town
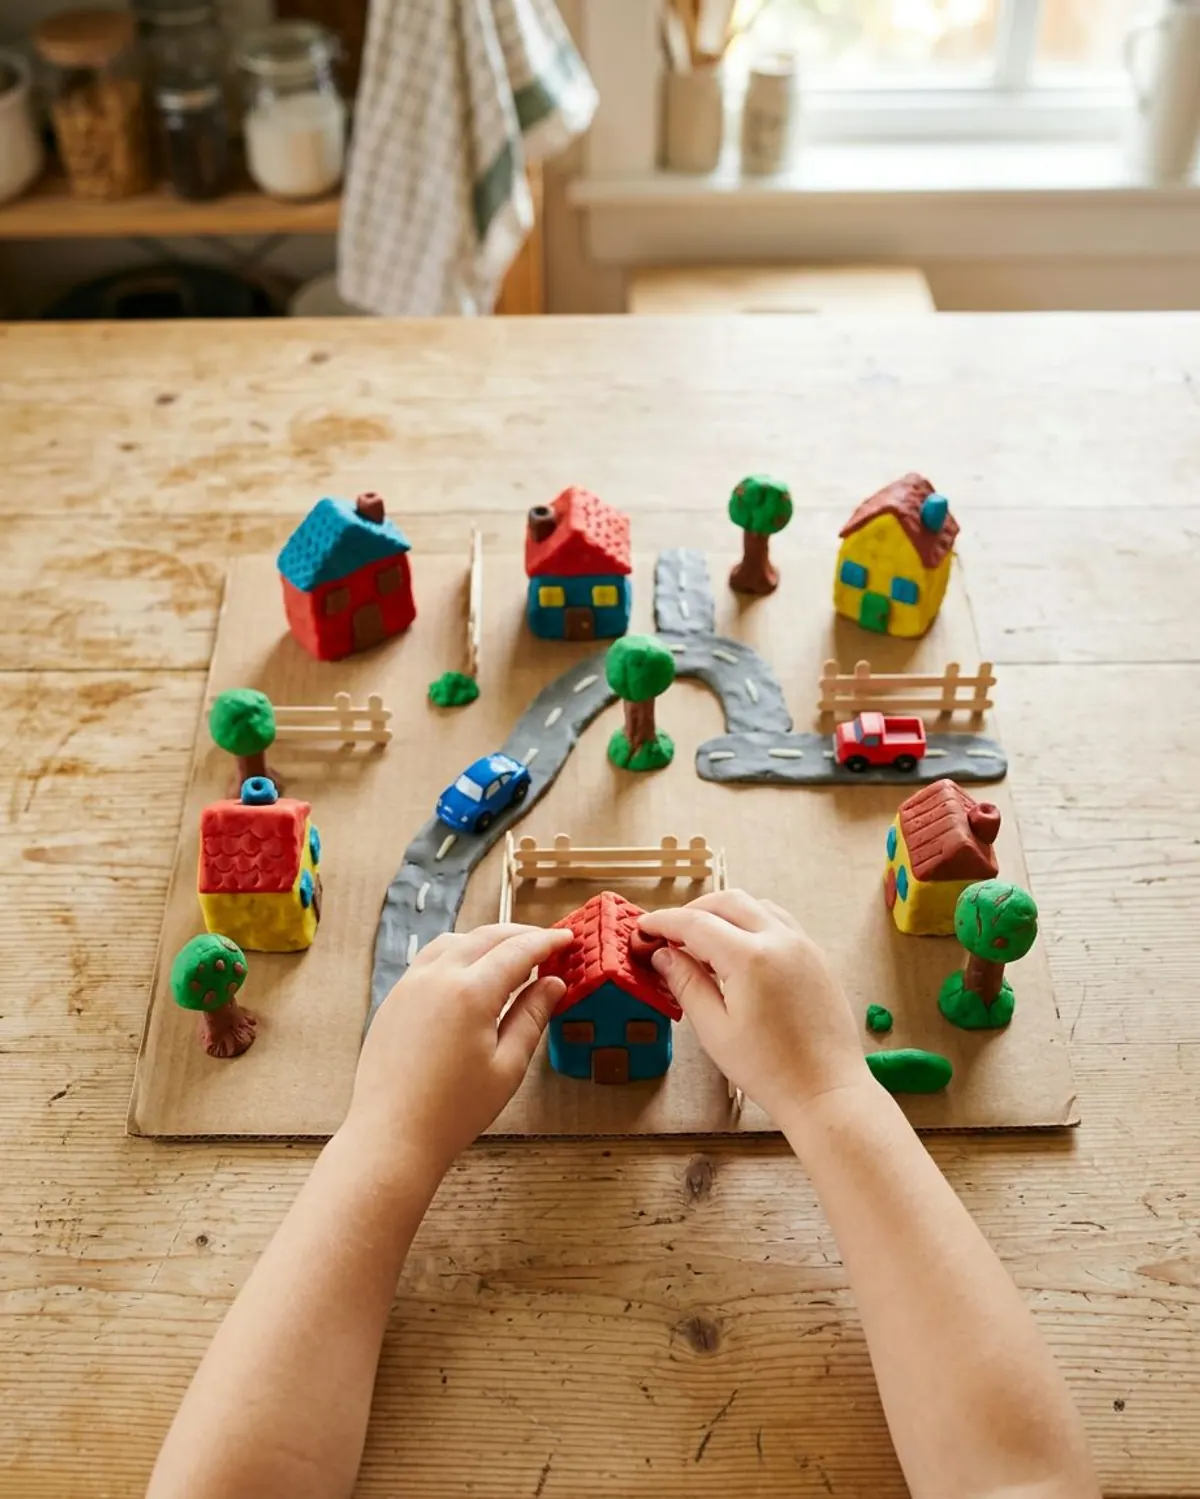
Give each child a cardboard base and a job: one builds houses, one builds roads, one builds the park. Toy cars and craft sticks finish it. This runs 30 to 45 minutes for a group.
Ages: 5 to 8.
Prep: 5 minutes.
Mess: medium (dough on cardboard).
Supplies: playdough in 3 or 4 colors, a cardboard sheet, toy cars, craft sticks.
- Safety: small cars have small wheels; keep toddlers at their own station with the big tools.
15Pizza shop with a menu
One child makes pizzas (flat disc, red snake for sauce, yellow bits for cheese, toppings), another writes the menu with prices and takes orders. It mixes writing, counting money and pretend play.
Ages: 6 to 8.
Prep: 5 minutes.
Mess: low.
Supplies: playdough in 4 colors, paper, a pencil, a plastic knife, play coins.
- Safety: play coins are a choking hazard for kids under 3; keep them in the shop box.
Turns the pizza shop into a counting lesson.
Mistakes that ruin a playdough batch
Do this
- Use boiling water for the no-cook version
- Add color to the water, not the finished dough
- Wait until the dough cools before adding more flour
- Store each color in its own sealed bag at room temperature
- Use heat-treated flour, or cook the dough, every time
Not this
- Use cold or warm tap water (crumbly, grainy dough)
- Knead liquid color into finished dough (streaks and stained hands)
- Dump in extra flour while the dough is still hot and tacky
- Leave it in an open bowl or in the fridge
- Call it edible or let kids snack on it
Variations: scented, seasonal and sparkly
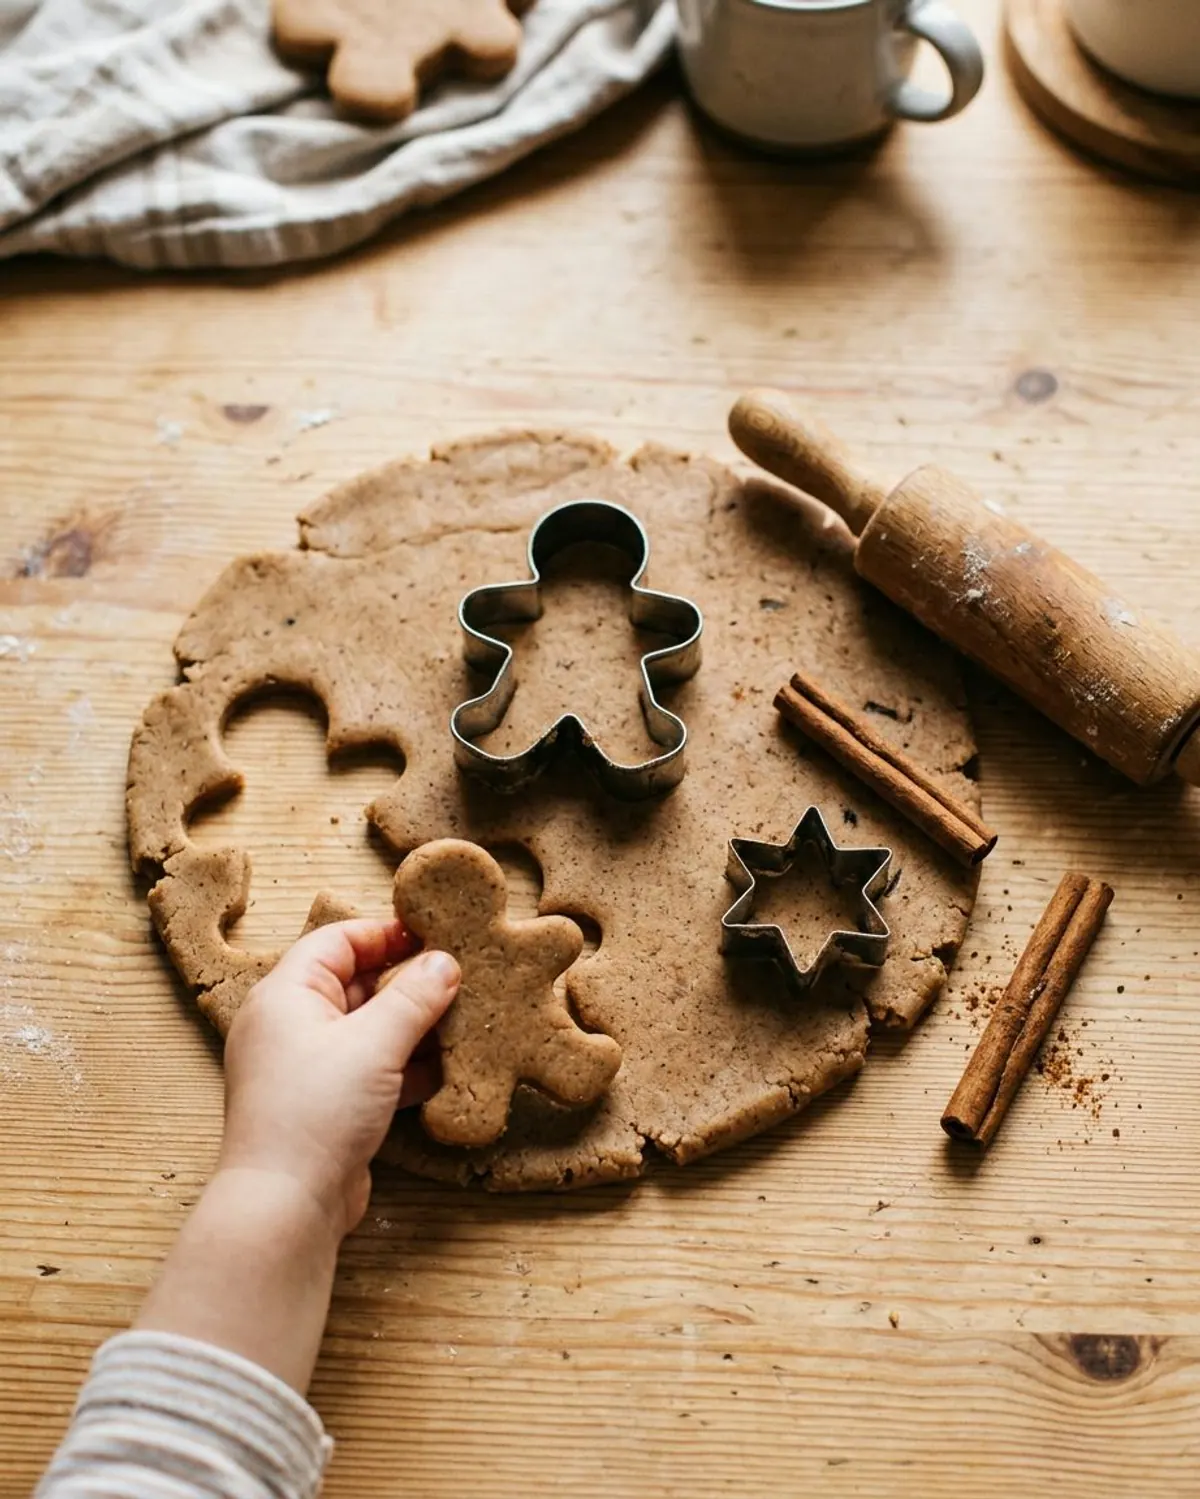
Any variation below works with either version. Add dry extras to the flour and wet extras to the water. Gingerbread and pumpkin spice doughs are the Pinterest favorites from November on, and they pair well with the gingerbread man activities already on the site.
| Variation | Add | Notes |
|---|---|---|
| Gingerbread | 1 tablespoon cinnamon, 1 teaspoon ginger, 1/2 teaspoon cloves to the dry mix; skip the color | Smells like cookies; remind kids it is not one |
| Pumpkin spice | 1 tablespoon pumpkin pie spice to the dry mix, orange gel color | October and November favorite |
| Scented (lemon, mint, lavender) | 1/2 teaspoon extract to the hot water | Extracts only; skip essential oils for kids under 6 |
| Glitter | 1 to 2 tablespoons fine craft glitter kneaded in at the end | Ages 3 and up; glitter spreads, use a tray |
| Drink mix color and scent | One packet of unsweetened powdered drink mix to the dry mix in place of color | Strong color; stains light counters, use a mat |
| Cloud dough (different texture) | Not this recipe: 8 parts flour to 1 part oil, no water | Crumbly and moldable; still needs heat-treated flour |
For more low-prep indoor play once the dough is put away, the indoor activities for toddlers on cold or rainy days list and the sensory play beginner guide carry on from here. If you want the whole set of indoor ideas on cards you can pull from a jar, the kit below sorts 100 of them by energy level.
Playdough supplies
Playdough starter supplies
-
Heat-treated all-purpose flour
Typically $8 to $15
The one swap that makes a no-cook batch safe for play.
Check price on Amazon for Heat-treated all-purpose flour -
Gel food coloring set
Typically $8 to $14
Gel gives bright color with a few drops and does not thin the dough.
Check price on Amazon for Gel food coloring set -
Cream of tartar
Typically $4 to $9
Makes the dough stretchy and helps it last 6 to 8 weeks.
Check price on Amazon for Cream of tartar -
Playdough tools set
Typically $10 to $18
Rolling pin, cutters, stamps and a plastic knife sized for small hands.
Check price on Amazon for Playdough tools set -
Alphabet playdough stamps
Typically $8 to $15
Turns the dough into a letter and name activity.
Check price on Amazon for Alphabet playdough stamps -
Pipe cleaners, 300 pack
Typically $6 to $12
Hair, legs and antennae for playdough creatures, ages 3 and up.
Check price on Amazon for Pipe cleaners, 300 pack -
Play money coins set
Typically $8 to $14
For the pizza shop and bakery games.
Check price on Amazon for Play money coins set -
Silicone playdough mat
Typically $8 to $16
Keeps color off the table and wipes clean.
Check price on Amazon for Silicone playdough mat
Frequently asked questions
Is no-cook playdough safe for toddlers?
It is safe to play with when it is made with heat-treated flour or cooked on the stove, an adult stays close, and the child has stopped mouthing things, usually around age 2. It is never safe to eat: it is a craft material with a lot of salt.
How do you make no-cook playdough without cream of tartar?
Swap in 2 tablespoons of lemon juice or white vinegar for the 2 tablespoons of cream of tartar. The dough is a little less stretchy and lasts about 2 to 3 weeks instead of 6 to 8.
How long does homemade playdough last?
Stored in a sealed bag at room temperature, stovetop or heat-treated no-cook dough lasts about 6 to 8 weeks. Throw it out when it smells sour, shows spots or will not soften with a few drops of water.
Why is my no-cook playdough sticky?
Usually too much water, or the dough was judged while still hot. Let it cool fully, then knead in flour one tablespoon at a time until it stops sticking to your palms.
Can dogs eat homemade playdough?
No. The salt in homemade playdough and salt dough is toxic to dogs. Store it out of reach and call the Pet Poison Helpline at (855) 764-7661 if a pet eats some.
Can I bake no-cook playdough into ornaments?
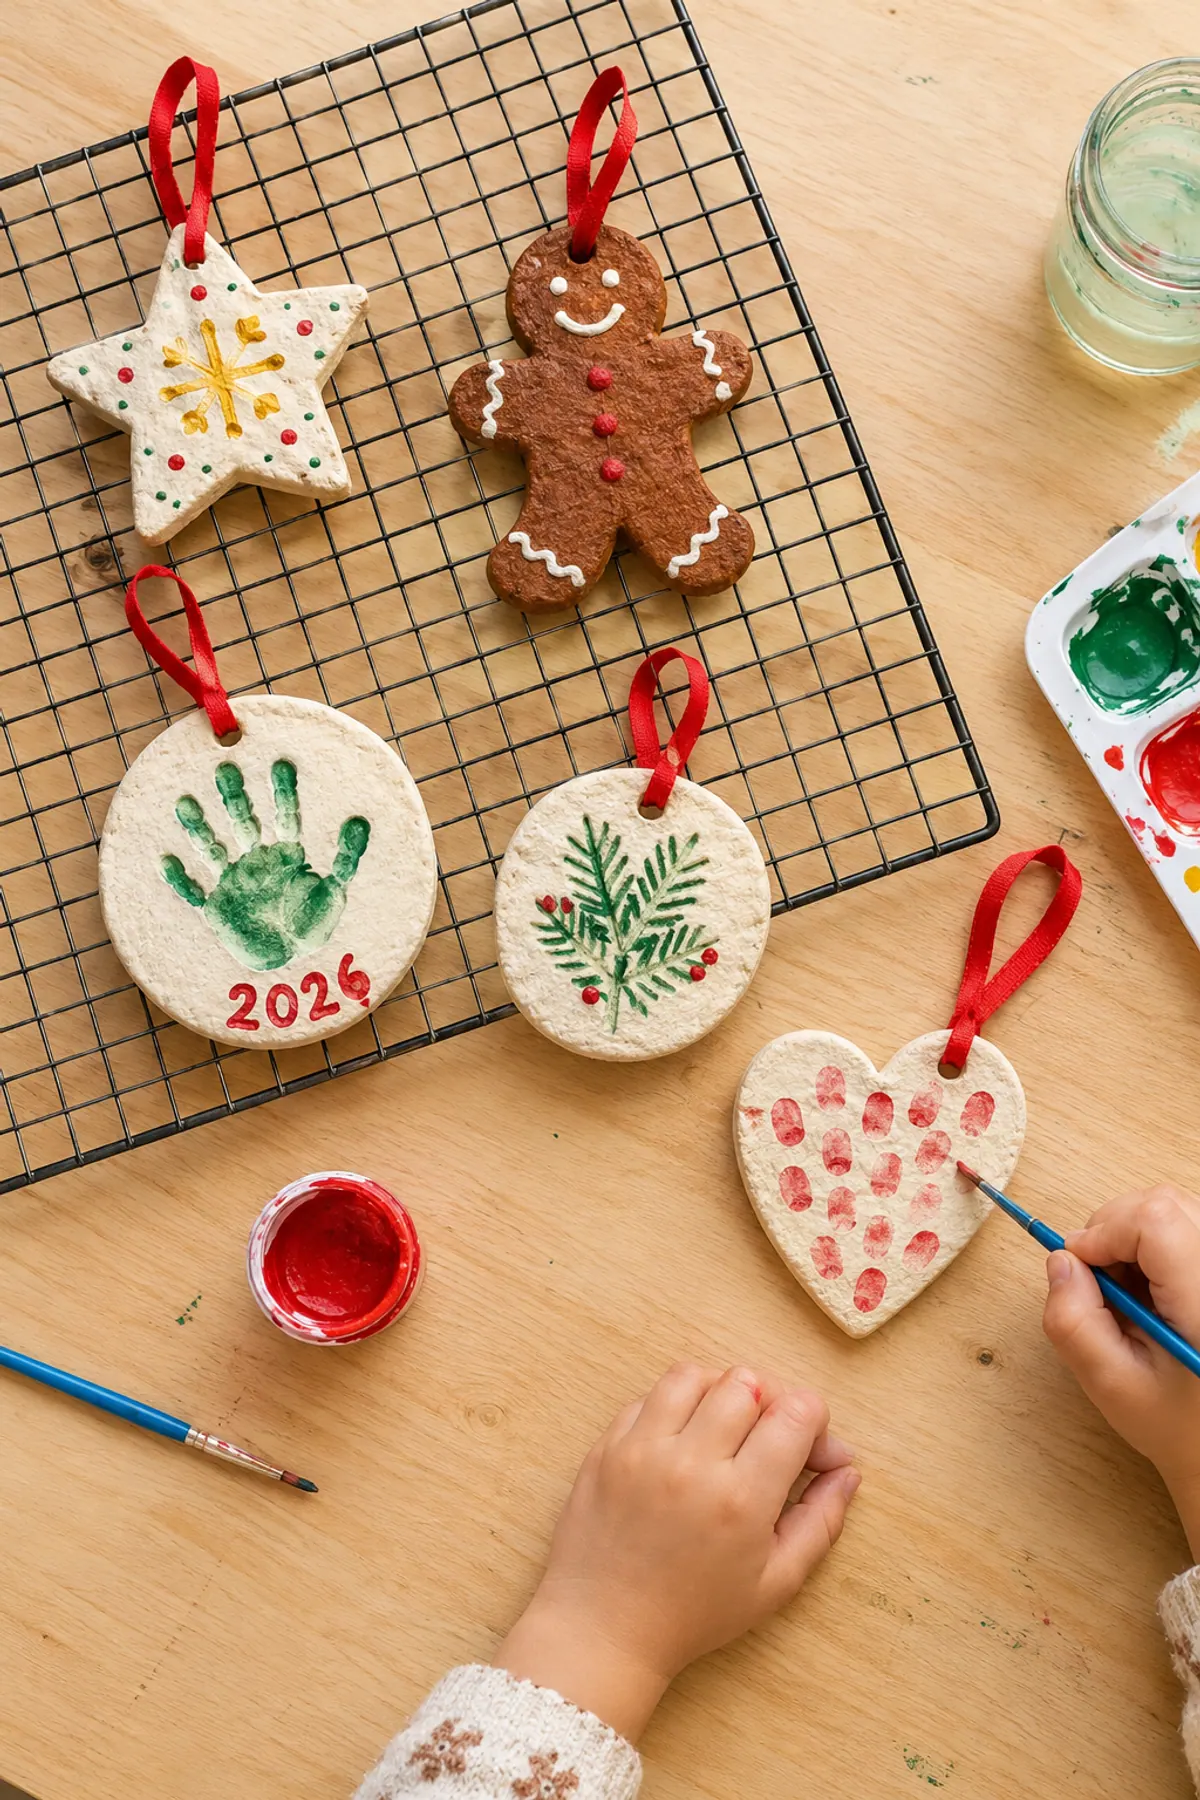
Playdough is too soft and salty for keepsakes. Use a salt dough recipe instead; our salt dough ornaments guide covers the ratio and how to stop them puffing up.

Save it for later
Pin this to your Sensory Play board so it's there when you need it.
Save to Pinterest